The Bathroom Freestanding Tub Placement: Clearance and Accessibility
When designing your dream bathroom, few elements command attention quite like a freestanding tub. Its sculptural beauty transforms the space into a personal sanctuary. However, achieving that flawless look requires careful attention to layout planning, clearance requirements, and accessibility. Proper placement ensures your tub is not only stunning but also practical for daily use, cleaning, and long-term enjoyment.
Plan Your Perfect Freestanding Tub Layout Today – Call Now!
At our remodeling service, we’ve helped countless homeowners position freestanding tubs that balance aesthetics with functionality. This comprehensive guide walks you through everything you need to know about clearances, wall proximity, window considerations, plumbing access, and structural support. Follow these principles, and your bathroom will deliver both luxury and livability for years to come.
Why Freestanding Tub Placement Matters
A freestanding tub is a statement piece, but poor placement can lead to frustrating maintenance issues, restricted movement, and even safety concerns. Thoughtful layout prevents these problems while maximizing the tub’s visual impact.
Key benefits of proper placement include:
- Easier daily cleaning and maintenance
- Safe, comfortable access for all family members
- Compliance with building codes and accessibility standards
- Optimal plumbing efficiency and leak prevention
- Enhanced visual flow that makes the bathroom feel larger
By prioritizing clearance and accessibility early in your remodeling project, you avoid costly changes later.
Understanding Clearance Requirements
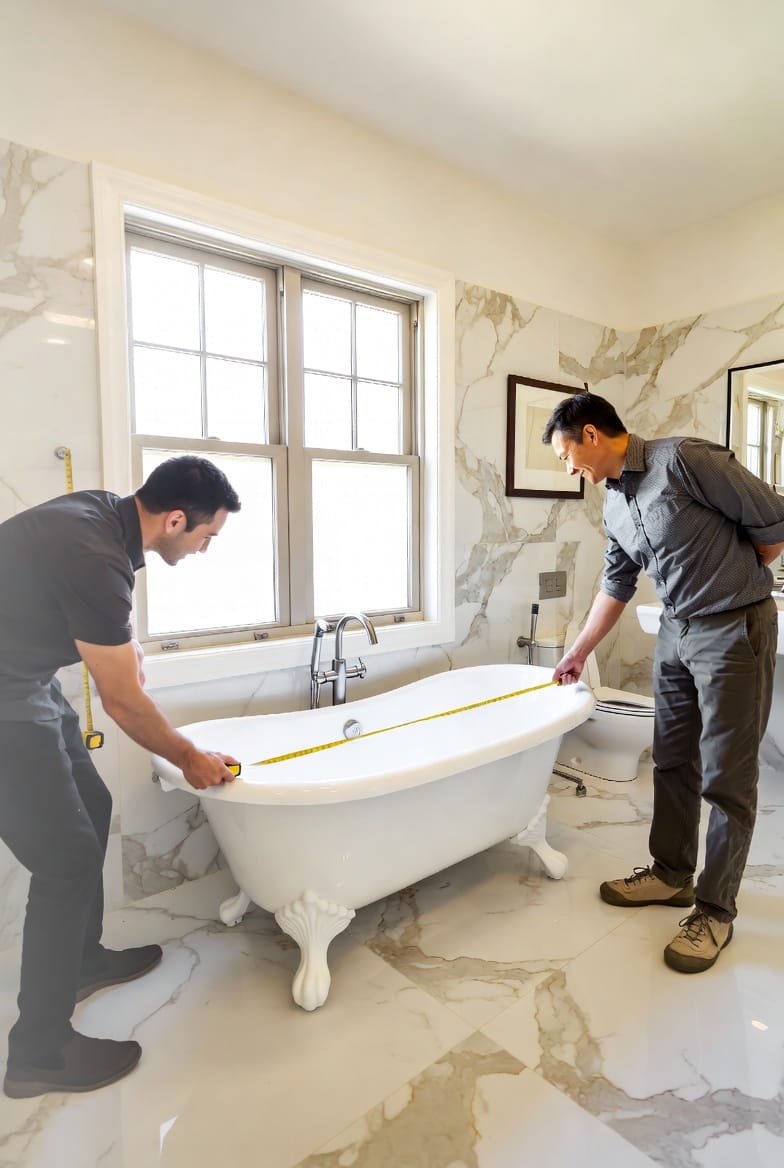
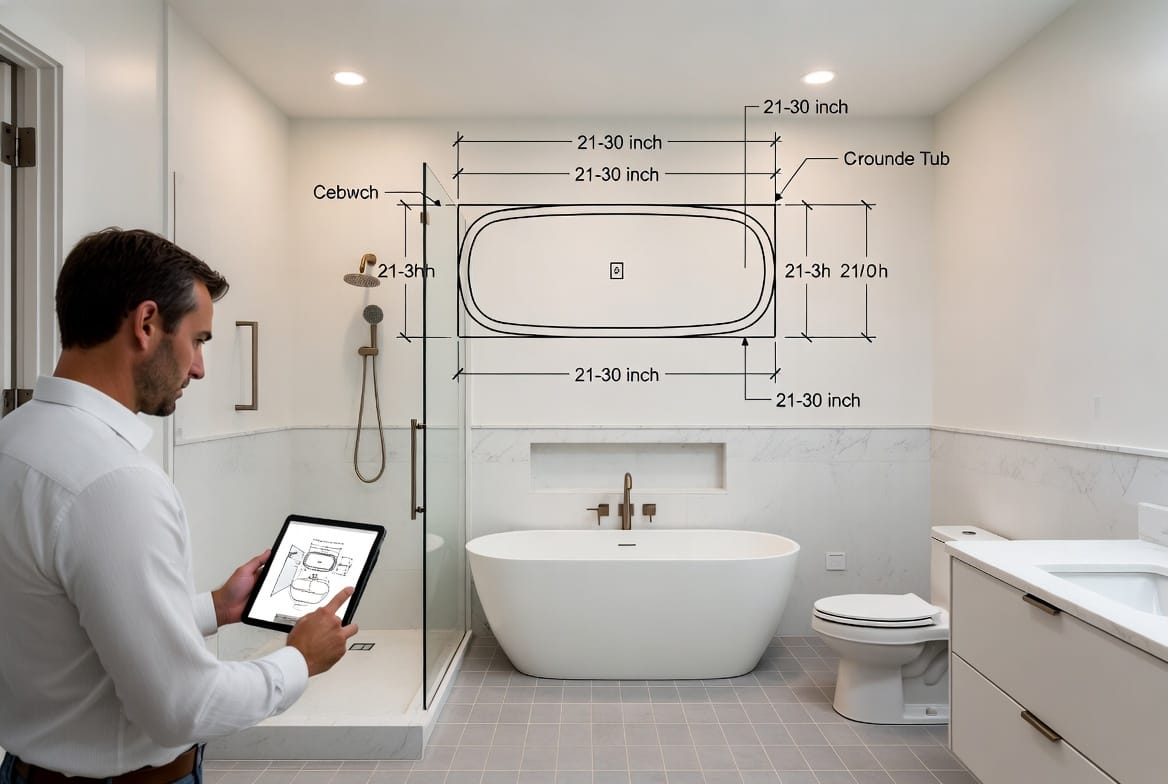
Industry standards recommend 21 to 30 inches of clear space around all sides of a freestanding tub. This range provides ample room for comfortable entry and exit while allowing easy access for cleaning.
- 21 inches minimum — Sufficient for basic access in compact bathrooms
- 24-27 inches ideal — The sweet spot for most residential installations
- 30 inches or more — Recommended for luxury spaces or homes with accessibility needs
These clearances apply to the tub’s outer edges, not just the interior. Remember to account for the tub’s full footprint, including any decorative feet or base details.
Why this spacing is critical:
- Prevents the tub from feeling cramped against walls or fixtures
- Allows users to walk around the tub safely without bumping elbows or knees
- Gives cleaning tools and hands full range of motion to reach under and around the tub
- Reduces water splashing onto nearby walls during use
Proximity to Walls: Finding the Right Balance
While centering the tub in the room creates dramatic appeal, most bathrooms require strategic wall placement. Leave at least 21 inches between the tub and any adjacent wall. For primary access sides, aim for 24-30 inches.
Consider these layout scenarios:
- Against one wall — Ideal for smaller bathrooms; keeps one side close for plumbing while maintaining open space on the other three sides.
- Corner placement — Requires careful measurement to preserve two full clearance zones.
- Island-style center — Most luxurious option, but demands the largest room dimensions and strongest floor support.
Pro Tip: Use painter’s tape on the floor to mock up the tub’s position before final installation. This low-cost method helps visualize traffic flow and daily usability.
Window Considerations for Tub Placement
Natural light enhances the bathing experience, but windows introduce specific placement challenges. Position the tub so that:
- The window is within easy reach for ventilation but not directly above the tub (to avoid condensation and draft issues)
- Clearances remain intact on sides facing the window
- Privacy is maintained with frosted glass, curtains, or strategic positioning
A well-placed window can frame the tub beautifully while providing fresh air. However, always verify that plumbing lines don’t conflict with window framing.
Plumbing Access and Drain Placement
Freestanding tubs require careful planning for water supply and drainage. Key considerations include:
- Drain location — Centered or offset depending on tub model; ensure easy access for future maintenance
- Faucet positioning — Floor-mounted or wall-mounted fillers should not obstruct clearance zones
- P-trap accessibility — Leave sufficient space beneath or around the tub for inspection and repairs
- Hot/cold supply lines — Route through the floor or nearby walls without compromising structural integrity
Professional installers prioritize service access panels or removable skirting where possible. This foresight prevents major demolition if repairs are ever needed.
Structural Floor Support Requirements
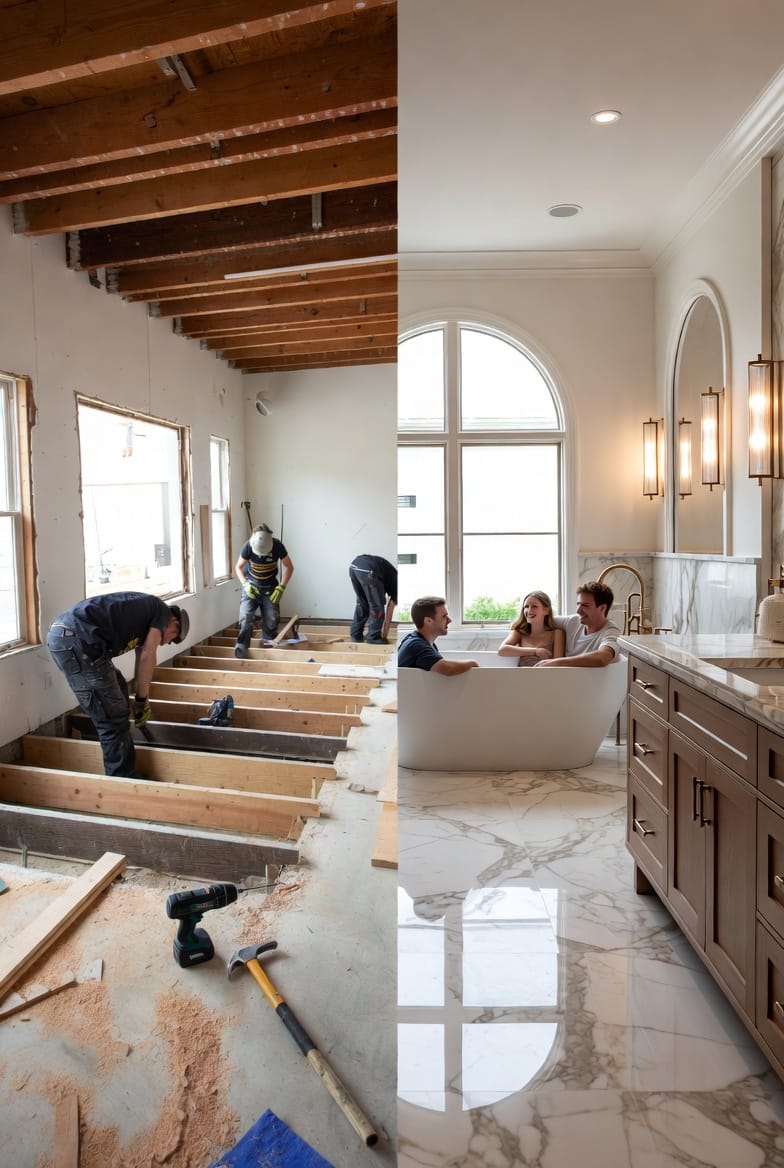
A filled freestanding tub can weigh several hundred pounds. Floor joist reinforcement is often necessary, especially in older homes or second-story bathrooms.
Essential steps include:
- Consulting a structural engineer or experienced contractor for load calculations
- Adding sister joists or blocking between existing floor joists
- Installing additional plywood subflooring for even weight distribution
- Verifying that the finished floor can support both the tub and users
Never skip this step. Proper reinforcement ensures safety and prevents costly floor sagging or cracking over time.
Accessibility Features in Freestanding Tub Layouts
Modern bathrooms should accommodate users of all ages and abilities. When planning clearances:
- Include grab bar compatible walls near the tub
- Maintain wider entry paths (minimum 36 inches) for wheelchair access where needed
- Consider step-in height of the tub model
- Plan for non-slip flooring in all clearance zones
These thoughtful touches make your bathroom both beautiful and universally functional.
Common Placement Mistakes to Avoid
Even experienced DIYers can encounter issues. Watch out for:
- Insufficient cleaning space — Leading to dust and mildew buildup
- Blocked plumbing access — Making repairs difficult and expensive
- Poor traffic flow — Creating bottlenecks in the bathroom
- Ignoring floor load capacity — Risking structural damage
- Overlooking visual balance — Placing the tub where it disrupts the room’s proportions
Our team specializes in catching these issues during the initial design phase, saving clients time and money.
Step-by-Step Guide to Planning Your Tub Placement
- Measure your space — Document room dimensions, window locations, and existing plumbing.
- Select your tub — Note exact dimensions and required installation clearances.
- Create a scaled floor plan — Use software or graph paper to test layouts.
- Mark clearances — Tape out the tub footprint and surrounding zones.
- Evaluate structural needs — Have a professional assess floor strength.
- Plan utilities — Coordinate faucet, drain, and electrical placements.
- Review accessibility — Ensure the layout works for your household’s needs.
- Finalize with experts — Consult remodelers for code compliance and best practices.
Following this process leads to results that feel custom and intentional.
Enhancing Your Layout with Complementary Elements
Once the tub position is set, integrate surrounding features harmoniously:
- Vanity and storage — Positioned outside primary clearance zones
- Lighting — Layered ambient, task, and accent lighting
- Flooring transitions — Seamless materials that extend under and around the tub
- Color palette — Tones that highlight the tub as the focal point
These details elevate the entire bathroom experience.
The Long-Term Value of Proper Planning
Investing time in freestanding tub placement during remodeling pays dividends. You’ll enjoy easier maintenance, better functionality, and a space that retains its beauty and value. Future buyers appreciate well-designed bathrooms with thoughtful layouts.
Position Your Freestanding Tub for Function and Beauty
A perfectly placed freestanding tub creates a bathroom that feels like a daily retreat. By respecting clearance requirements, planning for accessibility, and addressing structural and plumbing needs, you set the foundation for lasting satisfaction.
Ready to bring your vision to life? Our experienced team specializes in seamless bathroom remodeling with expert attention to every layout detail. Let’s design a bathroom where every element works in perfect harmony.
Get Expert Tub Placement Advice – Call Now!