The Bathroom Remodel Timeline: What to Expect
A bathroom remodel is one of the most rewarding home improvements you can undertake. When planned correctly, it delivers better function, higher comfort, and lasting value. The key to a smooth experience is understanding the bathroom remodel timeline before work begins. Knowing what happens in each phase, how long it typically lasts, and what you can do to stay on schedule removes most of the stress.
Get a Clear Remodel Schedule – Call for a Consultation
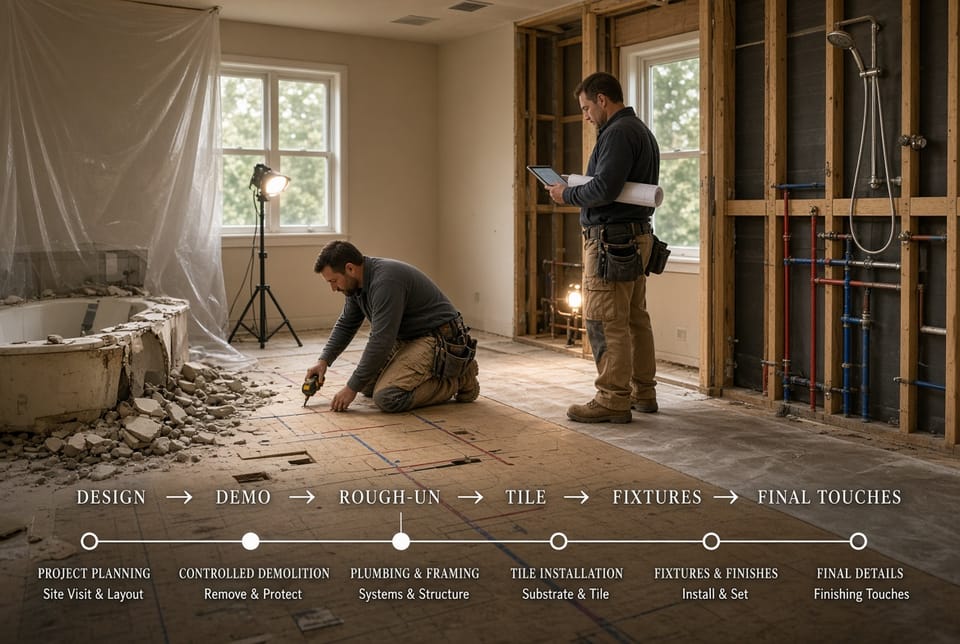
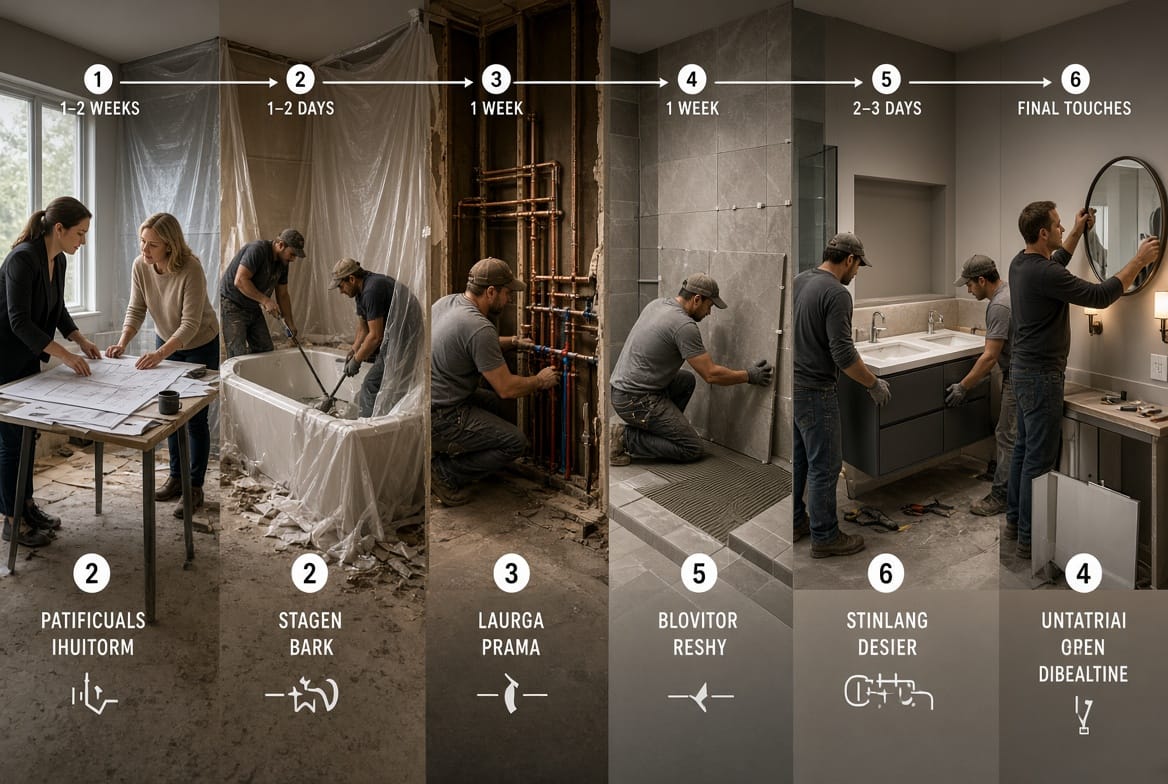
This guide walks you through a realistic renovation schedule used by professional teams. The core phases are design (1–2 weeks), demo (1–2 days), rough-in (1 week), tile (1 week), fixtures (2–3 days), and final touches. Actual calendar time can stretch a little longer once inspections, material lead times, and daily living adjustments are factored in. The goal is not speed at any cost; the goal is a durable, code-compliant bathroom completed without unnecessary surprises.
Why a Clear Timeline Matters
Homeowners often underestimate how many trades and decisions sit inside a single bathroom. Plumbing, electrical, waterproofing, tiling, and finish carpentry all have to happen in the right order. A written schedule keeps everyone aligned, protects your budget, and lets you plan around daily life—especially if the bathroom being remodeled is the only one in the house.
A professional timeline also surfaces risks early: hidden water damage, outdated wiring, or permit delays. When those issues are identified in the design phase rather than mid-demolition, they become manageable instead of expensive.
Phase 1: Design (1–2 Weeks)
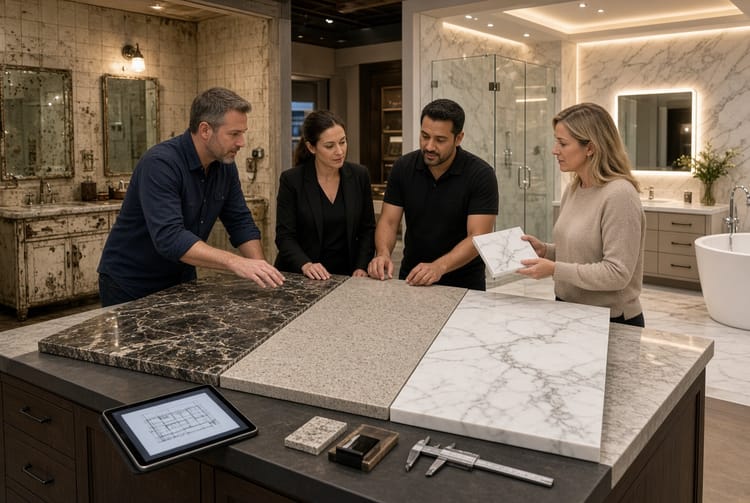
The design phase sets the foundation for everything that follows. It is not simply choosing tile colors. It is the period when measurements are verified, layouts are locked, materials are specified, and any required permits are prepared.
Typical activities include:
- Precise measurement of the existing space, including ceiling height, window locations, and existing plumbing stacks
- Selection of fixtures, vanities, tile, lighting, and ventilation
- Review of local building codes and any homeowner-association rules
- Creation of a materials list and order schedule so items arrive before they are needed
- Final approval of the layout drawings
Key terms that appear in this stage are wet-area layout, clearance requirements, and fixture rough-in locations. Changing your mind after this phase almost always adds both time and cost, so take the extra days to be certain.
Most homeowners spend the first few days gathering inspiration and the remaining days making final decisions with their contractor. A well-run design period of 7–14 days prevents the majority of later change orders.
Phase 2: Demo (1–2 Days)
Demolition is short but intense. The existing tub, vanity, toilet, tile, and often portions of the drywall come out. The crew protects adjacent rooms, shuts off water and power, and removes materials in a controlled sequence.
You can expect:
- Heavy dust even with plastic barriers and air scrubbers
- Temporary loss of the bathroom
- A loud but brief work window, usually one or two full days
- Immediate inspection of the exposed structure for rot, mold, or outdated plumbing
Risks at this stage include discovering water-damaged subfloor or galvanized pipes that must be replaced. A reputable team documents these findings the same day and adjusts the schedule rather than hiding them. Because demo is fast, the next phase—rough-in—can begin almost immediately once the space is clean and structurally sound.
Phase 3: Rough-In (1 Week)
Rough-in is the hidden work that determines how well the finished bathroom will perform for decades. Plumbers relocate or upgrade supply and drain lines. Electricians add dedicated circuits for lighting, exhaust fans, and GFCI outlets. If walls are being moved or a new shower pan is required, framing and blocking also happen now.
This phase typically lasts five to seven working days and includes:
- Installation of new drain, waste, and vent piping
- Placement of supply lines at exact fixture locations
- Electrical rough-in and low-voltage wiring for heated floors or smart controls if specified
- Inspection by the local building department (a common pause of one to three days depending on the municipality)
Waterproofing of the shower surround and floor often begins at the end of rough-in so the membrane has time to cure before tile. Skipping or rushing this step is one of the most expensive risks in any bathroom project. A professional crew treats waterproofing as non-negotiable.
Once the inspector signs off, the project moves from “invisible infrastructure” to visible finishes.
Phase 4: Tile (1 Week)
Tile work is both technical and visual. After the waterproof membrane is fully cured, the crew applies thin-set, sets tile, and allows proper cure time before grouting. A typical bathroom—floor plus shower walls—requires four to six days of focused labor plus drying time.
What you will see:
- Layout lines snapped so patterns stay straight and cuts stay balanced
- Careful attention to slope in the shower floor so water drains correctly
- Grout application and initial clean-up
- A short waiting period before the space can be walked on or fixtures installed
Key phrases here are proper slope, movement joints, and grout haze removal. Cheap or rushed tile work shows up as cracked grout or leaking showers within a year. Scheduling a full week gives the materials time to perform as designed.
Phase 5: Fixtures (2–3 Days)
With tile complete and cured, the visible pieces go in. Vanity, sink, faucet, toilet, shower valve trim, glass enclosure, lighting, and mirrors are installed in a logical sequence so nothing is damaged.
This phase is comparatively short—usually two or three days—yet it is the moment the room starts to look finished. Any last-minute fixture substitutions must be avoided; the rough-in locations were set weeks earlier.
A professional installer double-checks every connection for leaks before leaving the site each day. Small issues caught now stay small.
Phase 6: Final Touches
The last days cover paint, caulk, accessories, punch-list items, and a thorough clean. Cabinet hardware, towel bars, toilet-paper holders, and any remaining trim are installed. The crew walks the space with you, notes any adjustments, and performs a final water test.
Final touches usually take two to four days depending on paint dry times and the length of the punch list. Once complete, you receive care instructions for the new surfaces and a walkthrough of shut-off locations.
Factors That Can Affect the Overall Schedule
Even a well-planned project can shift. The most common variables are:
- Permit and inspection wait times
- Special-order materials with long lead times
- Hidden damage discovered during demo
- Weather delays if exterior walls or windows are involved
- Homeowner decision changes after design lock
Building a modest buffer of a few extra days into the calendar keeps these variables from becoming crises. Communication between you and the project manager is the single best way to stay on track.
How to Prepare Your Home and Family
A few practical steps before demo day make the entire timeline easier:
- Clear personal items from the bathroom and adjacent hallways
- Arrange temporary bathroom access if this is your only full bath
- Confirm parking and material-delivery space for the crew
- Decide in advance who will be the single point of contact for daily questions
These preparations protect both your belongings and the contractors’ efficiency.

Working With Professionals Reduces Risk
An experienced remodeling team coordinates the trades so one phase hands off cleanly to the next. They pull permits, schedule inspections, and stand behind both the workmanship and the waterproofing. Choosing a contractor who treats the timeline as a living document rather than a marketing promise is the surest way to finish on schedule and on budget.
Plan Your Bathroom Remodel Timeline
A successful bathroom remodel is the result of clear phases, realistic durations, and open communication. Design takes 1–2 weeks, demolition 1–2 days, rough-in about one week, tile another week, fixture installation 2–3 days, and final touches a few more days. When each stage is respected, the finished space performs as well as it looks.
Ready to turn this timeline into a plan for your own home? A professional assessment will give you dates, a materials list, and a schedule you can trust.
Get Expert Timing for Design, Demo & Tile – Call Now