Your Guide to Stress-Free Dumpster Rental: Sizing, Placement, and Permits Made Simple

Embarking on a home renovation or cleanup project can feel overwhelming, but with the right approach to dumpster rental, you can turn potential stress into smooth progress. Whether you're a homeowner tackling a weekend yard overhaul or a contractor managing a full-scale remodel, understanding the essentials of sizing, placement, and permits ensures efficiency and peace of mind. This guide breaks it down step by step, empowering you to make informed decisions that protect your property and keep your timeline on track. Let's dive in and simplify the process.
Perfect Size, Perfect Placement – Call for Fast Delivery!
Understanding Dumpster Sizes: The Foundation of Your Project
Choosing the correct dumpster size is crucial—it's the difference between a seamless cleanup and unnecessary trips or overflows. Dumpsters are measured in cubic yards, reflecting their capacity for debris. Common options range from compact units for small jobs to larger ones for extensive work. By matching the size to your project's scope, you avoid overpaying for unused space or facing extra fees for overloads.
Consider your debris type and volume early. For instance, bulky items like furniture take up more room than dense materials like concrete. Always overestimate slightly to account for unexpected waste—this proactive step keeps things stress-free.
- 10-Yard Dumpster: Ideal for minor tasks. This compact option, roughly the size of a small garage, holds about three pickup truck loads. Perfect for garage cleanouts or small landscaping updates where space is limited.
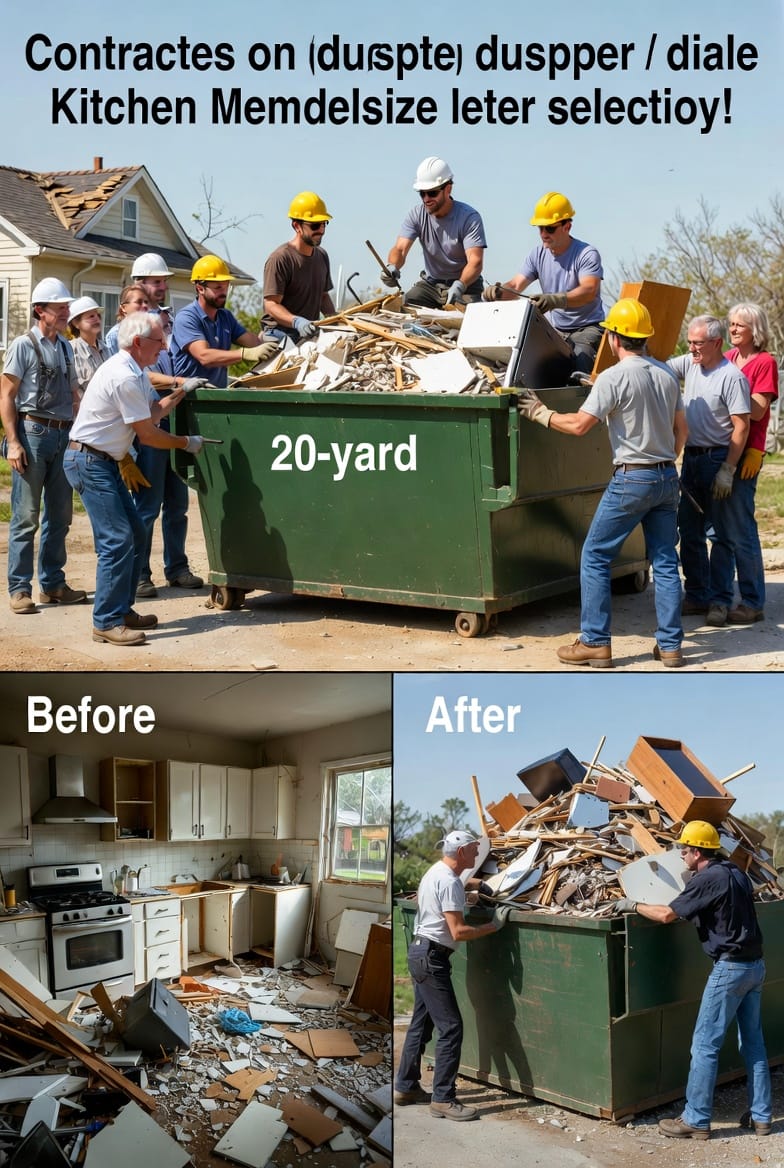
- 20-Yard Dumpster: A versatile mid-size choice for moderate projects. Equivalent to six truckloads, it's great for handling debris from single-room renovations without dominating your driveway.
- 30-Yard Dumpster: Suited for larger endeavors. This holds around nine truckloads, making it efficient for multi-room updates or significant yard work involving heavy materials.
- 40-Yard Dumpster: The go-to for major jobs. With capacity for 12 truckloads, it's designed for whole-home remodels or commercial cleanups, ensuring you have ample room for all waste.
Tailoring the size to your needs not only saves money but also minimizes environmental impact by reducing unnecessary hauls. If you're unsure, a quick assessment of your project's waste—listing out items like old appliances, branches, or shingles—can guide you accurately.
Sizing for Kitchen Remodels
Kitchen remodels often generate a mix of cabinets, appliances, and flooring debris, making dumpster sizing a key consideration. For a standard kitchen update in a mid-sized home, a 20-yard dumpster typically suffices, accommodating old countertops, sinks, and packaging from new installations. If your remodel includes structural changes like wall removals, bump up to a 30-yard to handle the added drywall and lumber.
Visualize your waste: Old cabinets might stack neatly, but broken tiles and plumbing fixtures add bulk. Factor in any demolition—knocking out an island could double your debris volume. By planning ahead, you ensure the dumpster arrives ready to contain everything, keeping your workspace safe and organized.
Sizing for Roof Tear-Offs
Roof tear-offs are debris-heavy, with shingles, underlayment, and nails piling up quickly. A typical single-layer roof on a 1,500-square-foot home might require a 20-yard dumpster, but for multi-layer or steeper roofs, opt for 30 yards to manage the weight and volume.
Key tip: Shingles are dense, so weight limits matter—most dumpsters have a tonnage cap to prevent overloading. Spread debris evenly during loading to avoid tipping hazards. This approach not only protects your property but also streamlines disposal, allowing your crew to focus on the new installation.
Sizing for Yard Cleanups
Yard cleanups vary from seasonal trims to full landscape overhauls. For basic tasks like leaf removal or bush pruning, a 10-yard dumpster handles branches and soil efficiently. Larger projects, such as tree removals or patio demolitions, benefit from 20- or 30-yard sizes to contain roots, sod, and stones.
Remember, organic waste like dirt compacts differently than branches, which can be voluminous. Compacting as you load maximizes space, turning a potentially messy job into a tidy success.
Strategic Dumpster Placement: Protecting Your Property and Efficiency
Once you've selected the size, proper placement is your next priority. Thoughtful positioning safeguards your driveway, lawn, and structures while ensuring easy access for loading and pickup. The goal? Minimize disruption and maximize convenience.
Start by scouting your site. Ideal spots are flat, accessible areas away from overhead wires, trees, or utilities. Driveways are popular, but if yours is sloped or narrow, consider alternatives like the street (with permits) or a sturdy side yard.
- Driveway Protection: Lay plywood under the dumpster to distribute weight and prevent cracks or indentations. This simple step preserves your concrete or asphalt.
- Lawn Considerations: Avoid soft grass to prevent ruts—use boards or mats if placement there is unavoidable. Quick repositioning can save costly repairs.
- Accessibility: Ensure at least 50 feet of clearance for the delivery truck. Position the dumpster doors facing your work area for effortless loading.
- Safety Zones: Keep it clear of high-traffic paths to avoid accidents. Mark the area with cones if needed, especially on shared properties.
For urban settings, coordinate with neighbors to prevent blocking access. In rural areas, account for uneven terrain by requesting adjustable delivery options. Proper placement isn't just about convenience—it's about avoiding risks like property damage or delays, keeping your project on a reassuring path.
Placement Tips for Homeowners
As a homeowner, prioritize placements that blend with your daily routine. For front-yard projects, a driveway spot keeps things contained without invading living spaces. If backyard access is feasible, it hides the dumpster from view, maintaining curb appeal.
Weigh weather factors: Rain can turn placement areas muddy, so plan for tarps or elevated supports. This foresight ensures stability and protects against unexpected shifts.
Placement Strategies for Contractors
Contractors often juggle multiple sites, so efficiency is paramount. Opt for placements that allow simultaneous loading from various angles, reducing downtime. Coordinate with your team on entry points to streamline workflows.
In tight spaces, like condo complexes, vertical clearance is key—measure gates and overhangs beforehand. This authoritative planning minimizes surprises and upholds professional standards.
Navigating Permit Requirements: Staying Compliant Without the Hassle
Permits might seem daunting, but they're a straightforward safeguard for public spaces and safety. While specifics vary by location, the process generally involves checking local rules and applying early to avoid holdups.
Begin with your city's building or public works department to identify needs. If placing on a street or sidewalk, a permit is often required to ensure traffic flow and pedestrian safety. Driveway placements usually skip this, but confirm to be sure.
- Application Essentials: Provide project details, dumpster size, and duration. Fees are nominal, and approval is typically quick.
- Timeline Planning: Apply at least a week in advance. Renew if your project extends—better safe than facing fines.
- Documentation: Keep copies on-site for inspections. This demonstrates responsibility and smooths any inquiries.
- Alternatives if Denied: Explore private property options or phased rentals to comply without compromising your schedule.
Approach permits as a protective measure—they prevent issues like blocked emergency access. By handling them proactively, you maintain control and project momentum.
Common Permit Scenarios for Projects
For kitchen remodels, permits are rare unless street placement is involved. Roof tear-offs might need them if debris staging affects public areas. Yard cleanups often fly under the radar, but large-scale ones could trigger reviews.
In all cases, documentation empowers you. Note start and end dates clearly to align with your timeline.

Best Practices for a Smooth Rental Experience
Beyond sizing, placement, and permits, a few additional habits elevate your dumpster rental from good to great. First, communicate clearly with your provider about delivery windows and prohibited items—things like hazardous waste or electronics often require separate handling.
Load strategically: Start with flat items at the bottom, then layer heavier debris to maintain balance. This prevents shifting during transport and maximizes capacity.
Monitor fill levels to avoid overflows, which can incur fees or attract pests. If your project generates more waste than anticipated, request a swap-out promptly.
Safety remains paramount—wear gloves, use ramps for heavy loads, and keep children and pets away. These measures ensure everyone stays protected.
Finally, schedule pickup as soon as you're done. A timely removal restores your space and wraps up the job neatly.
Wrapping Up: Your Path to Effortless Waste Management
Mastering dumpster rental transforms challenging projects into manageable ones. By selecting the right size for your kitchen remodel, roof tear-off, or yard cleanup, positioning it thoughtfully to shield your property, and securing necessary permits efficiently, you set the stage for success. This guide equips you with the knowledge to proceed confidently, minimizing stress and maximizing results.
Remember, the key is preparation—assess your needs, plan placements, and handle paperwork early. With these steps, your next endeavor will flow smoothly.
Ready for Your Kitchen Remodel or Roof Tear-Off? Call Today!