The Window Screen Spline: Replacing Worn Rubber in Screen Frames
Window screens play a vital role in every home, allowing fresh air while keeping bugs, debris, and pests outside. Yet one small but essential component often goes unnoticed until problems appear: the window screen spline.
Restore Tight, Bug-Free Window Screens – Call Now!
This flexible rubber or vinyl cord secures the screen mesh tightly into the frame groove. Over time, it dries out, cracks, or loses elasticity, causing the mesh to sag or detach. The good news? Replacing worn spline is a straightforward, cost-effective DIY repair that restores your screens to like-new condition.
In this comprehensive guide, we walk you through everything you need to know about window screen spline replacement – from identifying the issue to completing a professional-quality repair using a simple spline roller tool.
What Is Window Screen Spline and Why Does It Matter?
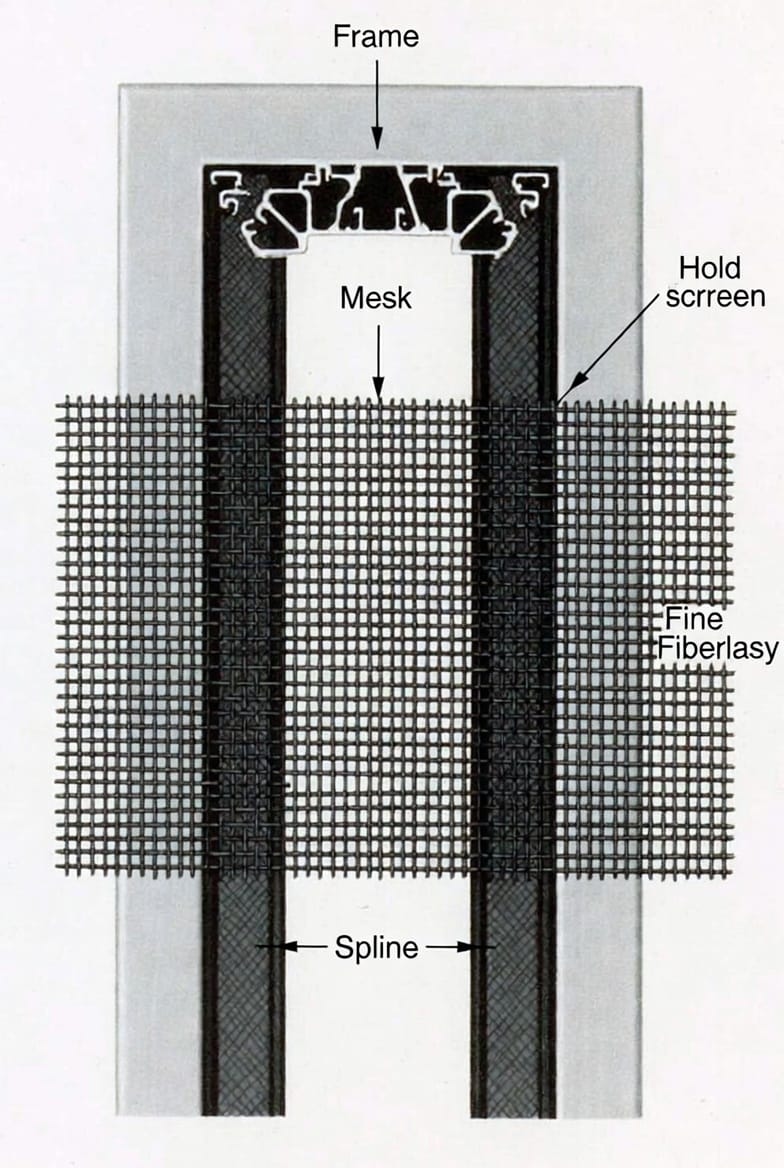
Spline is the rubber or vinyl strip that locks the screen mesh into the channel around the frame. It creates constant tension, keeping the mesh flat and effective.
Without properly installed spline, even high-quality mesh fails to perform. A loose screen allows insects easy entry and reduces airflow efficiency. Replacing spline extends the life of your existing frames and mesh, saving money compared to full screen replacement.
Key benefits of maintaining spline:
- Prevents pest intrusion
- Maintains smooth operation of windows and doors
- Enhances home ventilation and energy efficiency
- Preserves the appearance of your windows
Signs Your Screen Spline Needs Replacement
Watch for these common indicators of worn spline:
- Loose or sagging mesh that flaps in the breeze
- Visible dry rot, cracking, or brittleness in the rubber
- Mesh pulling away from the frame edges
- Gaps allowing insects to enter
- Difficulty closing windows or doors due to bulging screens
If you notice any of these issues, act promptly. Early replacement prevents more extensive damage to the frame or mesh.
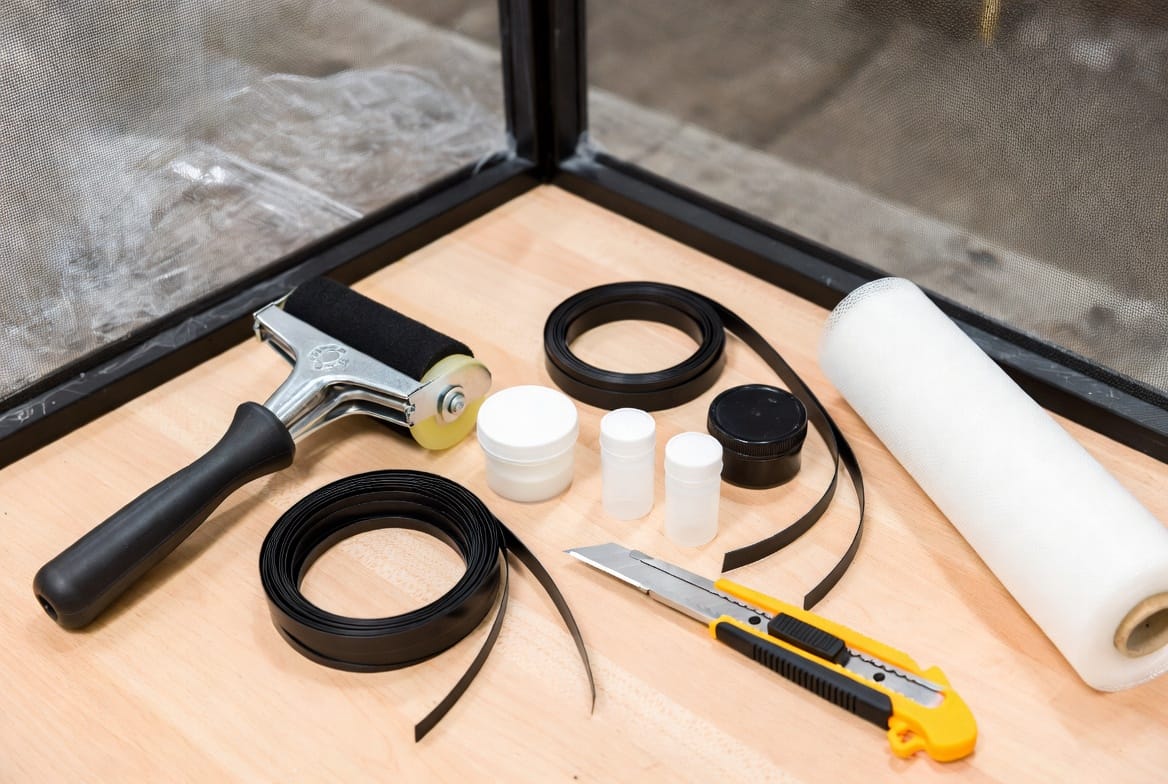
Tools and Materials You’ll Need
Gathering the right supplies ensures a smooth repair process.
Essential items:
- Spline roller tool (with convex and concave wheels)
- New spline of the exact same thickness (diameter) as the original
- Replacement screen mesh (if the old mesh is damaged)
- Utility knife or sharp scissors
- Flathead screwdriver or spline removal tool
- Measuring tape
- Clean cloth and mild soap
Pro tip: Take a small piece of the old spline to your local hardware store to match the diameter precisely – common sizes range from 3/16" to 5/16".
Step-by-Step Guide to Replacing Window Screen Spline
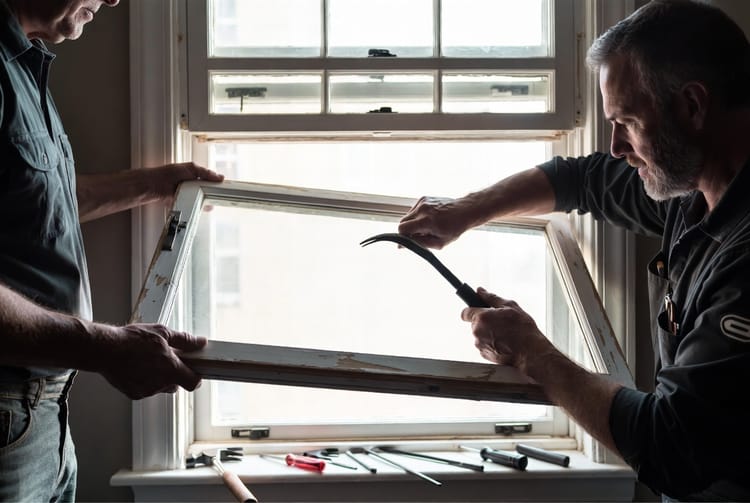
Step 1: Prepare the Workspace and Remove the Screen
Lay the screen frame flat on a large, clean work surface. Remove the screen from the window carefully. Label each screen if working on multiple units to ensure correct reinstallation.
Step 2: Remove the Old Spline and Mesh
Use a flathead screwdriver or specialized spline removal tool to pry out the old rubber from one corner. Gently pull the spline out along the entire groove. Once removed, lift away the old mesh.
Safety note: Wear gloves if the old spline shows significant dry rot to avoid skin irritation.
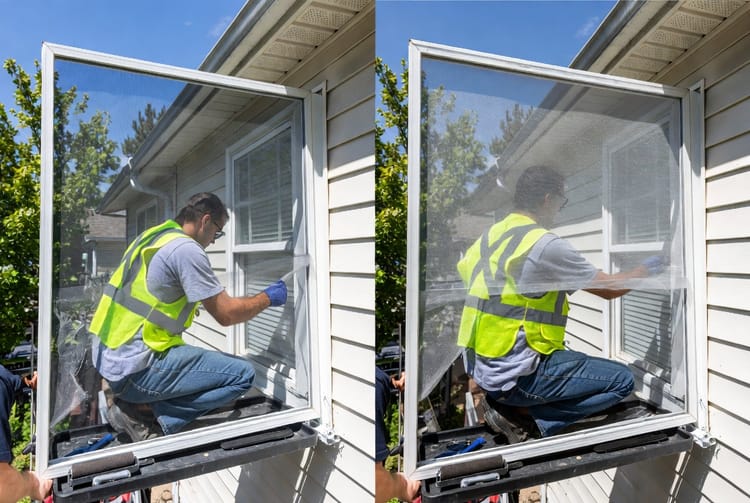
Step 3: Clean the Frame Thoroughly
Wipe the spline groove and frame with a mild soap solution. Remove any debris, old rubber fragments, or dirt. A clean groove ensures the new spline grips securely.
Step 4: Cut and Position the New Mesh
Lay the new mesh over the frame, overlapping the edges by 1-2 inches. Ensure it remains square and wrinkle-free. Cut excess mesh later for precision.
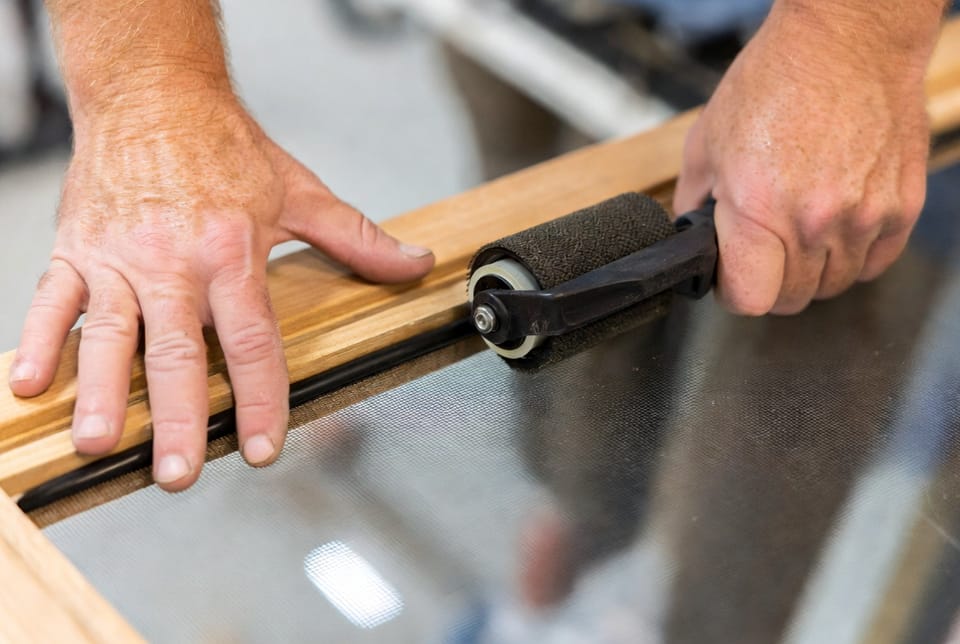
Step 5: Install the New Spline with a Spline Roller
This is the core technique of screen spline replacement:
- Start at one corner and press the new spline into the groove over the mesh edge using the spline roller.
- Roll firmly but steadily along the groove. The convex wheel pushes the spline down while the mesh stays taut.
- Work your way around the frame, maintaining even tension on the mesh.
- At corners, carefully roll around the curve without cutting the spline.
- Trim excess mesh flush with the frame edge using a utility knife.
The spline roller makes this job efficient and professional-looking. Practice on a small section first if you’re new to the process.
Step 6: Inspect and Test
Check that the mesh is uniformly tight with no wrinkles or loose spots. Reinstall the screen in the window and test for smooth operation.
Common Mistakes to Avoid
- Using the wrong spline diameter – too thick or too thin leads to poor fit
- Over-stretching the mesh, causing tears
- Rushing the rolling process, resulting in uneven tension
- Forgetting to clean the groove thoroughly
- Cutting mesh too early before securing the spline
Advanced Tips for Long-Lasting Results
Choose quality materials. Opt for UV-resistant vinyl spline and durable fiberglass or aluminum mesh for better longevity in outdoor conditions.
Seasonal maintenance helps. Inspect screens each spring and fall to catch wear early.
For larger patio or door screens, work with a partner to maintain consistent tension across bigger spans.
Storage advice: Remove and store screens flat during winter months to prevent frame warping and spline compression.
Benefits of DIY Window Screen Repair
Performing this repair yourself offers multiple advantages:
- Significant cost savings versus professional replacement
- Full control over materials and quality
- Quick turnaround – most screens repaired in under 30 minutes
- Satisfaction of learning a valuable home maintenance skill
- Reduced waste by reusing existing frames
With basic tools and this guide, nearly anyone can achieve factory-like results.
When to Call Professional Window Screen Services
While most spline replacements are simple, consider professional help if:
- Frames are bent, rusted, or severely damaged
- You have many screens requiring repair
- Screens are high or hard to access safely
- You prefer guaranteed results with warranty
Repair loose screens yourself for minor issues, but don’t hesitate to seek expert assistance for complex jobs.
Conclusion: Keep Your Home Comfortable and Protected
The window screen spline may be a small component, but it delivers outsized impact on your home’s comfort and protection. Regular inspection and timely replacement keep screens performing at their best year after year.
Armed with the right tools – especially a reliable spline roller – and this step-by-step knowledge, you can confidently tackle screen spline replacement and enjoy crisp, bug-free ventilation throughout your home.
Repair loose screens yourself with confidence, or call us for expert window screen services. For professional assistance with window screen repair.
Your windows – and your peace of mind – will thank you.
Don’t Let Bugs In – Repair Your Screens Now!