The Refrigerator Water Inlet Valve: Why Your Ice Maker Won't Fill
No one likes opening the freezer door only to discover an empty ice bin. You press the dispenser lever and hear a faint click, but nothing happens. Or worse, you find a slow trickle of water that never quite fills the tray. Frustrating, right?
Fix Your Ice Maker Today – Call Now!
The good news is this common refrigerator problem often traces back to one small but vital part: the refrigerator water inlet valve. At our appliance repair service, we see this issue every week, and the fix is usually straightforward, affordable, and remarkably effective.
In this detailed guide, we’ll walk you through exactly what the water inlet valve does, the clear warning signs it’s failing, how to confirm the diagnosis, and the best path to reliable ice and water again. Whether you’re considering a DIY repair or prefer professional help, you’ll finish this article confident and informed.
What Is the Refrigerator Water Inlet Valve?
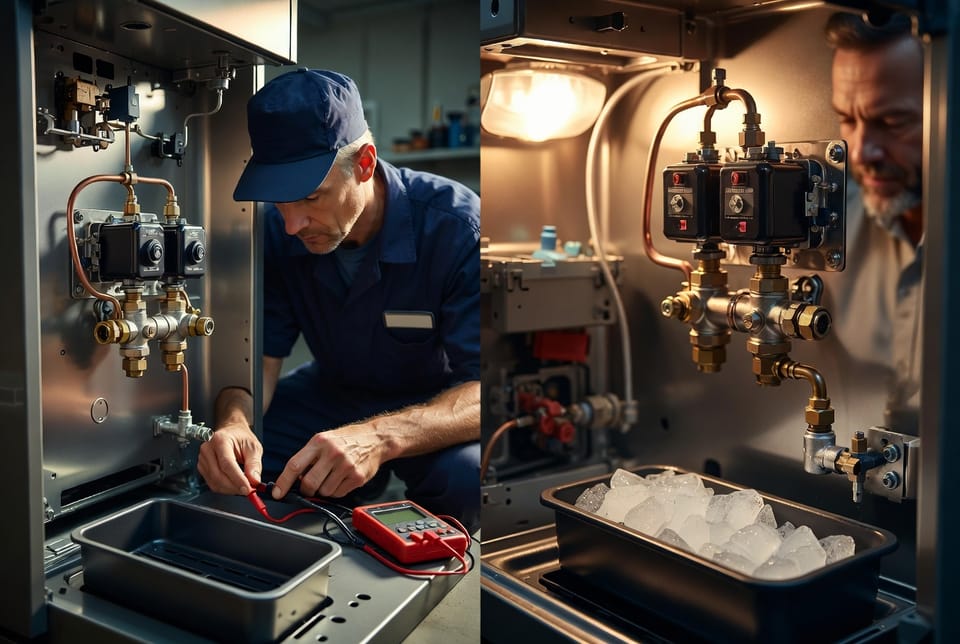
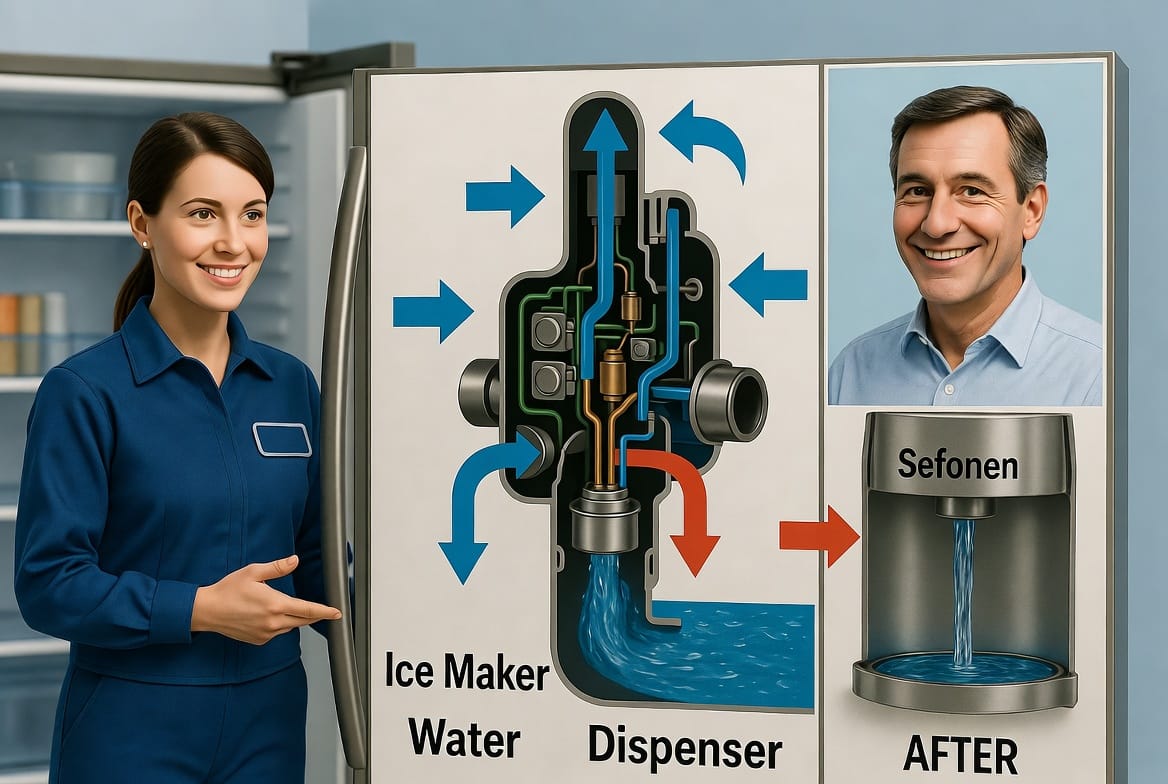
The refrigerator water inlet valve is the gatekeeper between your home’s water supply line and the appliance’s ice maker and water dispenser. Located at the lower rear of most refrigerators, this compact component uses one or two electromagnetic solenoids to open and close on command from the fridge’s control board.
When everything functions correctly, the valve stays closed until the ice maker needs water or someone presses the dispenser lever. It then opens precisely, allowing a controlled flow through the tubing to the fill tube or dispenser. Without a working water inlet valve, even a brand-new filter and perfect water pressure won’t deliver a single drop where you need it.
How the Refrigerator Water Inlet Valve Works
Understanding the mechanics helps you spot trouble early. The valve contains a diaphragm and plunger held closed by a spring. When the refrigerator’s control board sends a low-voltage signal to the solenoid coil, an electromagnetic field lifts the plunger, opening the diaphragm and letting water rush through.
Most modern units feature dual solenoids — one dedicated to the ice maker and one to the water dispenser — giving independent control. This design prevents unnecessary water use and protects sensitive components.
A properly operating valve opens and closes thousands of times without issue. But over years of use, wear, mineral deposits, or electrical fluctuations can prevent the solenoid from lifting fully or sealing tightly when it should.
Common Signs Your Refrigerator Water Inlet Valve Is Failing
Recognizing symptoms quickly can save you from bigger headaches — and bigger repair bills. Watch for these clear indicators:
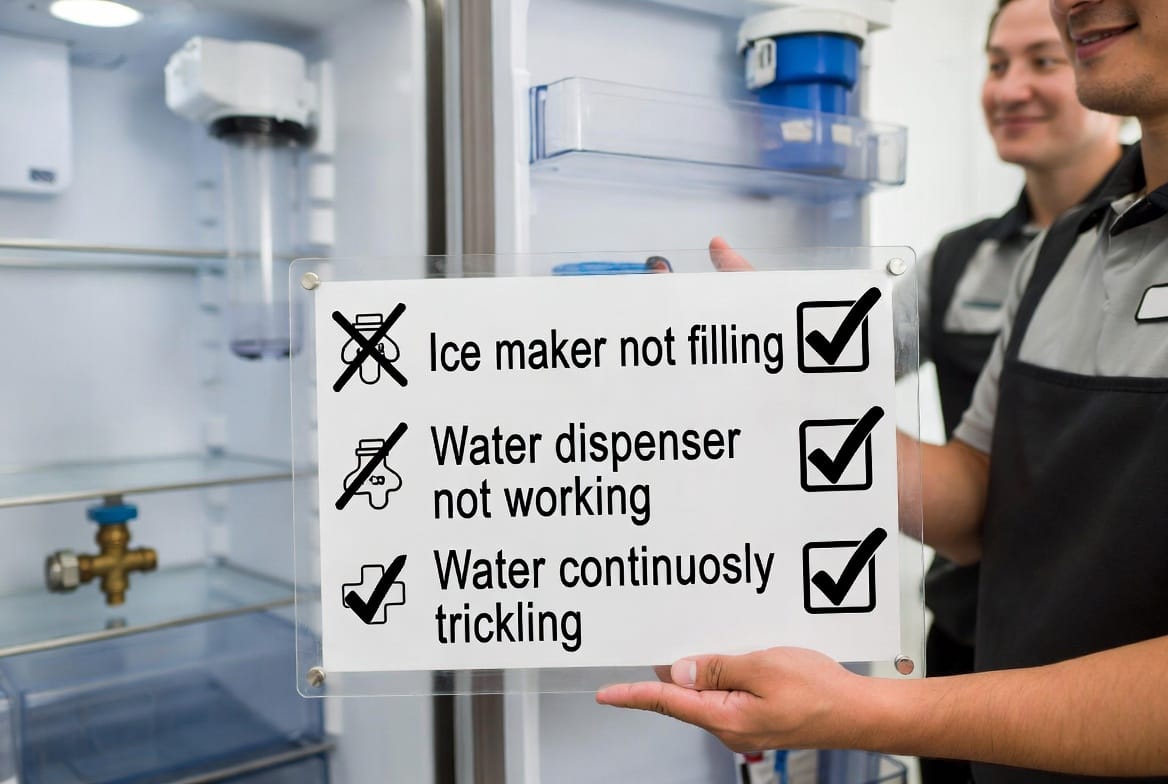
- Ice maker completely stops filling — trays stay empty even after days of waiting.
- Water dispenser delivers nothing or only a weak trickle despite good household pressure.
- Slow or inconsistent fill into the ice maker, resulting in small, hollow cubes or half-filled trays.
- Constant dripping or leaking behind the refrigerator, often creating puddles near the valve.
- Water continuously trickling into the ice maker even when the unit is off or the ice bin is full.
- Intermittent operation — the valve works one day and fails the next, pointing to electrical or solenoid issues.
If you notice any of these, the refrigerator water inlet valve is the most likely culprit in over 70 % of cases we handle.
Why the Water Inlet Valve Fails Over Time
Several factors contribute to valve failure. Hard water minerals gradually build up inside the diaphragm and ports, restricting flow or preventing a tight seal. Electrical surges or inconsistent voltage can burn out the solenoid coils. Age-related wear on the rubber diaphragm and seals eventually causes leaks or failure to open.
Occasionally, a manufacturing defect or accidental kink in the supply line creates unusual stress. Whatever the root cause, the result is the same: your ice maker won’t fill, and your dispenser goes silent.
Diagnosing the Problem Safely at Home
Before replacing anything, perform a quick, safe diagnosis. First, unplug the refrigerator and shut off the water supply valve behind or under the unit. Remove the lower rear access panel (usually held by a few screws).
Inspect the water inlet valve for visible cracks, corrosion, or wet spots. Check the incoming water line for kinks or blockages. Next, restore water pressure temporarily and look for leaks around the valve fittings.
For a more definitive test, use a multimeter set to continuity mode. Each solenoid should show a reading between 200–500 ohms when the probes touch the terminals. No reading or an open circuit confirms a failed solenoid. These simple checks take less than 15 minutes and prevent unnecessary part replacement.
Step-by-Step Guide to Replacing the Refrigerator Water Inlet Valve
Replacing the valve is a manageable project for confident DIYers, but it requires care. Gather these tools: Phillips and flathead screwdrivers, adjustable wrench, pliers, multimeter, and a bucket to catch residual water.
- Unplug the refrigerator and turn off the water supply.
- Pull the unit away from the wall and remove the lower rear panel.
- Disconnect the water supply line using the adjustable wrench.
- Unplug the electrical harnesses from each solenoid (note wire colors or take a photo).
- Remove the mounting screws or bracket holding the valve in place.
- Carefully pull the outlet tubing free — some models use push-fit connectors; others require loosening clamps.
- Install the new refrigerator water inlet valve in reverse order, ensuring all connections are tight but not over-tightened.
- Restore water pressure and check for leaks before pushing the refrigerator back into place.
- Plug the unit in and test both the ice maker and dispenser.
Allow 24 hours for the ice maker to cycle fully and produce fresh ice. The entire process typically takes 30–45 minutes once you’re familiar with the steps.
When Professional Replacement Makes the Most Sense
While many homeowners successfully replace the valve themselves, professional service offers distinct advantages. Our technicians arrive with the exact OEM or high-quality aftermarket part already in hand, perform a complete system test, and back the repair with a solid warranty.
We also check related components — water filter, fill tube, and control board — so you won’t face the same issue again in a few months. If you’re short on time, uncomfortable working behind a heavy appliance, or simply want peace of mind, calling a pro is the smartest choice.
Preventing Future Water Inlet Valve Problems
Simple maintenance dramatically extends the life of your refrigerator water inlet valve. Replace the water filter every six months. Periodically inspect and clean the supply line and valve ports. Consider installing a whole-house water softener if you live in a hard-water area.
Keep the refrigerator level and ensure good airflow behind it to prevent overheating of electrical components. These small habits keep your ice maker reliable for years.
Other Common Refrigerator Water Issues and Quick Solutions
Sometimes the valve isn’t the only problem. A frozen fill tube, clogged water filter, or faulty ice maker module can mimic inlet valve symptoms. Our technicians quickly differentiate these issues during every service call, saving you time and money.
The Benefits of Timely Appliance Repair
Addressing a faulty water inlet valve promptly prevents water damage, reduces energy waste from a constantly running compressor, and restores convenience to your kitchen. Fast repair also protects your investment — modern refrigerators represent a significant household expense.
Final Thoughts and Next Steps
A silent ice maker doesn’t have to ruin your day. In most cases, the refrigerator water inlet valve is the simple, fixable reason your ice maker won’t fill.
No water to your fridge? The inlet valve may be bad. Our expert technicians are ready to restore your ice and water today with professional care you can trust.
Professional Refrigerator Repair – Call Now