The Gutter Lap Joint: Sealing Overlapping Sections to Prevent Leaks
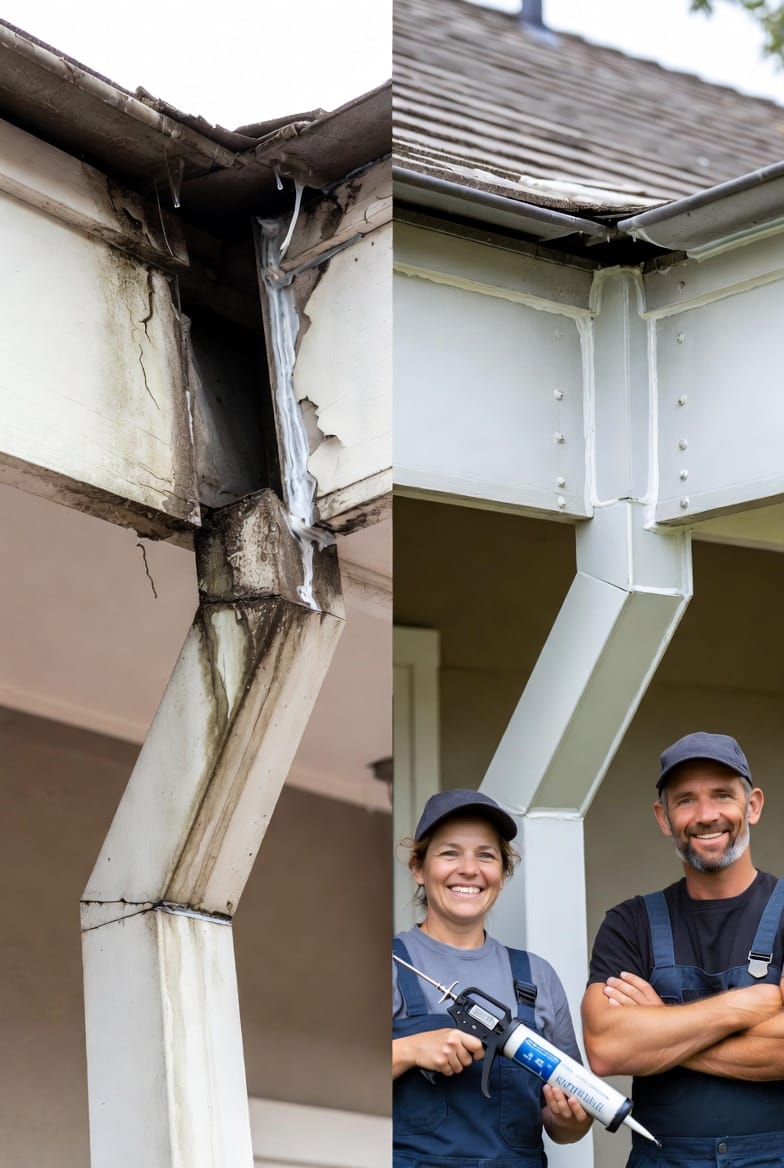
Gutter systems are essential guardians of your home, channeling rainwater away from foundations, walls, and landscaping. Yet one of the most vulnerable points in any gutter installation is the gutter lap joint — where overlapping sections meet. These seams are common leak points that can lead to costly water damage if not properly maintained.
Stop Gutter Lap Joint Leaks – Call for Professional Repair!
In this comprehensive guide, we explore everything you need to know about gutter lap joints, why they fail, and the professional techniques to seal them effectively. Whether you're a homeowner noticing early signs of trouble or planning proactive maintenance, understanding these critical connections will help safeguard your property for years to come.
Understanding Gutter Lap Joints
Gutter lap joints form when individual gutter sections overlap by several inches to create a continuous runoff channel. Manufacturers design gutters in standard lengths, making overlaps necessary for longer runs along rooflines.
The overlap creates a natural seam where one section slides inside or over the adjacent piece. While this design allows for thermal expansion and contraction, it also introduces a potential weak point. Water flowing down the gutter must pass smoothly over this joint without finding gaps or failed seals.
Properly installed lap joints feature precise alignment, adequate overlap (typically 4-6 inches depending on gutter size), and secure fastening. Without reinforcement, however, movement from wind, temperature changes, or debris impact can compromise the connection over time.
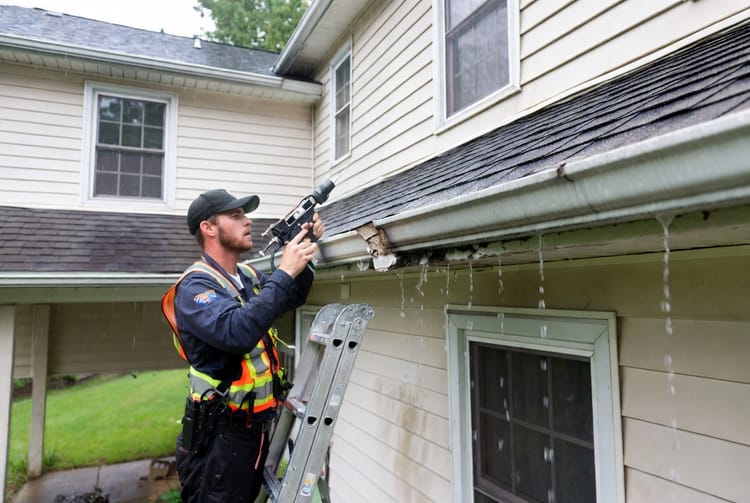
Homeowners often overlook these seams during routine inspections, focusing instead on downspouts or overall gutter cleanliness. Yet addressing gutter seam leaks early prevents cascading issues like fascia rot, foundation erosion, and interior water intrusion.
Why Lap Joints Are Prone to Leaks
Several factors contribute to failure at gutter lap joints:
- Sealant Degradation: Most factory or initial seals use materials that break down after 5-10 years due to UV exposure, extreme temperatures, and constant moisture.
- Thermal Expansion: Metal gutters expand and contract with temperature fluctuations, stressing the joint and creating micro-gaps.
- Improper Overlap: Insufficient overlap or misalignment during installation reduces effectiveness.
- Debris Accumulation: Leaves, twigs, and sediment build pressure and wear away seals.
- Mechanical Stress: Wind, ice dams, or ladder placement can shift sections over time.
When these issues combine, water finds the path of least resistance — often dripping directly behind the joint onto the fascia board or exterior walls. Left unaddressed, this leads to mold, wood decay, and expensive structural repairs.
Bold reminder: A small leak at a lap joint can waste thousands of gallons of water annually while silently damaging your home's exterior.
Signs Your Gutter Lap Joint Is Failing
Early detection is key to preventing major damage. Watch for these common indicators:
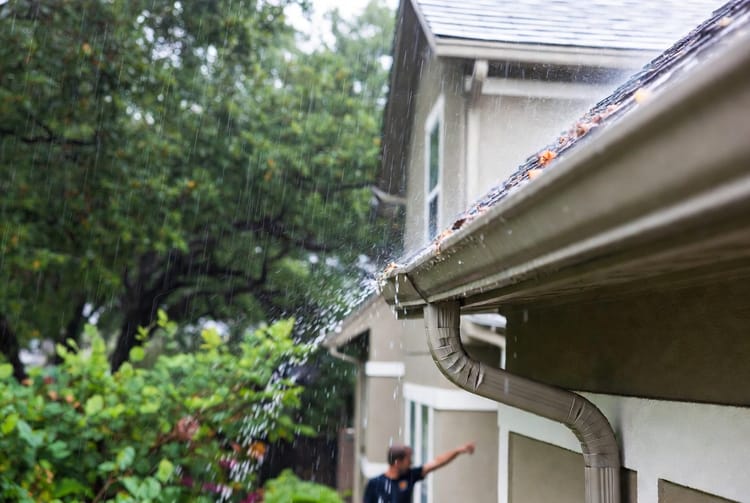
- Visible water dripping from seams during or after rain
- Stains or discoloration on the fascia or siding directly below joints
- Gaps or separation between overlapping gutter sections
- Rust or corrosion around the lap area
- Moss or algae growth concentrated at specific seams
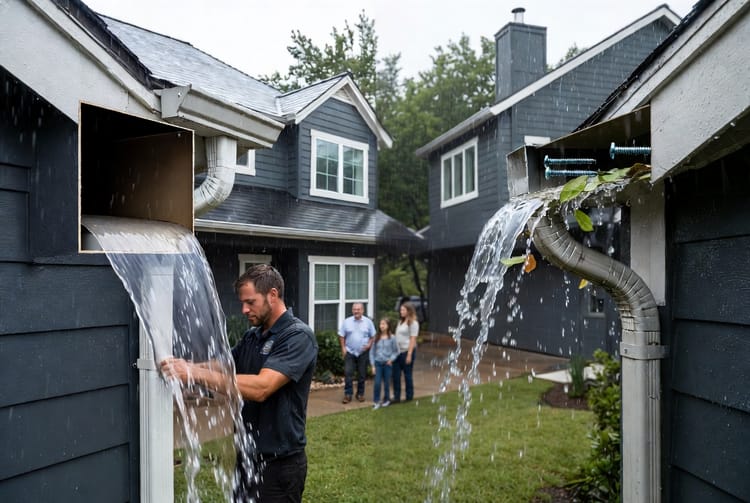
- Overflowing at joints even when other gutter sections flow properly
- Peeling or cracked sealant visible upon close inspection
If you notice any of these signs of gutter leaks, prompt action is essential. Ignoring them allows minor issues to escalate into significant repair projects.
Proper Sealing Techniques for Gutter Lap Joints
Sealing gutter lap joints requires attention to detail and quality materials. Professional-grade approaches focus on both flexibility and strength.
Recommended Materials
- High-quality exterior silicone sealant (100% silicone, not latex-based)
- Corrosion-resistant rivets or screws with neoprene washers
- Gutter sealant tape as supplemental barrier (optional)
- Cleaning solvents and sandpaper for surface prep
Silicone on the inner seam provides the primary waterproof barrier, while rivets add mechanical strength to prevent separation.
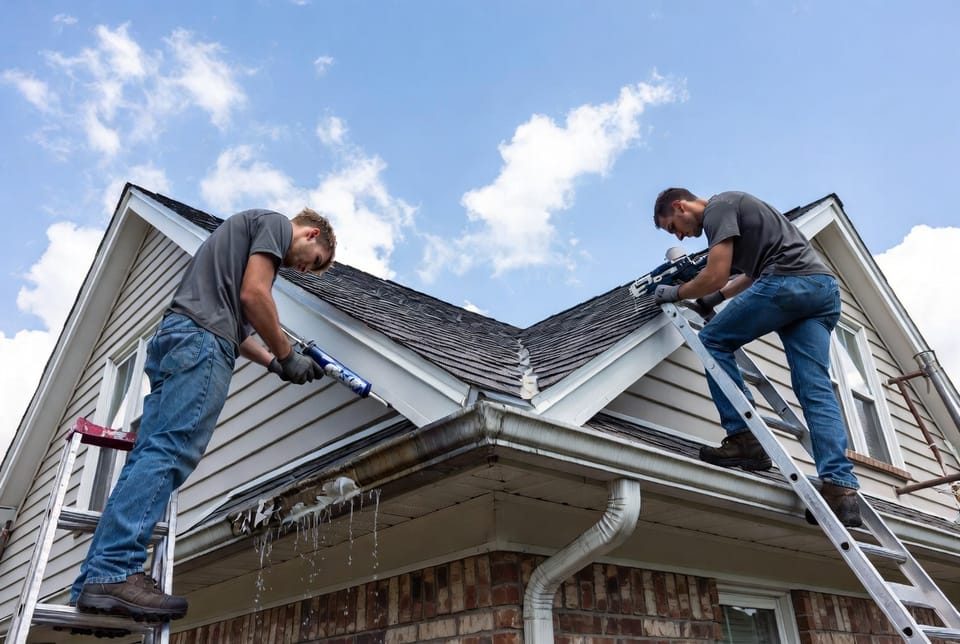
Step-by-Step Guide to Sealing Lap Joints
- Safety First: Secure ladders and wear appropriate protective gear. Work on dry gutters during mild weather.
- Clean the Joint Thoroughly: Remove debris, old sealant, and rust using a wire brush or scraper. Wipe with solvent for optimal adhesion.
- Inspect Overlap: Ensure proper 4-6 inch overlap. Realign sections if needed.
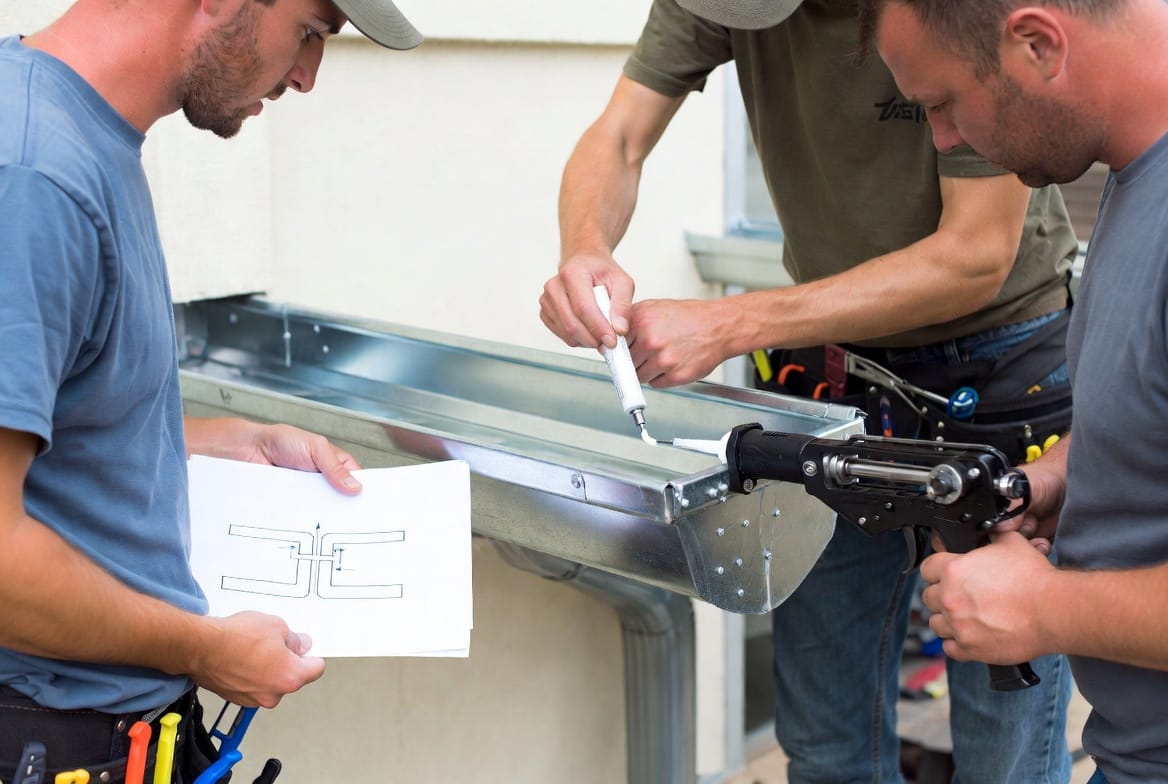
- Apply Sealant: Run a generous bead of silicone sealant along the inner seam where sections overlap. Tool it smooth for complete coverage.
- Install Rivets: Place 3-4 rivets evenly across the overlap for structural integrity. Avoid over-tightening.
- Seal Exterior Edges: Apply additional silicone to outer seams and fastener points.
- Allow Proper Curing: Follow manufacturer guidelines — typically 24-48 hours before heavy rain exposure.
This technique creates a durable, flexible seal that accommodates movement while blocking water infiltration.
Common Mistakes to Avoid
Many DIY attempts fail due to:
- Using improper sealants that crack or shrink
- Skipping thorough cleaning
- Insufficient overlap or rivets
- Working in wet or cold conditions
- Neglecting regular maintenance
Professional installation avoids these pitfalls, ensuring long-term performance.
Benefits of Professional Gutter Lap Joint Repair
Hiring experienced technicians offers peace of mind. Professionals use commercial-grade materials, proper equipment, and proven techniques. They also inspect the entire system for related issues, providing comprehensive protection.
Regular professional maintenance extends gutter lifespan significantly, often preventing the need for full system replacement.
Maintenance Tips to Protect Lap Joints
- Inspect seams twice yearly (spring and fall)
- Keep gutters clear of debris
- Address minor issues before they worsen
- Consider seamless gutter options for future installations
- Monitor for tree overhang that drops excessive debris
Consistent care minimizes stress on gutter lap joints and maintains optimal performance.
When to Call the Professionals
While some minor sealing can be DIY, extensive damage, high installations, or uncertainty warrant expert help. If leaks persist after sealing, or if multiple joints show failure, professional assessment is recommended.
Our team specializes in precise gutter lap joint repairs and full system evaluations. We use advanced techniques to restore integrity efficiently and reliably.
Long-Term Protection Strategies
Investing in quality repairs today prevents expensive problems tomorrow. Modern sealing methods combined with regular maintenance create robust defense against water intrusion.
Understanding your gutter system's vulnerabilities empowers better decisions about care and upgrades. From material selection to installation quality, every detail matters in preventing leaks at critical lap joints.
Stop leaks at gutter seams today. Don’t let hidden damage compromise your home’s foundation and structure. Protect your investment with trusted professionals who deliver lasting results.
Professional Gutter Joint Repair – Get a Free Quote Now