The Gutter Lap Joint: Sealing Overlapping Sections to Prevent Leaks
Gutters serve as the first line of defense against water damage, directing rainwater safely away from your roof, walls, and foundation. Yet even high-quality gutter systems develop vulnerabilities over time. Among the most common and persistent leak points are gutter lap joints — the overlapping seams where individual gutter sections connect. These joints are essential for accommodating natural building movement, but they also represent a frequent source of frustration for homeowners when sealant fails or sections shift.
Stop Leaks at Gutter Seams Today – Call Now!
Understanding how lap joints work, why they leak, and the correct professional methods for sealing them can prevent costly water intrusion. Left unaddressed, leaks at these seams often lead to foundation erosion, siding deterioration, basement moisture issues, and even structural wood rot in fascia boards. The good news is that targeted sealing, when performed with the right materials and technique, restores watertight performance and extends the life of your entire gutter system. This guide delivers clear, authoritative steps so you can recognize problems early and take decisive action.
What Exactly Is a Gutter Lap Joint?
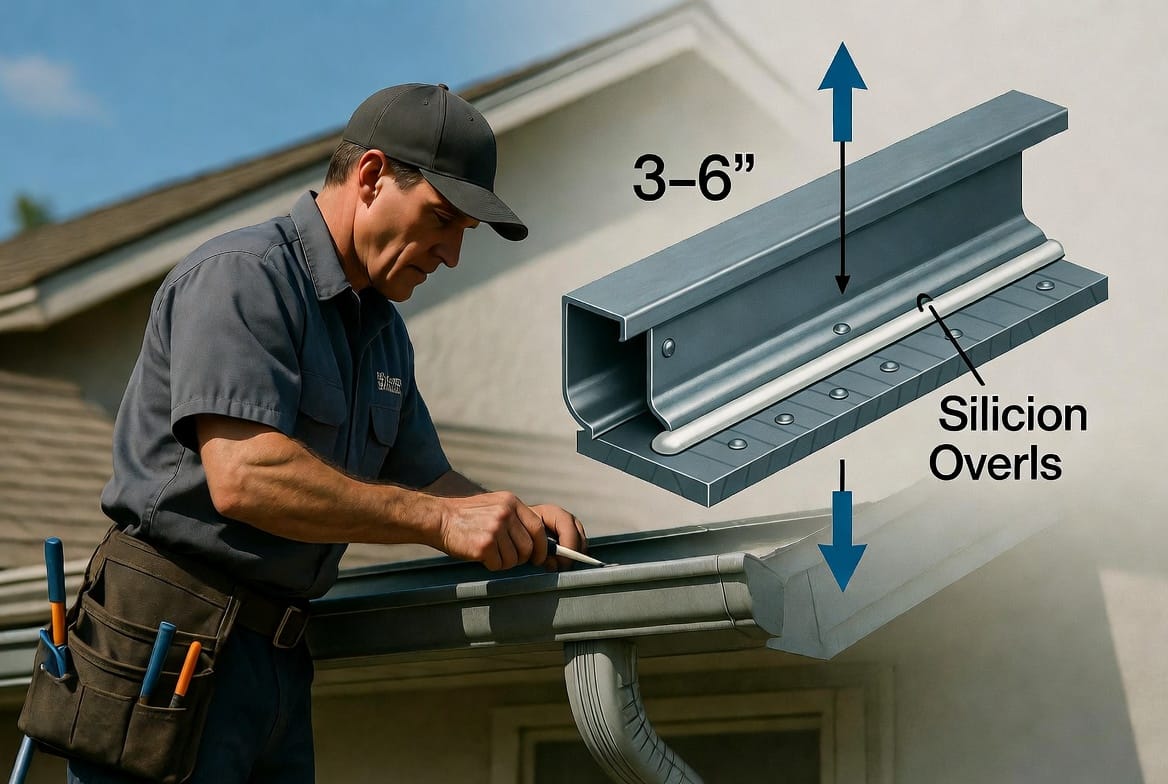
A lap joint occurs wherever two separate lengths of gutter overlap, typically by three to six inches. One section slides inside or over the adjacent piece, creating a continuous channel for water flow. Installers secure the overlap with pop rivets or screws and apply sealant to close microscopic gaps. This design is standard in sectional aluminum, galvanized steel, and some vinyl gutter systems because it allows for thermal expansion and contraction as temperatures fluctuate throughout the year.
Unlike seamless gutters that are custom-formed on-site in a single continuous run, sectional systems rely on these engineered overlaps. The overlap absorbs slight movement without buckling the entire run. However, the very feature that provides flexibility also creates a potential weak point. Water flowing through the gutter must pass directly over or through this seam, placing constant pressure on the sealant and fasteners.
When properly installed and maintained, lap joints perform reliably for many years. When neglected, they become the origin point for slow, persistent leaks that often go unnoticed until secondary damage appears.
Why Lap Joints Fail: Understanding the Root Causes
Several factors combine to compromise lap joints over time. The most frequent culprit is sealant failure. Standard caulks and even some lower-quality gutter sealants degrade under prolonged exposure to ultraviolet light, extreme temperature swings, and constant moisture. As the sealant hardens, cracks form, allowing water to seep between the overlapping sections.
Thermal expansion plays a major role as well. Metal gutters expand in summer heat and contract in winter cold. This microscopic movement repeatedly stresses the cured sealant, eventually breaking the bond. In regions with dramatic seasonal temperature changes, this cycle accelerates joint deterioration.
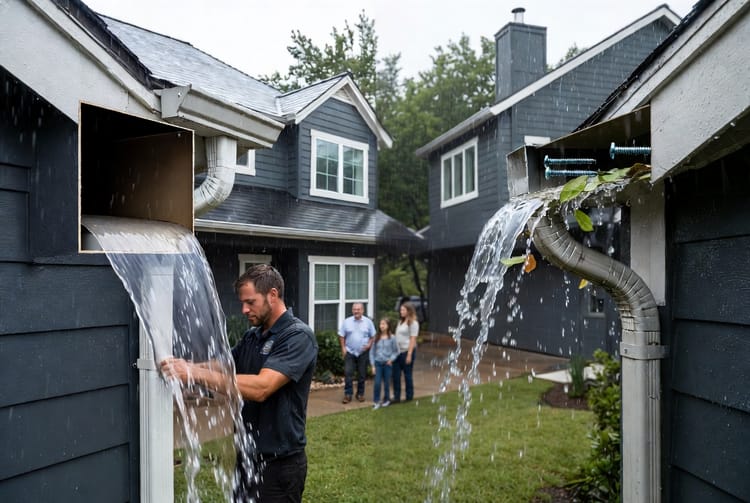
Improper initial installation compounds the problem. Insufficient overlap, inadequate surface cleaning before sealing, use of the wrong sealant type, or failure to install mechanical fasteners like rivets all shorten the joint’s lifespan. Clogged gutters and downspouts create additional hydrostatic pressure at seams, forcing water through any existing micro-gaps. Physical impacts from falling branches, ice dams, or even wildlife can also separate sections or damage the sealant line.
Corrosion at the joint area, particularly on steel or older aluminum gutters, further weakens the metal and undermines sealant adhesion. Once corrosion begins, leaks often appear within a single season.
Recognizing the Warning Signs of Lap Joint Failure
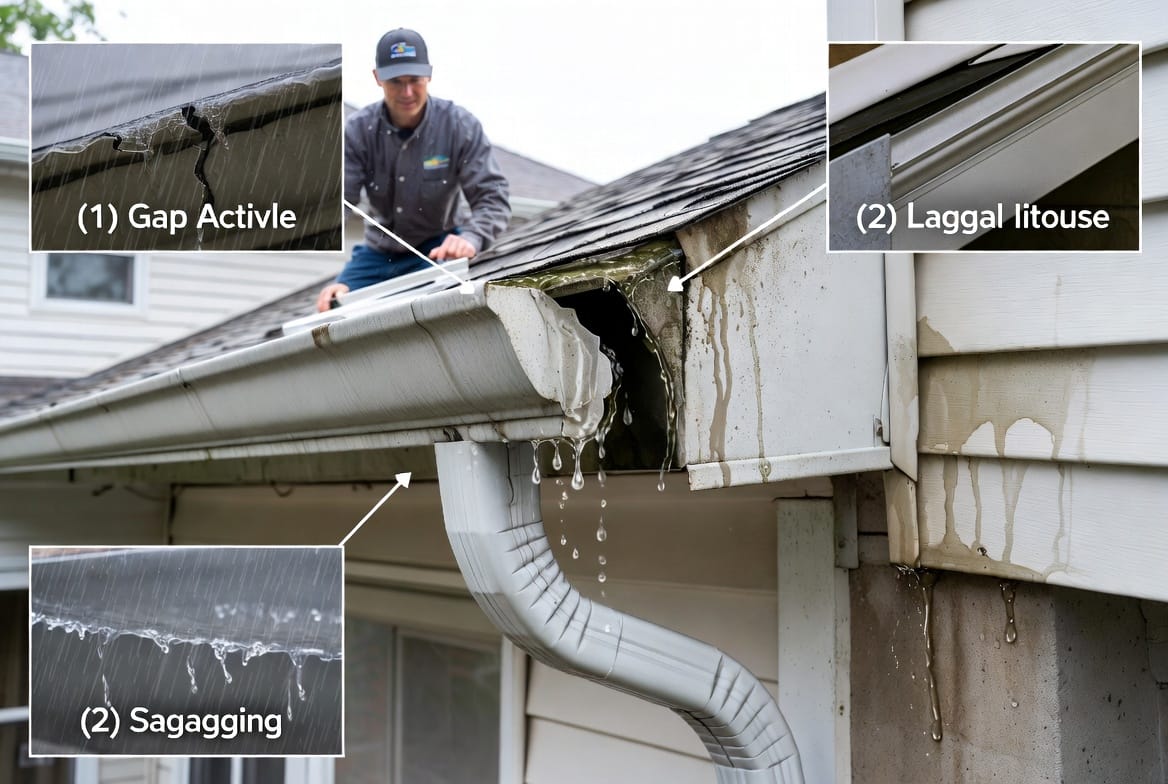
Early detection allows for simple repairs before extensive damage occurs. Homeowners should inspect their gutters at least twice a year, ideally in spring and late fall. Pay special attention to these clear indicators:
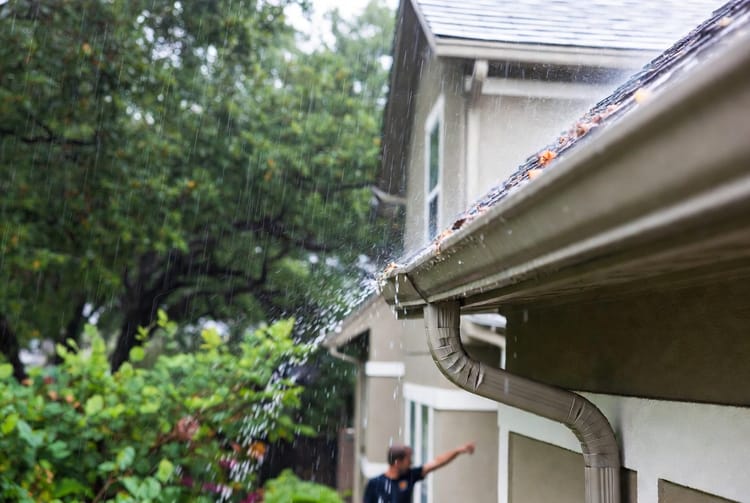
- Water actively dripping from the seam even during moderate rainfall
- Visible gaps, separation, or misalignment between overlapping sections
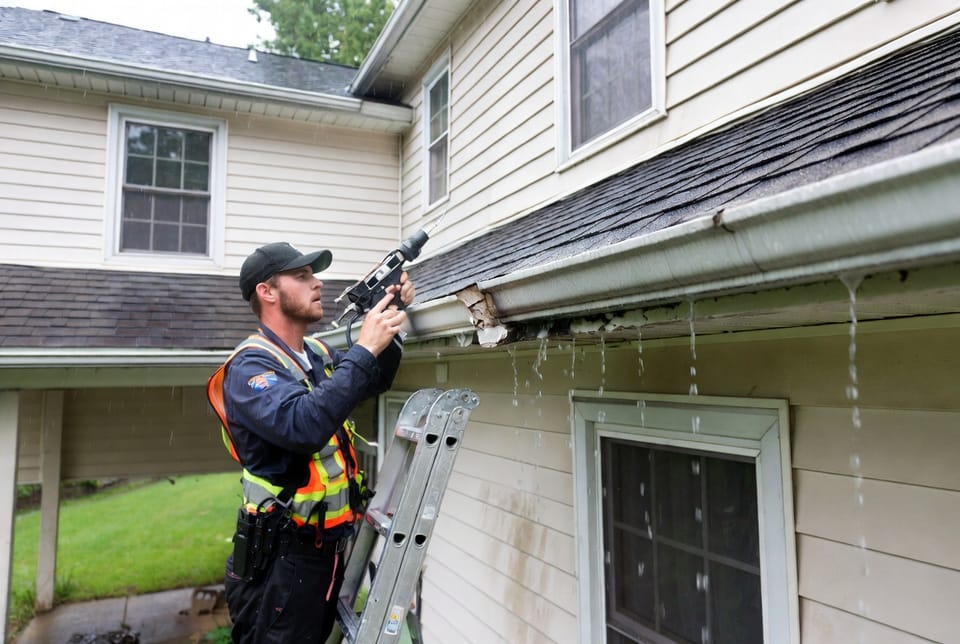
- Dark water stains or discoloration running down the gutter exterior or house wall directly below the joint
- Sagging or drooping gutter sections at or near the overlap
- Mold, mildew, or vegetation growth around the joint area
- Soft or eroded soil, or foundation dampness, directly beneath the leaking seam
- Peeling paint or rotting fascia board near the joint
These signs rarely appear in isolation. Usually, a small drip progresses to staining and then to more serious moisture issues if ignored.
The Professional Approach to Sealing Gutter Lap Joints
Sealing a lap joint correctly requires more than simply applying caulk. The process demands thorough preparation, the right materials, and mechanical reinforcement to withstand ongoing movement and weather exposure.
Recommended Tools and Materials
- High-quality 100% silicone gutter sealant (specifically formulated for exterior metal and resistant to UV and temperature extremes)
- Pop rivets (aluminum, sized appropriately for gutter thickness) and a quality rivet gun
- Wire brush, scraper, and clean rags
- Isopropyl alcohol or approved gutter cleaner for surface preparation
- Safety equipment: sturdy extension ladder, gloves, eye protection, and fall protection if working at height
- Optional but recommended: gutter cleaning tools and a garden hose for post-repair testing
Step-by-Step Sealing Process
- Safety and Access — Position the ladder on stable ground and maintain three points of contact at all times. Never over-reach. If the joint is high or difficult to access safely, professional service is strongly advised.
- Thorough Cleaning — Remove all debris, old sealant, dirt, and oxidation from both the inside and outside of the overlap area. Use a wire brush followed by a cleaner that leaves no residue. The metal must be completely clean and dry for proper adhesion.
- Inspect and Correct Overlap — Confirm the overlap measures at least three inches (ideally four to six). If sections have separated, gently realign them before proceeding. Significant separation may require additional fasteners or section replacement.
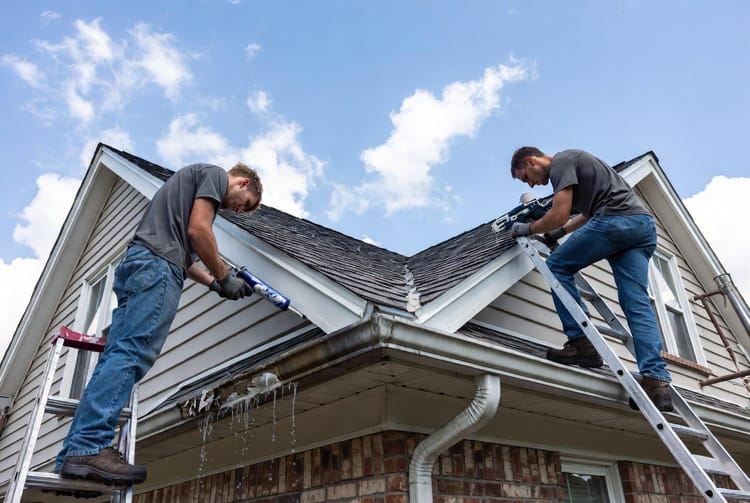
- Apply Sealant to the Inner Seam — This is the most critical step. Apply a generous, continuous bead of silicone gutter sealant along the inner seam where the upper section overlaps the lower one. The sealant must sit in the path of flowing water so it creates a watertight barrier from the inside. Smooth the bead with a gloved finger or tool for complete coverage without gaps or air pockets.
- Install Mechanical Fasteners — While the sealant is still workable, install two or three pop rivets through both layers of the overlap. Rivets provide permanent mechanical strength that prevents the joint from shifting and pulling the sealant apart during thermal movement. Place rivets evenly and avoid over-tightening, which can distort the metal.
- Cure and Test — Allow the sealant to cure fully according to manufacturer instructions (typically 24–48 hours, longer in cool or humid conditions). Once cured, run water through the gutter using a hose or wait for rainfall and inspect the joint for any remaining drips. A properly sealed and riveted lap joint should show no leakage.
This method addresses both the hydraulic seal and the structural movement that causes most recurring leaks.
DIY Considerations and When to Call a Professional
Homeowners with ladder experience and basic handyman skills can successfully seal accessible lap joints. However, several factors make professional service the wiser choice for most properties. Working at height carries inherent risk. Improper cleaning or sealant application often leads to recurring leaks within months. Professionals bring specialized tools, proven materials, and the ability to inspect the entire gutter system for related issues such as sagging runs, clogged downspouts, or fascia damage.
A professional repair also typically includes a workmanship guarantee and documentation that can support insurance claims if secondary water damage has already occurred. For multi-story homes, complex rooflines, or when multiple joints show signs of failure, the investment in expert service prevents repeated DIY attempts and escalating repair costs.
Protecting Your Investment Through Ongoing Maintenance
Once lap joints are properly sealed, simple habits preserve their performance. Schedule professional or thorough DIY gutter cleaning at least twice annually. Keep trees trimmed so branches cannot strike gutters during storms. Install quality gutter guards if debris accumulation is a recurring issue in your area. Perform a quick visual check after major storms or seasonal temperature extremes. Address any new sagging or separation immediately before it stresses sealed joints.
These proactive steps dramatically reduce the likelihood of future lap joint failures and protect your home from the expensive consequences of unchecked water intrusion.
Stop Leaks at Gutter Seams Before They Escalate
A leaking gutter lap joint may seem like a minor drip, but it represents a direct pathway for water to undermine your home’s foundation, siding, and structural elements. Addressing these seams promptly with proper cleaning, quality silicone sealant, and mechanical rivet reinforcement restores reliable performance and prevents far more costly repairs down the road.
Our experienced team specializes in precise gutter lap joint sealing and comprehensive system evaluations. We identify every vulnerable seam, apply industry-best techniques, and stand behind our work.
Expert Gutter Joint Sealing – Get Protected Now