The Garage Door Safety Sensor Light Patterns: Decoding Blinking Lights

Garage door safety sensors are the unsung heroes of your home’s most used entry point. These small photo-eye devices protect your family, pets, and vehicles by instantly reversing the door if an obstruction crosses their invisible infrared beam. Yet when garage door safety sensor light patterns change—especially those frustrating blinking lights—many homeowners feel stuck.
Garage Door Sensors Not Working? Get Expert Help Now!
The good news? Most issues are straightforward to diagnose and fix yourself. This guide delivers clear, step-by-step troubleshooting for every common sensor light pattern: solid green or amber (perfect operation), blinking (misalignment or obstruction), no light at all (power or connection failure), and intermittent flickering (loose wiring). You will learn exactly what each pattern means, why it occurs, and how to restore smooth, safe function quickly.
By the end, you will confidently decode your own sensors and decide whether a simple DIY fix is enough or if professional support is the smarter choice. Let’s restore peace of mind to your garage door system today.
How Garage Door Safety Sensors Actually Work
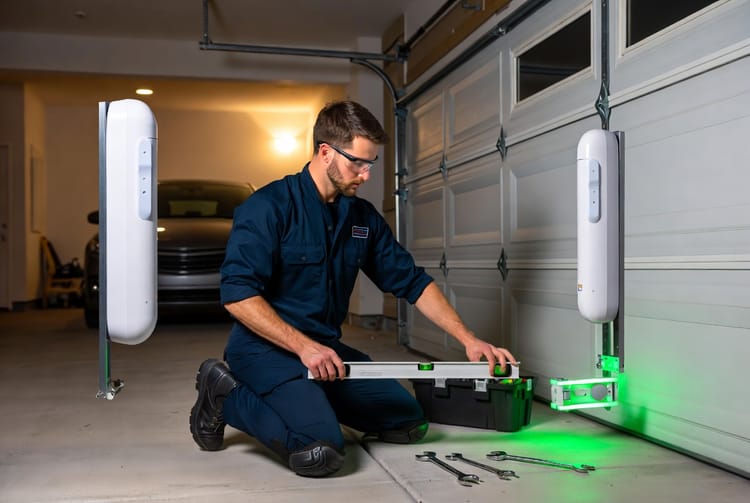
Your garage door opener relies on two sensors positioned on opposite sides of the door opening, roughly six inches above the floor. One unit sends an invisible infrared beam while the other receives it. When the beam remains unbroken, the door operates normally. Any interruption triggers an immediate reverse, preventing injury or damage.
The LED indicator lights on each sensor provide instant visual feedback about system health. These lights are intentionally bright and easy to see from inside the garage, even in daylight. Understanding their patterns turns guesswork into precise troubleshooting. Most modern openers use green for the receiver and amber or red for the transmitter, but the behavior (solid, blinking, or off) is universal across leading brands.
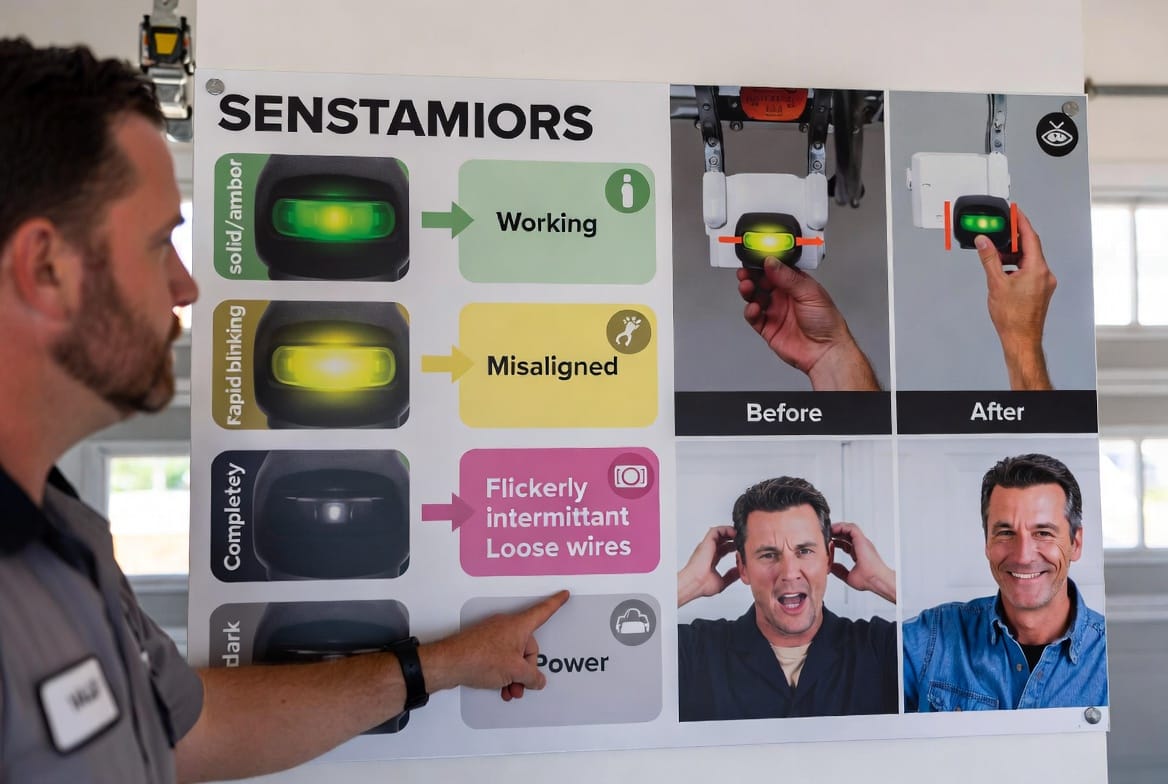
Decoding the Different Sensor Light Patterns
Solid Green and Amber Lights: Everything Is Working Perfectly
When both sensors display steady, solid green and amber lights, celebrate. This pattern confirms perfect alignment, clean lenses, and strong electrical connection. The infrared beam travels uninterrupted, and your garage door will open and close reliably every time.
No action is required. This is the ideal state you want to maintain. Regular visual checks (once a month) keep you ahead of potential problems caused by seasonal temperature shifts or accidental bumps.
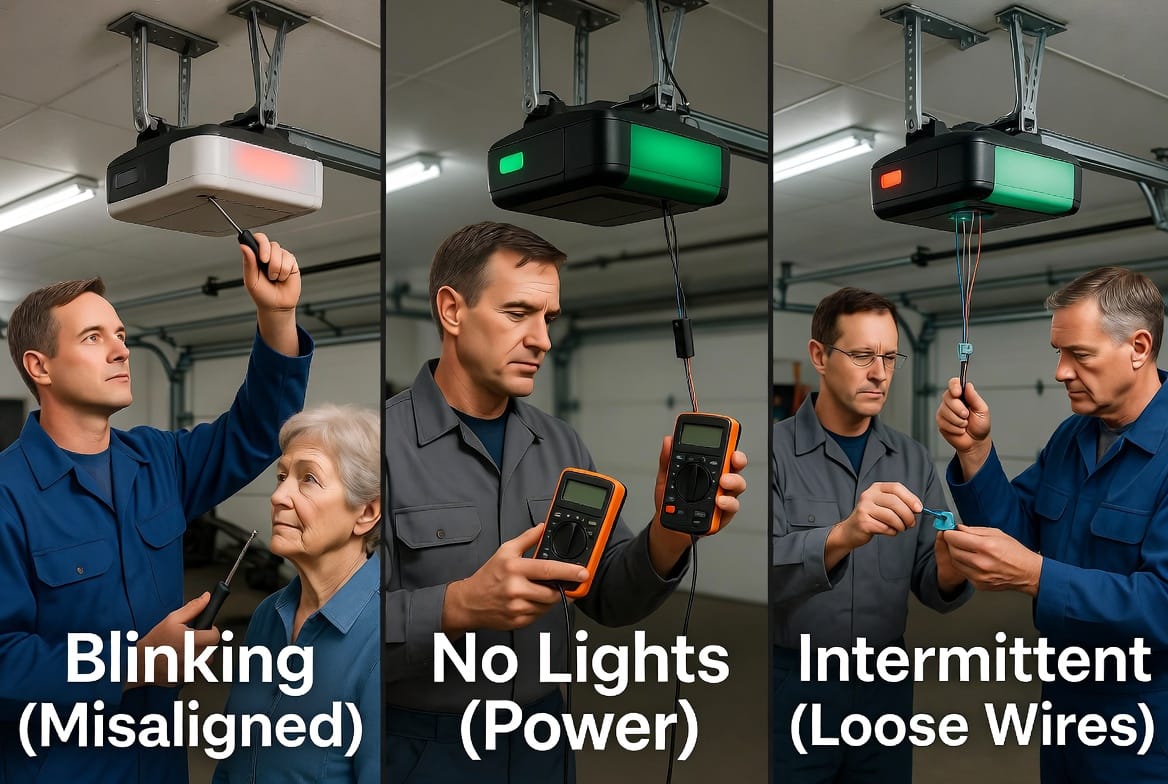
Blinking Lights: The Most Common Misalignment Issue
Blinking lights are the pattern homeowners encounter most often. Usually one sensor blinks rapidly while the other stays solid or blinks in response. This signal means the infrared beam is broken or only partially reaching the receiver.
Common causes include:
- Slight misalignment from door vibration or impact
- Dust, spider webs, or dirt on the lenses
- Objects (toys, boxes, or lawn equipment) blocking the beam path
- Sunlight glare interfering with the receiver on bright days
Risk if ignored: The door may refuse to close or reverse unexpectedly, creating safety hazards and daily frustration.
Quick fix steps:
- Clear any visible obstructions between the sensors.
- Gently clean both lenses with a soft microfiber cloth and mild glass cleaner—avoid abrasive materials.
- Loosen the wing nuts on each sensor bracket.
- Adjust the sensors until both lights stop blinking and remain solid (use a helper to watch one while you adjust the other).
- Tighten the wing nuts and test the door.
In most cases, realignment takes under five minutes and solves the blinking lights permanently.
No Lights at All: Power or Connection Problems
When neither sensor shows any light, the system has lost power or the wiring connection. The door typically will not close at all, and the opener may click or flash its own warning lights.
Possible reasons:
- Disconnected or damaged wiring at the sensor or opener unit
- Blown fuse or tripped circuit in the garage
- Faulty sensor unit (rare but possible after years of use)
- Power supply interruption from the main opener board
Step-by-step diagnosis and repair:
- Verify the garage outlet powering the opener has electricity (test with another device).
- Trace the thin wires from each sensor back to the opener unit and check for tight connections.
- Inspect for frayed, pinched, or rodent-chewed wires—replace any damaged sections with matching gauge wire.
- Unplug the opener for 30 seconds, then plug it back in to reset the system.
- If lights still refuse to illuminate, the sensors themselves may need replacement.
This pattern feels intimidating but is usually resolved by methodical checking rather than expensive parts.
Intermittent or Flickering Lights: Loose Wires and Vibration Issues
Sometimes lights flicker on and off or stay solid for a few seconds before blinking again. This unstable pattern points to loose electrical connections or vibration loosening the sensor brackets over time.
Fixing it involves:
- Tightening every wire terminal at both sensors and the opener logic board.
- Securing sensor brackets more firmly to the door tracks.
- Adding small rubber washers if vibration is extreme.
- Testing the door through multiple open-close cycles while watching the lights.
Addressing flickering early prevents it from escalating into complete failure.
Complete Step-by-Step Troubleshooting Guide
Follow this sequence every time you notice unusual garage door safety sensor light patterns:
- Safety first – Disconnect power to the opener before any hands-on work.
- Visual inspection – Look for obvious obstructions or dirty lenses.
- Clean the lenses – A 10-second wipe often restores solid lights.
- Check alignment – Adjust until both lights are steady and solid.
- Test wiring – Wiggle connections gently to reveal loose spots.
- Power cycle – Unplug and replug the opener to clear temporary glitches.
- Full function test – Open and close the door while waving your hand through the beam path. The door must reverse instantly.
- Final verification – Confirm both sensors show solid lights and the door operates smoothly.
This systematic approach resolves over 90 % of sensor-related issues without calling for service.
Common Issues, Real-World Fixes, and Prevention Tips
Beyond the basic patterns, homeowners often face:
- Seasonal misalignment caused by garage temperature changes—realign twice a year.
- Sun glare on south-facing doors—install small sun shields or reposition slightly.
- Kids and pets bumping sensors—mount protective covers for high-traffic homes.
- Aging sensors after 8–10 years—replace both units together for matched performance.
Preventive maintenance keeps blinking lights from returning. Spend five minutes monthly inspecting the sensors, and your garage door will reward you with years of trouble-free service.
Why These Sensors Matter More Than You Think
Faulty garage door safety sensors violate safety standards and expose your household to serious risk. A non-reversing door can cause injury or property damage in seconds. By mastering light pattern troubleshooting, you protect what matters most while avoiding costly emergency repairs.
When to Call a Professional
If you have followed every step and the lights still refuse to cooperate, or if wiring damage looks extensive, professional help ensures the job is completed safely and to code. Our trained technicians arrive equipped with genuine replacement parts and years of experience restoring every make and model.
Your garage door sensors are now fully decoded. With this knowledge, you can keep your system safe, reliable, and responsive for years to come. Regular attention to those garage door safety sensor light patterns pays dividends in convenience and peace of mind.
Fix Blinking Garage Door Sensors Today – Call Now!