The Flood Insurance Claim Process: Documenting for a Successful Payout
When floodwaters recede, the emotional and financial toll can feel overwhelming. Flood insurance claims require meticulous documentation to secure the payout you deserve. Proper preparation separates successful claims from denied or reduced ones.
Document Before You Clean – Call Now for Expert Help!
At Water Damage Restoration Pros, we guide thousands of homeowners through this process every year. With the right steps, you can protect your investment and restore your home confidently.
Why Thorough Documentation Matters in Flood Claims
Flood insurance operates differently from standard homeowners policies. The National Flood Insurance Program (NFIP) and private carriers demand clear proof of damage, its cause, and its extent.
Without strong documentation, adjusters may undervalue claims or deny them entirely. Comprehensive records demonstrate the full scope of loss and support your case if disputes arise.
Key benefit: Good documentation speeds up processing and maximizes your payout, giving you peace of mind during recovery.
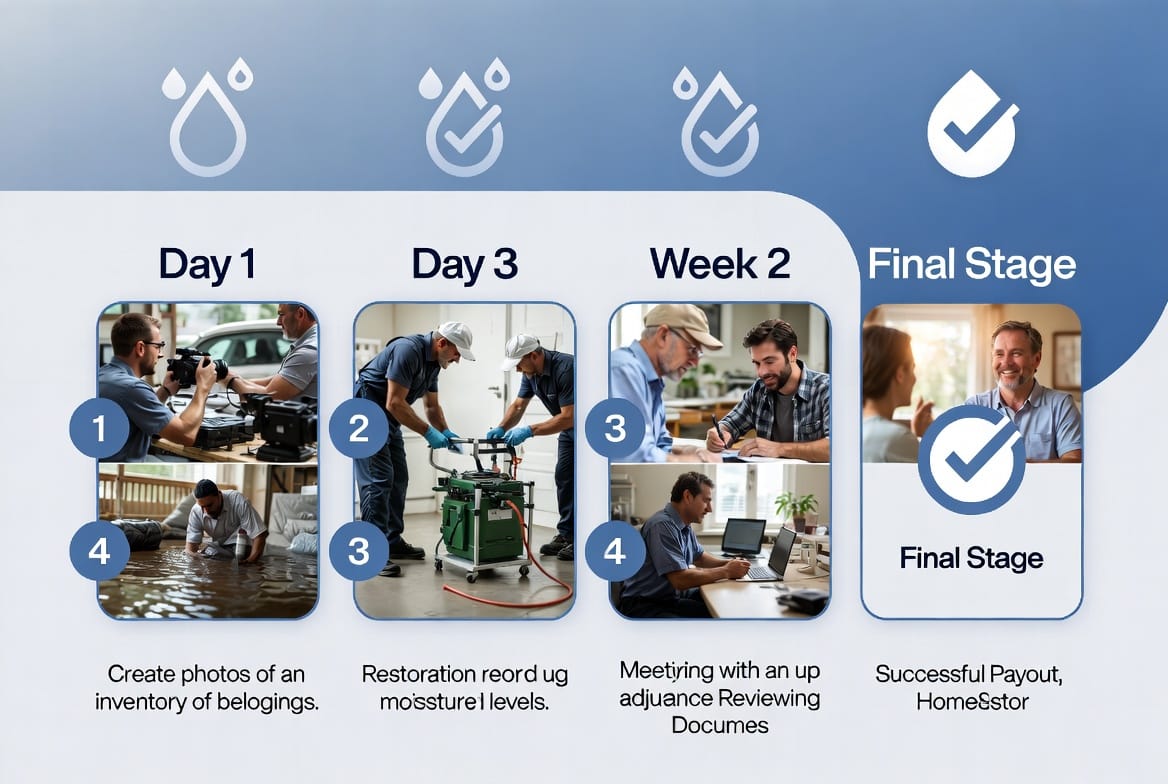
Step 1: Ensure Safety First, Then Start Documenting Immediately
Before taking photos or moving items, confirm the area is safe. Shut off electricity and gas if needed, and wear protective gear.
Act quickly — insurance policies often require prompt notification, and evidence degrades fast.
Immediate actions to take:
- Contact your insurance company within 24-48 hours of the flood.
- File the claim online or by phone.
- Begin documenting before any cleanup or removal of items.
Pro Tip: Take wide-angle shots of entire rooms first, then zoom in on specific damage.
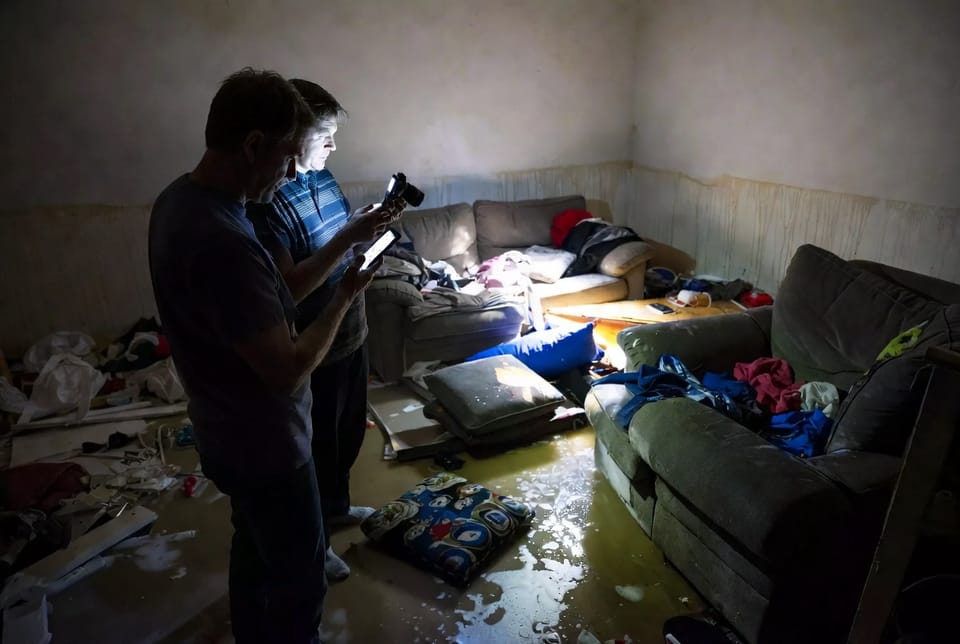
Step 2: Capture Comprehensive Before-and-After Photos
Photographic evidence forms the backbone of any successful flood insurance claim.
What to photograph:
- Standing water levels against walls, baseboards, and furniture.
- All damaged structural elements (floors, walls, ceilings).
- Personal belongings in their original locations.
- Exterior views showing water entry points.
- Serial numbers and brand markings on appliances.
Continue photographing as you progress through cleanup. Before-and-after images prove the extent of work required and validate restoration costs.
Best practices for photos:
- Use natural light when possible and include a ruler or common object for scale.
- Take multiple angles of each item.
- Timestamp or note dates on images.
- Back up everything to cloud storage immediately.
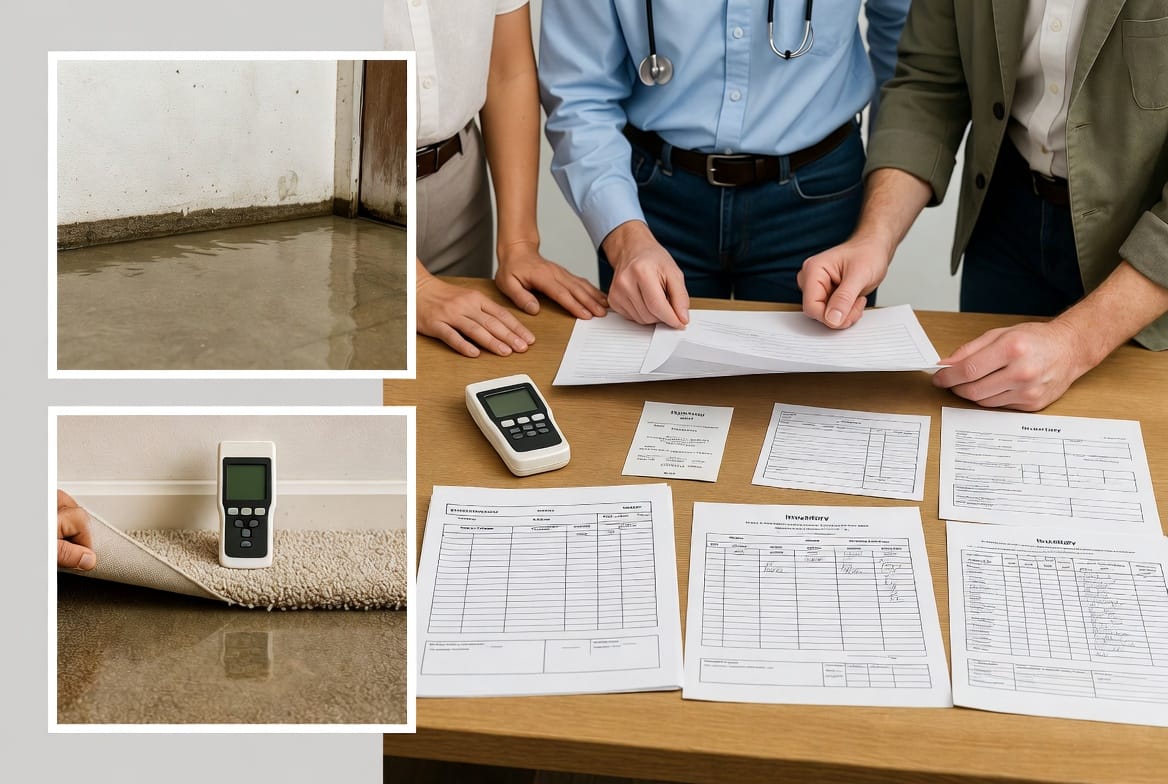
Step 3: Create a Detailed Inventory of Damaged Items
An accurate personal property inventory significantly impacts your claim value.
How to build a strong inventory:
- List every item room by room.
- Include description, approximate age, purchase price (if known), and current replacement value.
- Attach photos and receipts where available.
- Categorize items as structural, contents, or high-value (art, jewelry, electronics).
Tools that help:
- Free apps like Encircle or Claimable.
- Spreadsheet templates from your insurer.
- Professional inventory services offered by restoration companies.
Never discard damaged items until the adjuster approves or documents them thoroughly. This common mistake leads to countless claim reductions.
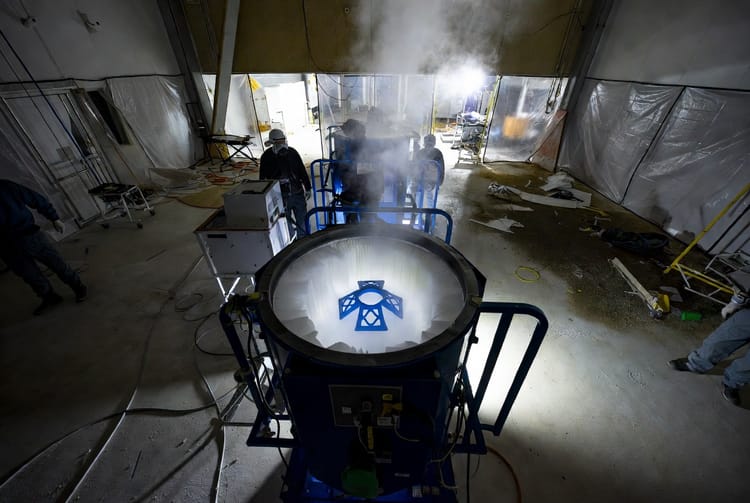
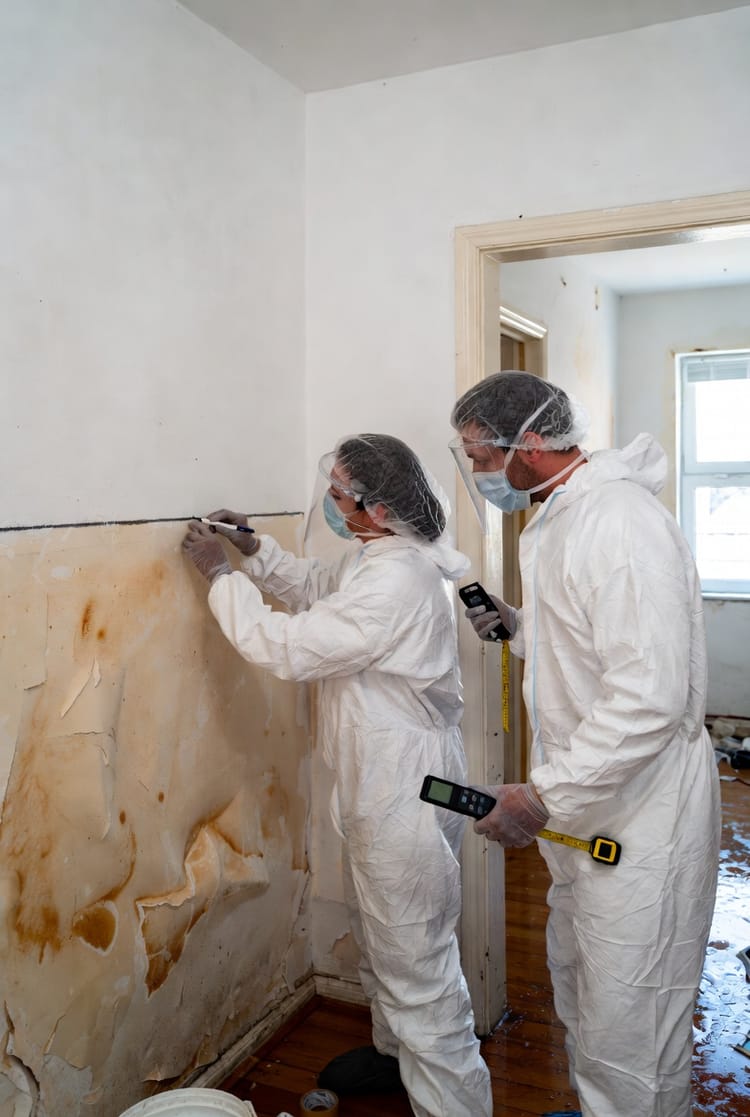
Step 4: Maintain Drying Logs and Moisture Records
Moisture documentation proves you mitigated further damage — a key policy requirement.
What to track daily:
- Humidity levels in affected areas.
- Moisture meter readings in walls, floors, and cabinets.
- Equipment used (dehumidifiers, air movers) and run times.
- Temperature readings.
- Progress photos showing water removal.
These logs demonstrate reasonable mitigation efforts, strengthening your claim against any insurer questions about secondary damage.
Working Effectively with the Insurance Adjuster
Clear communication with your adjuster builds trust and speeds approval.
Preparation tips:
- Organize all documentation in a digital folder before the site visit.
- Walk the adjuster through the damage with your photos and notes.
- Ask questions and take notes during the inspection.
- Request a written estimate and timeline.
If you disagree with the assessment, provide additional documentation politely. Many claims improve after a detailed review or second opinion.
Reassuring note: Most adjusters aim for fair settlements when presented with complete evidence.
Common Pitfalls That Can Jeopardize Your Claim
Even well-intentioned homeowners make costly errors. Avoid these:
- Discarding items prematurely — always document first.
- Starting major repairs before approval.
- Inadequate photo coverage of hidden damage (behind walls, under floors).
- Poor record-keeping of mitigation expenses.
- Delaying claim notification beyond policy deadlines.
Professional help prevents these issues. Certified restoration teams understand insurer requirements and provide expert documentation.
Advanced Documentation Strategies for Complex Claims
For extensive flooding, consider:
- 3D scanning or laser mapping for precise measurements.
- Thermal imaging to detect hidden moisture.
- Video walkthroughs with narration.
- Witness statements from neighbors about flood levels.
These methods provide irrefutable evidence that strengthens large claims.
Understanding What Flood Insurance Typically Covers
NFIP policies cover:
- Building structure up to policy limits.
- Personal property (contents) with separate limits.
- Cleanup and debris removal.
Exclusions often include:
- Mold damage from delayed mitigation.
- Landscaping and outdoor property.
- Temporary living expenses (check your policy).
Knowing these details helps you document covered items accurately.
Timeline Expectations for the Claim Process
Typical flood claim timelines:
- Notification: Immediate.
- Adjuster inspection: 1-7 days after filing.
- Estimate approval: 2-4 weeks.
- Payment issuance: Varies from partial advances to final settlement in 30-90 days.
Patience combined with persistence yields best results. Stay organized and follow up professionally.
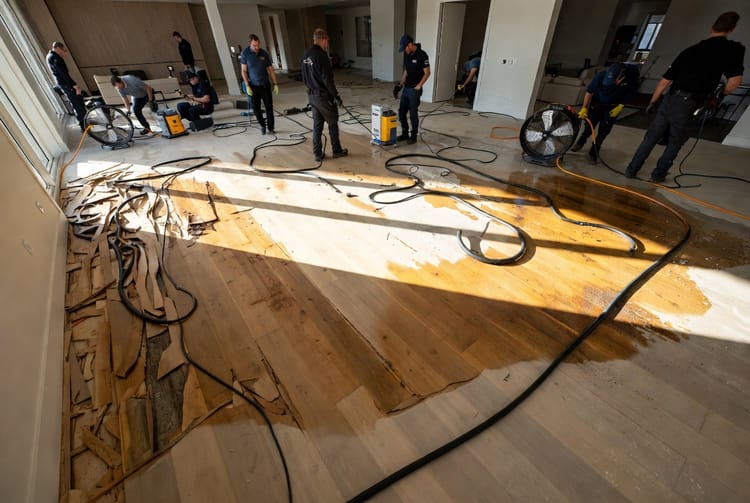
How Professional Restoration Services Strengthen Your Claim
Experienced teams like ours provide:
- Detailed moisture mapping reports.
- Itemized drying and restoration logs.
- Photos and documentation packages.
- Direct communication with adjusters.
This expert support lets you focus on your family while ensuring technical compliance.
Emergency CTA
Document before you clean up. Proper records today mean full recovery tomorrow.
We’re available 24/7 to help secure your successful flood insurance payout and restore your home quickly and correctly.
Final Tips for a Smooth Claim Experience
- Keep a dedicated claim folder (digital and physical).
- Maintain a claims journal with dates and conversations.
- Review all paperwork before signing.
- Consider additional living expense coverage if applicable.
Taking control of the documentation process empowers you during a difficult time. With thorough records and professional guidance, you can navigate the flood insurance claim process successfully and rebuild with confidence.
Need Flood Claim Help? Call Our Water Damage Experts Now