The Window Shims: Proper Installation for Square, Plumb Operation
Windows are among the most important features in any home or building. When installed correctly, they provide energy efficiency, natural light, and smooth daily operation. Window shims play a silent but critical role in achieving this performance. These small wedges ensure the window frame sits perfectly square and plumb within the rough opening, preventing future headaches like sticking sashes, drafts, or premature hardware failure.
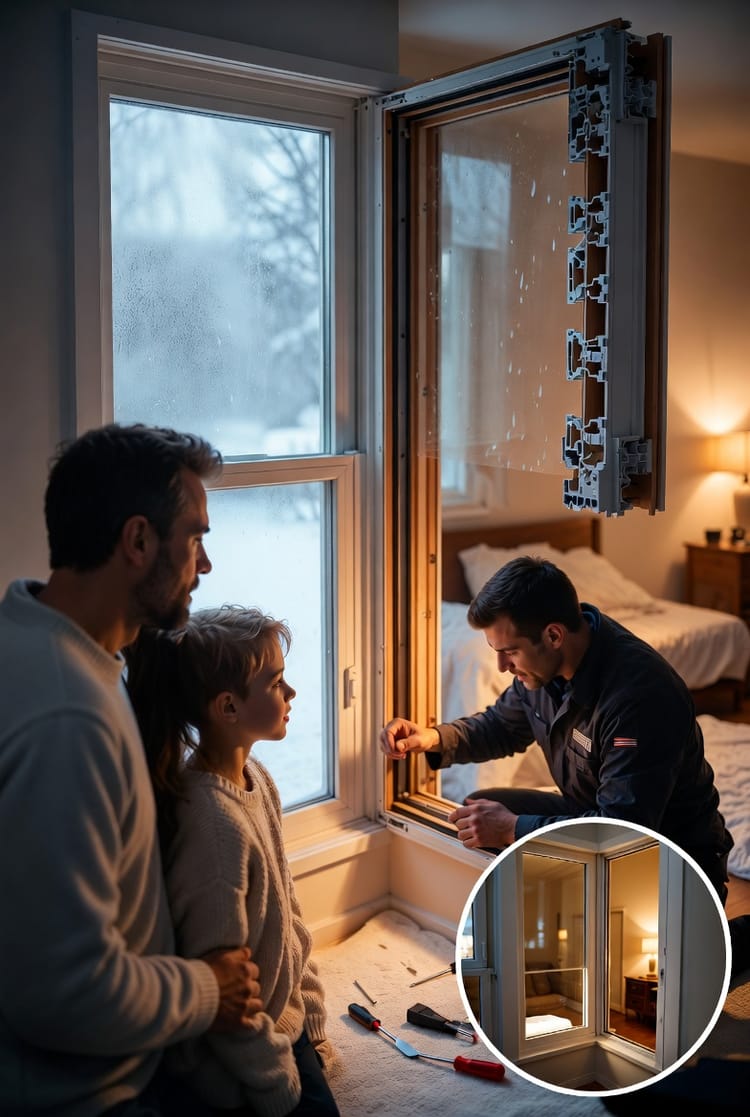
Expert Window Shimming & Installation – Call Now!
Proper shimming is not optional — it is essential for long-term window performance. In this comprehensive guide, we explore why shims matter, how to install them correctly, and the best practices professionals use to deliver flawless results.
Why Window Shims Are Critical for Window Performance
A window rough opening is rarely perfectly level or square. Construction tolerances, settling, and material variations create small gaps and irregularities. Without proper shimming, the window frame twists or bows under its own weight or from fasteners. This leads to:
- Binding or sticking sashes
- Difficult operation of locks and cranks
- Air and water infiltration
- Increased stress on seals and hardware
- Voided manufacturer warranties
Well-installed shims distribute weight evenly, maintain the manufacturer’s required tolerances, and allow the window to operate as designed. They act as precision spacers that keep the frame straight while absorbing minor structural shifts over time.
Understanding Different Types of Window Shims
Modern installers choose from several shim materials depending on the project requirements.
Plastic shims (modern standard) offer consistent thickness, moisture resistance, and easy stacking.
Wood shims (traditional choice) provide excellent compressibility for fine adjustments but require treatment in wet areas.
Composite shims deliver the best of both worlds — moisture resistance combined with strength.
Proper Shim Placement: Locations That Matter Most
Strategic placement is what separates amateur installations from professional ones. Focus your shims at these key points:
- Corners — Top and bottom of each jamb to prevent twisting
- Lock locations — Directly behind the lock area to maintain tight weatherstrip contact
- Hinge sides (for casement or hinged windows) — To support operational hardware
- Mid-span — Along taller windows to prevent bowing
- Sill area — Multiple shims to create a perfectly level base
Never place shims only at the center or rely on a few random pieces. Professionals typically use 3–5 shims per side for standard windows, more for larger units.
Step-by-Step Guide to Professional Window Shim Installation
1. Prepare the Rough Opening
Before touching the window, ensure the rough opening is clean, dry, and free of debris. Check for level and plumb using a long level or laser. Note any low or high spots that will require additional shims.
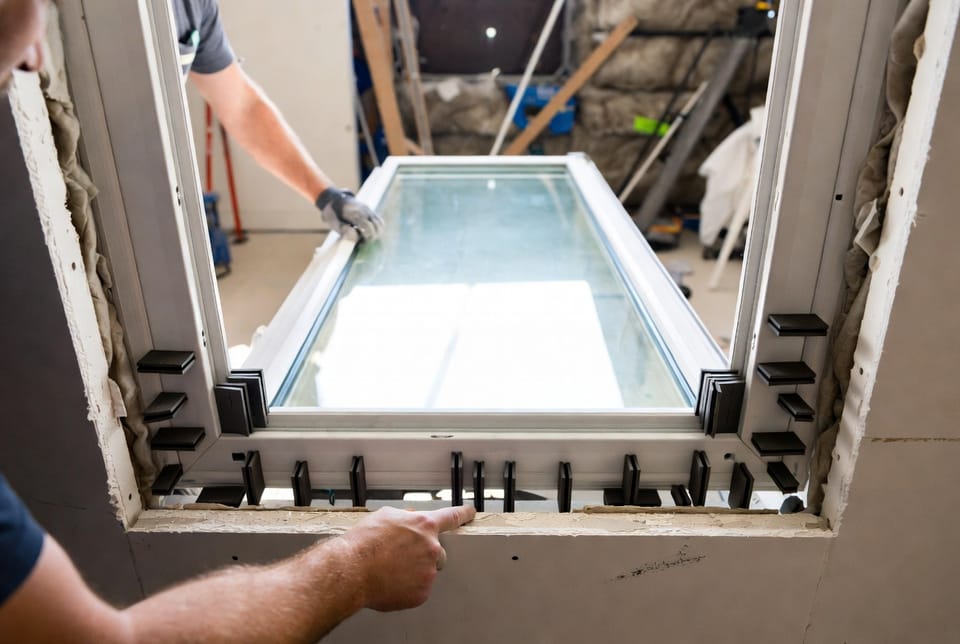
2. Dry-Fit the Window
Set the window in the opening without fasteners. Use a level to check all planes — side jambs, head, and sill. Measure diagonals to confirm the frame is square. This step reveals exactly where shims are needed.
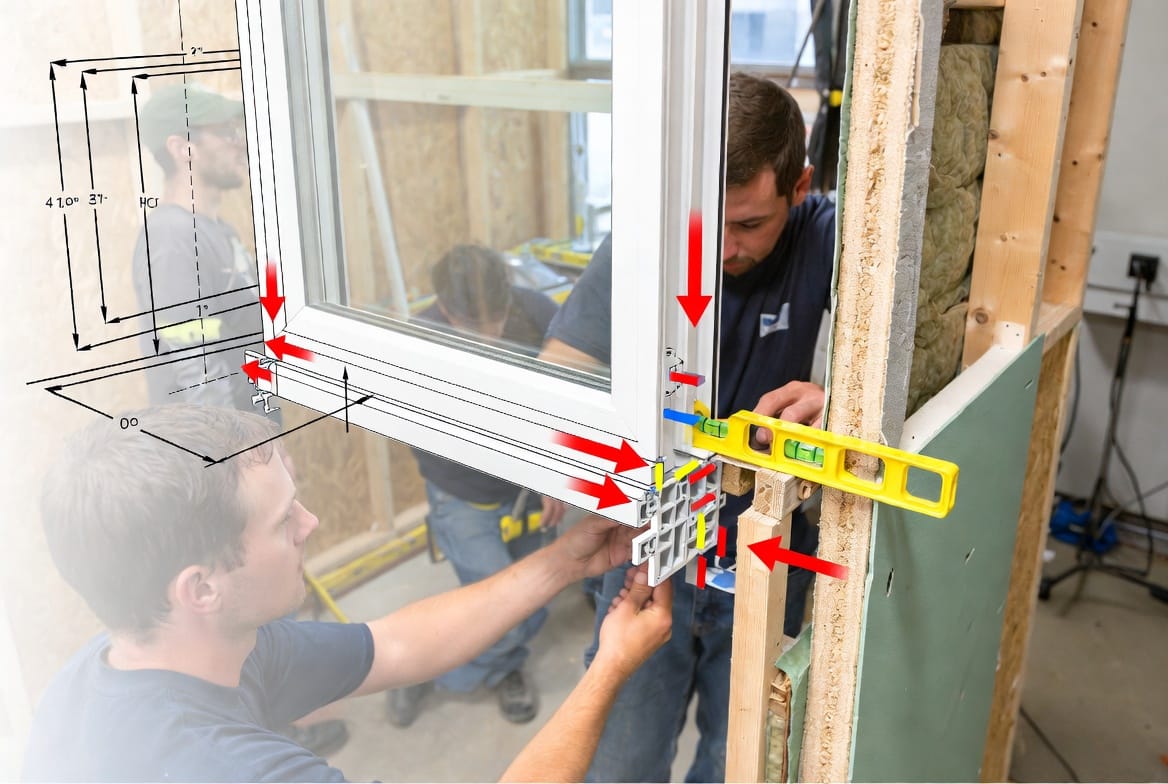
3. Insert Shims at Critical Points
Start at the bottom sill. Stack shims to create a perfectly level base. Work upward, placing pairs of opposing shims (one from each side) so they create a flat, parallel surface. Gently tap them into place with a hammer and block to avoid damaging the frame.
Key technique: Always use pairs of shims oriented in opposite directions. This creates a flat, stable surface rather than a wedge shape that could cause tilting.
4. Check Operation Frequently
After placing each set of shims, test the sash operation. The window should glide smoothly without binding. Adjust shims as needed before final fastening.
5. Secure the Window
Once satisfied with the fit, drive installation screws or nails through the frame and shims into the rough opening. Avoid over-tightening, which can distort the frame.

Common Shim Installation Mistakes to Avoid
Even experienced crews can make these errors:
- Using too few shims, leading to frame distortion
- Placing shims in a single direction instead of opposing pairs
- Ignoring sill leveling, which causes water intrusion
- Over-shimming, creating pressure points
- Using untreated wood shims in exterior applications
Proper technique eliminates these risks and delivers windows that operate smoothly for decades.
Benefits of Professional Shimming
When done correctly, quality shimming provides:
- Smooth daily operation — No more forcing windows open or closed
- Energy efficiency — Tight seals reduce heating and cooling costs
- Extended hardware life — Reduced stress on locks, hinges, and operators
- Warranty protection — Manufacturers require proper installation
- Quiet, draft-free performance — Better sound and weather isolation
Homeowners notice the difference immediately in how effortlessly their windows function.
Tools and Materials Needed for Perfect Results
Professionals rely on:
- Quality shims (multiple thicknesses)
- Long levels and laser tools
- Dead-blow mallet
- Measuring tape and square
- Screw guns with proper bits
Having the right tools makes the process faster and more accurate.
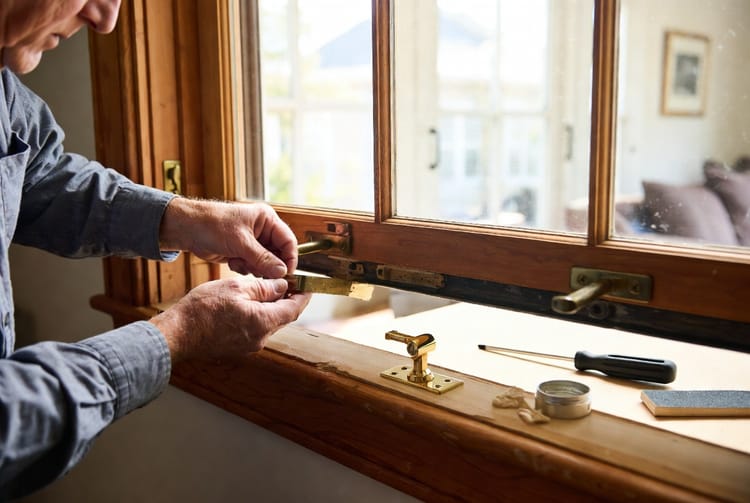
When to Call Professional Window Installers
While DIY enthusiasts can learn basic shimming, large windows, high-performance units, or full-home replacements benefit from expert installation. Professionals understand manufacturer tolerances, building codes, and the subtle techniques that ensure lasting performance.
Proper shimming prevents sticking windows and protects your investment for years to come.
If you want flawless window performance in your home, trust the experts.
Our experienced installers deliver square, plumb, and perfectly operating windows every time.
Ensure Square & Plumb Windows – Call for Professional Help