The Transition Strip Guide: Matching Reducers, T-Molding, and Thresholds to Different Flooring Heights
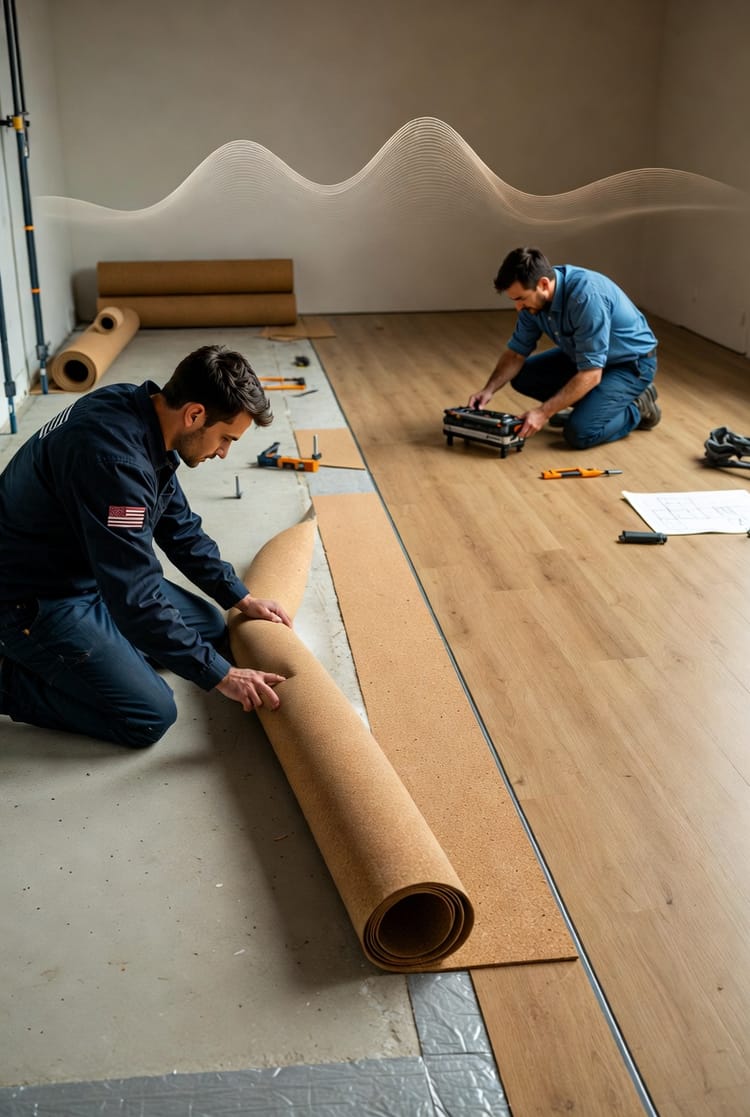
When it comes to achieving a polished, professional look in your home or commercial space, the finishing details make all the difference. Transition strips—those subtle yet essential elements—bridge the gap between different flooring types, ensuring safety, aesthetics, and longevity. Whether you're dealing with carpet to tile transitions, hardwood to LVP junctions, or thresholds at doorways, selecting the right profile is key to preventing tripping hazards and accommodating natural expansion. In this comprehensive guide, we'll explore everything you need to know about reducers, T-molding, and thresholds, empowering you to make informed decisions for seamless flooring installations.
Professional Flooring Transitions – Call for Guidance
As flooring experts with years of experience, we assure you that proper transitions not only enhance visual appeal but also protect your investment. Let's dive into the essentials, from understanding profiles to practical applications.
Why Transition Strips Matter: Safety and Functionality First
Transition strips aren't just decorative; they're functional necessities. They address height differences, material incompatibilities, and movement allowances in flooring. Without them, you risk uneven surfaces that could lead to tripping accidents, premature wear, or even structural issues over time.
- Prevent Tripping Hazards: Uneven flooring junctions are a common cause of falls, especially in high-traffic areas like doorways.
- Allow for Expansion and Contraction: Materials like hardwood expand with humidity, while tile remains stable—transitions provide the necessary space.
- Enhance Aesthetics: A well-matched strip creates a cohesive flow between rooms, elevating your interior design.
- Boost Durability: By sealing edges, transitions protect against moisture, dirt, and damage.
Rest assured, choosing the right transition is straightforward with the right knowledge. We'll break it down step by step.
Understanding Key Transition Profiles
There are several types of transition strips, each designed for specific scenarios. The most common include reducers, T-molding, and thresholds. Let's examine them closely.
Reducers: Bridging Height Differences
Reducers are ideal when connecting floors of varying heights, such as transitioning from thicker carpet to thinner tile. They feature a sloped design that gently ramps down, ensuring a smooth passage.
- Common Applications: Carpet to tile, hardwood to vinyl plank, or laminate to concrete.
- Benefits: Reduces trip risks in uneven setups; available in materials like wood, metal, or PVC to match your floors.
- Installation Tips: Measure height differences precisely—typically 1/4 to 1/2 inch—and secure with adhesives or screws for stability.
In practice, a reducer might span a 1-inch height gap, providing a beveled edge that's both safe and stylish.
T-Molding: For Even-Level Transitions
When floors are at the same height but different materials, T-molding steps in. Shaped like a "T," it sits between the two surfaces, covering expansion gaps while locking edges together.
- Typical Uses: Hardwood to LVP, laminate to laminate, or wood to wood in adjoining rooms.
- Advantages: Allows for natural movement without buckling; easy to install with a track system.
- Key Considerations: Ensure a 1/4-inch expansion gap on each side to prevent warping.
T-molding is particularly versatile in open-concept homes, maintaining a unified look.
Thresholds: Doorway Guardians
Thresholds, often called door bars, handle transitions at doorways or entry points. They're wider and more robust, sometimes with a raised profile for added definition.
- Scenarios: Exterior doors, room-to-room shifts, or where flooring meets a step.
- Perks: Provides a clean finish; can include weatherstripping for energy efficiency.
- Pro Advice: Opt for thresholds with adjustable heights for custom fits.
These profiles ensure your doorways are not only functional but also contribute to overall home safety.

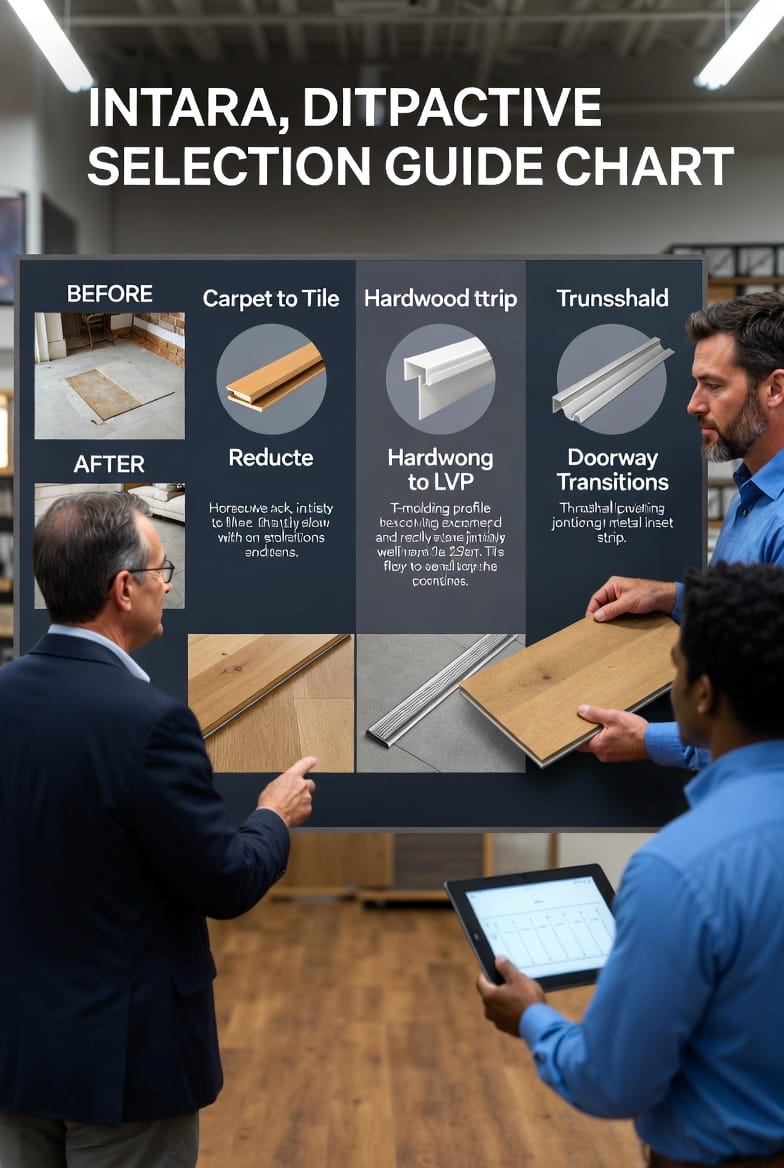
Matching Transitions to Specific Flooring Junctions
Selecting the right transition depends on the materials and heights involved. Here's a practical guide to common pairings.
Carpet to Tile Transitions
Carpet is plush and higher, while tile is flat and durable. A reducer or specialized carpet tuck strip is often best.
- Height Adjustment: Reducers slope from carpet's pile to tile's surface.
- Expansion Needs: Leave room for carpet stretching.
- Aesthetic Match: Choose colors that blend, like neutral metals for modern vibes.
This setup is common in kitchens or bathrooms adjoining carpeted areas, preventing snags and trips.
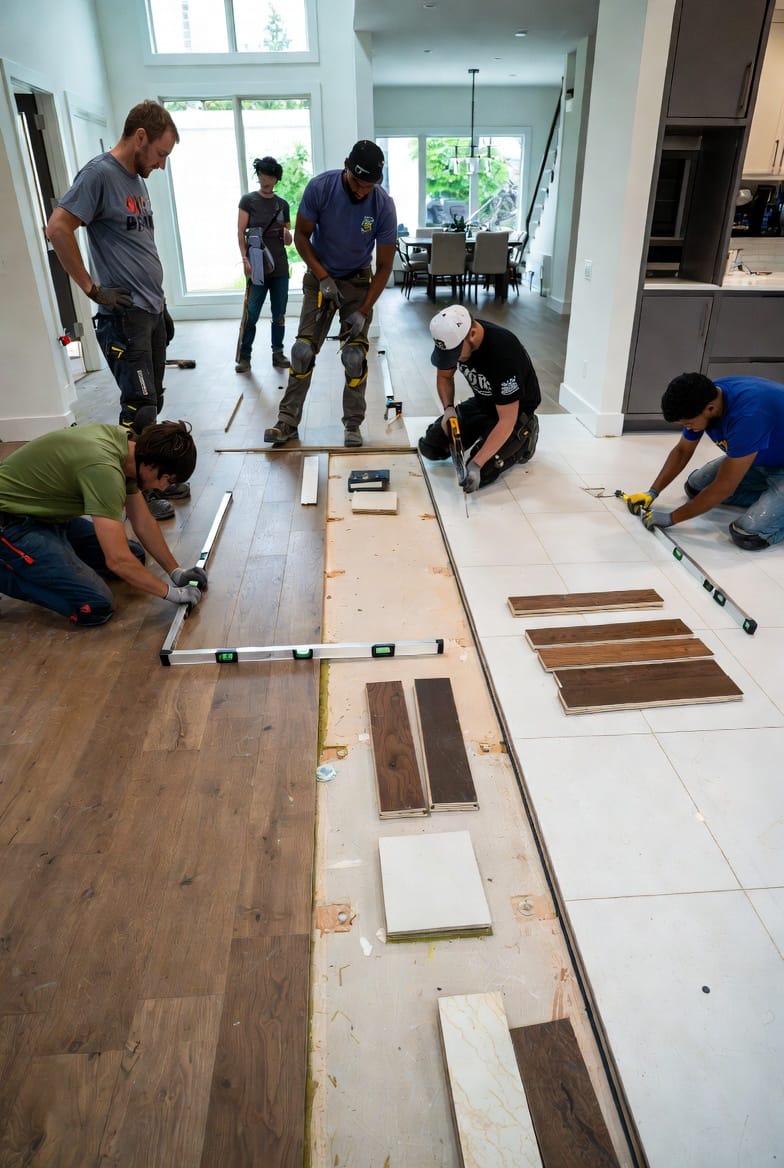
Hardwood to LVP Junctions
Hardwood and luxury vinyl plank (LVP) are popular for their warmth and resilience, but they may differ slightly in thickness.
- Same Height: Use T-molding for seamless integration.
- Slight Variations: A slim reducer handles minor discrepancies.
- Durability Focus: Wood T-molding complements natural grains.
Ideal for living rooms flowing into hallways, this ensures a professional finish.
At Doorways: Threshold Essentials
Doorways demand sturdy transitions to withstand daily use.
- Interior Doors: Thresholds with a low profile for easy passage.
- Exterior Entries: Weather-resistant options to block drafts.
- Accessibility: Ensure compliance with ADA standards for ramps if needed.
Proper thresholds at doorways enhance insulation and reduce noise.
Installation Best Practices: Step-by-Step Guidance
Installing transitions correctly is crucial for longevity. Follow these authoritative steps for flawless results.
- Measure Accurately: Use a level to assess heights and gaps.
- Prepare Surfaces: Clean and dry floors; remove old adhesives.
- Cut to Fit: Trim strips with a miter saw for precise angles.
- Secure Firmly: Use manufacturer-recommended fasteners—nails for wood, glue for vinyl.
- Test for Stability: Walk over the transition to check for movement.
If you're unsure, consulting professionals ensures a hassle-free process. Remember, improper installation can void warranties.
Common Mistakes to Avoid
Even seasoned DIYers can err. Here's what to watch for:
- Ignoring Expansion Gaps: Leads to buckling—always allow 1/4 inch.
- Mismatched Materials: Wood on tile might warp; opt for compatible options.
- Overlooking Safety: Steep reducers increase trip risks; choose gentle slopes.
- Poor Color Coordination: Clashing tones disrupt flow—sample first.
By avoiding these, you'll achieve a superior outcome.
Material Options for Transitions
Transitions come in various materials to suit your style and budget.
- Wood: Matches hardwood floors; stainable for custom looks.
- Metal: Durable for high-traffic; aluminum or brass for shine.
- Vinyl/PVC: Flexible and affordable; mimics wood or stone.
- Composite: Eco-friendly blends for sustainability.
Select based on your flooring—wood for authenticity, metal for modernity.
Maintenance and Longevity Tips
To keep transitions performing:
- Clean Regularly: Vacuum or wipe to prevent dirt buildup.
- Inspect Annually: Check for loose parts; tighten as needed.
- Protect from Moisture: Use seals in wet areas.
- Replace if Worn: Early intervention avoids bigger issues.
With proper care, transitions can last as long as your floors.
Eco-Friendly and Modern Trends
Today's transitions align with sustainable practices.
- Recycled Materials: PVC from post-consumer waste.
- Low-VOC Options: For healthier indoor air.
- Smart Designs: Adjustable profiles for future changes.
Embrace these for a green, forward-thinking home.
Cost Considerations
Budgets vary, but transitions are cost-effective.
- Basic Strips: $1–$5 per foot.
- Premium Wood: $5–$10 per foot.
- Installation Fees: $100–$300 for pros.
Investing in quality pays off in durability.
Real-World Case Studies
Consider a family home where uneven carpet-to-tile caused trips—installing reducers resolved it safely. Or a commercial space using T-molding for seamless LVP-to-hardwood, boosting aesthetics.
These examples show transitions' transformative power.
Frequently Asked Questions
What if heights differ by more than 1 inch? Use custom ramps or consult experts.
Can I install over underlayment? Yes, but adjust measurements.
Are transitions necessary for floating floors? Absolutely, for expansion.
Conclusion: Achieve Flawless Flooring
Mastering transition strips ensures your floors are safe, beautiful, and built to last. From reducers handling heights to T-molding uniting materials, the right choice elevates every space.
No More Tripping Hazards – Call for Help Today!