The Subfloor Imperative: Why the Hidden Layer Determines Your Flooring's Success
In the world of home renovation and construction, the allure of stunning hardwood planks, sleek luxury vinyl, or elegant tile often steals the spotlight. Yet, beneath every beautiful floor lies a critical foundation that can make or break your investment: the subfloor. This hidden layer, often overlooked in the excitement of choosing surface materials, holds the key to longevity, performance, and aesthetic perfection. As flooring experts with decades of experience, we're here to assure you that prioritizing subfloor preparation isn't just a best practice—it's an imperative for success. In this comprehensive guide, we'll delve into the technical intricacies of subfloor mastery, inspiring you to build floors that stand the test of time.
Flawless Subfloor Prep Starts Here – Call the Experts Today
Imagine transforming your living space into a sanctuary of comfort and style, where every step feels solid and secure. By understanding and addressing the subfloor's role, you prevent costly failures and unlock the full potential of your flooring choice. Whether you're a homeowner embarking on a DIY project or a professional seeking deeper insights, this guide will equip you with the knowledge to achieve flawless results. Let's explore why the subfloor is the unsung hero of your flooring journey.
Understanding the Subfloor: Your Floor's Silent Guardian
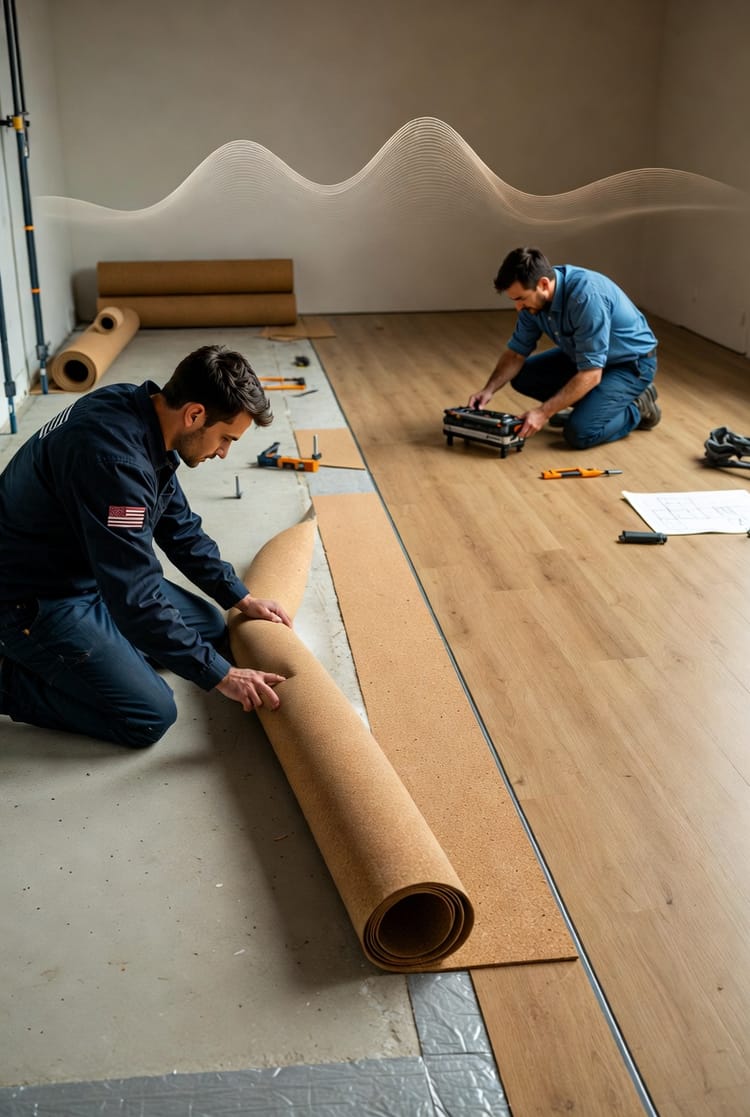
At its core, the subfloor is the structural layer directly attached to the floor joists, providing a stable base for your finished flooring. Typically made from plywood, oriented strand board (OSB), or concrete in some cases, it distributes weight evenly and supports daily wear. But its importance extends far beyond mere support—it's the barrier against moisture intrusion, the canvas for leveling precision, and the anchor for underlayment adhesion.
Neglecting this layer can lead to disastrous outcomes, such as warping, buckling, or premature wear. However, with proper attention, your subfloor becomes a reliable ally, ensuring your floors remain beautiful and functional for years. Think of it as the foundation of a skyscraper: invisible yet indispensable. By investing time in assessment and preparation, you're not just installing flooring—you're crafting a legacy of durability.
Key Components of a Strong Subfloor System
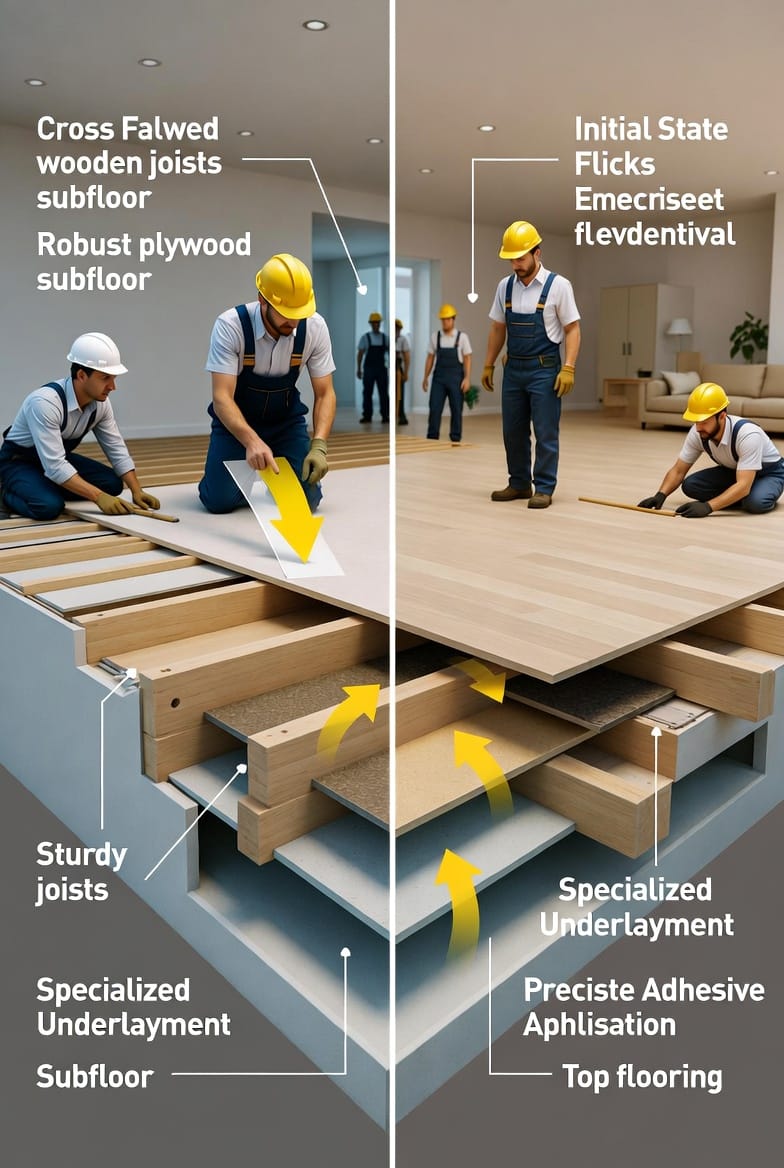
To appreciate the subfloor's role, consider its integration within the broader flooring ecosystem:
- Joists: The underlying beams that bear the load, influencing subfloor stability.
- Subfloor Material: Plywood for wood-based floors or concrete for slabs, each with unique properties.
- Underlayment: An additional layer that enhances insulation, soundproofing, and moisture resistance.
- Adhesives or Fasteners: The connectors that bind everything together seamlessly.
This interconnected system demands harmony; any misalignment can cascade into visible issues on the surface.
The Risks of Neglecting Subfloor Preparation
It's tempting to rush into installation, but skimping on subfloor prep invites a host of potential failures. From subtle squeaks that disrupt your peace to outright structural collapses in extreme cases, the consequences are both frustrating and expensive. We've seen countless projects where inadequate preparation led to callbacks, repairs, and dissatisfaction—but the good news is, these are entirely preventable with proactive measures.
Bold risks include:
- Moisture-Related Damage: Excess humidity can cause swelling, leading to gaps or buckling.
- Uneven Surfaces: Resulting in tripping hazards or uneven wear patterns.
- Squeaks and Noises: Often from loose fasteners or friction between layers.
- Reduced Lifespan: Flooring that fails prematurely, wasting your investment.
Rest assured, by addressing these early, you safeguard your home's value and comfort. Our authoritative approach emphasizes that knowledge is power—empower yourself to avoid these pitfalls.
Moisture Testing: The First Line of Defense
One of the most vital steps in subfloor preparation is moisture testing, a technical process that measures humidity levels to prevent future disasters. Excess moisture is the archenemy of flooring, capable of warping wood or delaminating vinyl. Using tools like pin-type or pinless moisture meters, professionals assess the subfloor's readiness.
How to Conduct Effective Moisture Testing
Follow these steps for accurate results:
- Calibrate Your Tools: Ensure meters are set for the specific material, such as plywood or concrete.
- Test Multiple Areas: Check at least three spots per 100 square feet, focusing on high-risk zones like bathrooms or basements.
- Interpret Readings: Ideal levels vary—under 12% for wood subfloors and below 3 pounds per 1,000 square feet for concrete using calcium chloride tests.
- Allow Acclimation: Let materials adjust to the environment for 48-72 hours before final checks.
By mastering this, you eliminate hidden threats and pave the way for a resilient installation. Remember, patience here translates to enduring beauty.
Leveling the Playing Field: Achieving a Flat Subfloor
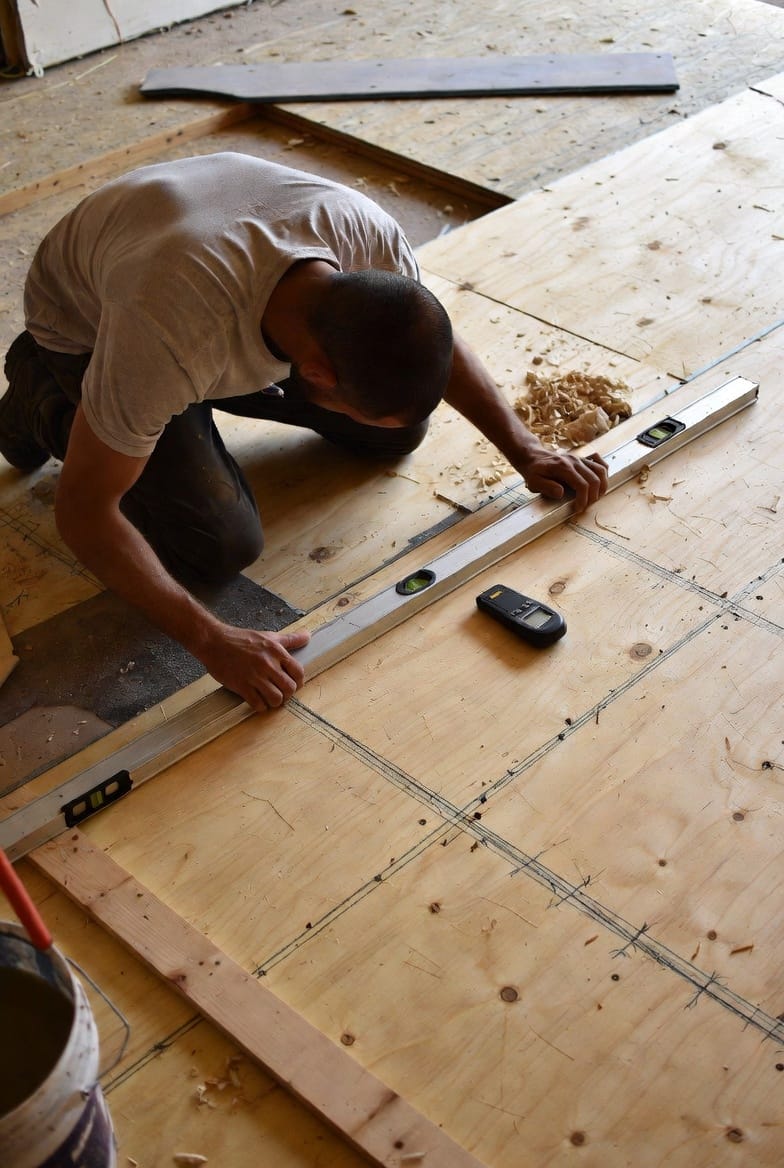
A perfectly level subfloor is non-negotiable for flooring success. Even minor dips or humps can cause issues like hollow sounds underfoot or visible seams. Leveling involves assessing the surface with straightedges or laser levels and applying compounds or shims as needed.
Techniques for Subfloor Leveling
- Self-Leveling Compounds: Ideal for concrete, these pourable mixtures fill lows effortlessly.
- Sanding or Planing: For wood subfloors, remove highs with power tools for a smooth finish.
- Patching Materials: Use latex-based fillers for small imperfections, ensuring they cure fully.
- Tolerance Checks: Aim for no more than 3/16 inch deviation over 10 feet, as per industry standards.
This step not only enhances aesthetics but also prevents stress on joints and adhesives. With our expertise, you can confidently tackle this, knowing it's a cornerstone of quality.
Addressing Squeaks: Silencing the Annoyances
Those persistent squeaks in your floor? They're often symptoms of a subfloor issue, like loose nails or rubbing boards. Addressing them early restores tranquility and structural integrity.
Proven Methods to Eliminate Squeaks
- Secure Fasteners: Drive screws through the subfloor into joists for a tight hold.
- Add Blocking: Install wood blocks between joists to reduce movement.
- Lubricate Friction Points: Apply talcum powder or specialized lubricants in problem areas.
- Full Replacement in Severe Cases: For widespread issues, consider reinforcing the entire subfloor.
By resolving these, you create a silent, sturdy base that complements your lifestyle seamlessly.
Choosing the Right Underlayment: Tailoring to Flooring Types
Underlayment bridges the subfloor and finish floor, offering cushioning, noise reduction, and moisture protection. The choice depends on your flooring type, ensuring compatibility and performance.
Matching Underlayment to Common Flooring
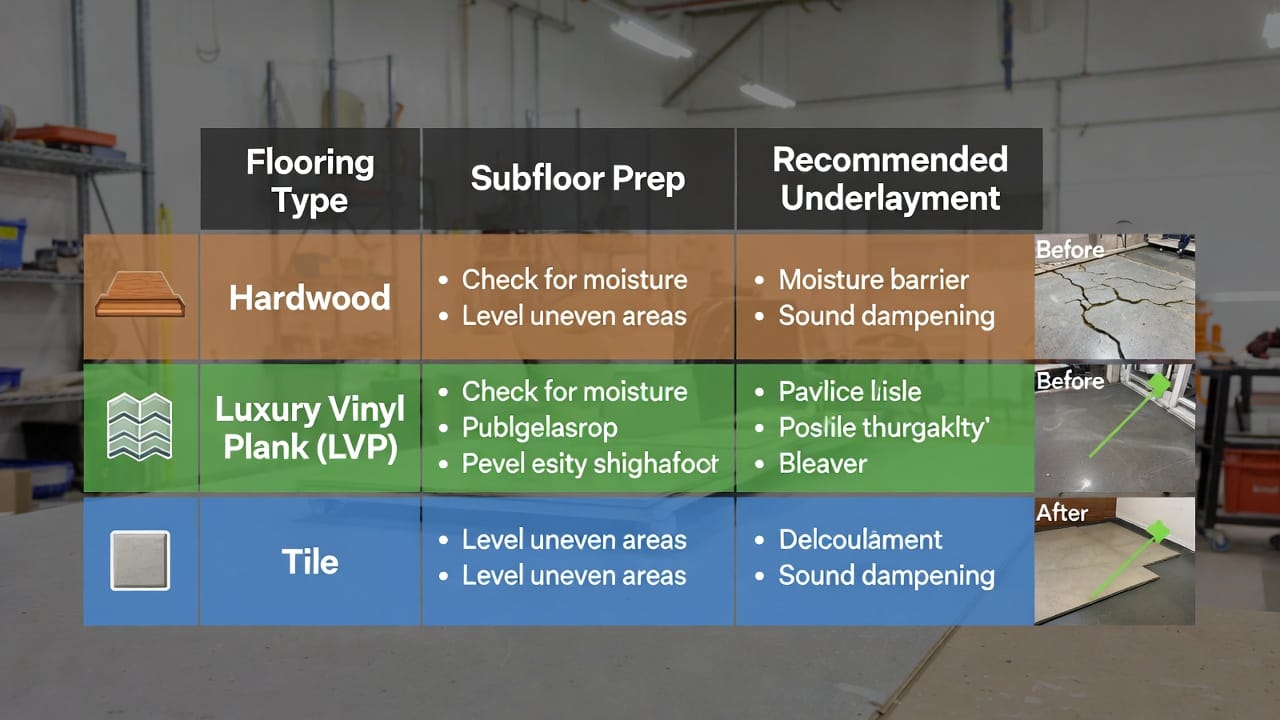
Here's a quick reference:
- Hardwood: Opt for felt or rosin paper underlayment over plywood subfloors; requires moisture below 12% and perfect leveling to avoid cupping.
- Luxury Vinyl Plank (LVP): Use foam or cork underlayment for cushioning; subfloor must be dry (under 8% moisture) and flat to prevent telegraphing.
- Tile: Rubber or membrane underlayment excels on concrete; ensure no cracks and use thin-set mortar for bonding, with moisture tests critical.
- Laminate: Acoustic underlayment reduces sound; subfloor prep includes sanding highs and filling lows for seamless clicks.
- Carpet: Padding underlayment provides comfort; wood subfloors need stapling, while concrete requires moisture barriers.
Selecting the right one prevents adhesion failures and enhances overall satisfaction.
How Perfect Prep Prevents Future Failures
The beauty of meticulous subfloor work lies in its preventive power. By investing upfront, you avert issues like delamination, mold growth, or warranty voids. Studies show that properly prepared subfloors extend flooring life by up to 50%, turning potential headaches into lasting triumphs.
Consider real-world scenarios: A homeowner ignoring moisture leads to warped boards within months, while another, following our guidelines, enjoys decades of flawless performance. This preparation isn't just technical—it's inspirational, empowering you to create spaces that inspire and endure.
Benefits of Comprehensive Preparation
- Cost Savings: Avoid repairs that can exceed initial installation fees.
- Enhanced Durability: Resist wear from foot traffic and environmental changes.
- Improved Comfort: Smoother, quieter floors for everyday living.
- Aesthetic Integrity: Maintain the pristine look you envisioned.
Rest easy knowing that with the right approach, your floors will thrive.
Inspiring Action: Your Path to Flooring Excellence
As we wrap up this guide, remember that the subfloor's imperative is about more than mechanics—it's about building dreams on solid ground. Whether renovating a cozy kitchen or a sprawling office, prioritizing this hidden layer ensures success.
Ready for Beautiful, Durable Flooring? Call Now