The Cleanup Timeline: How to Schedule Dumpster Delivery and Pickup Around Your Renovation Milestones
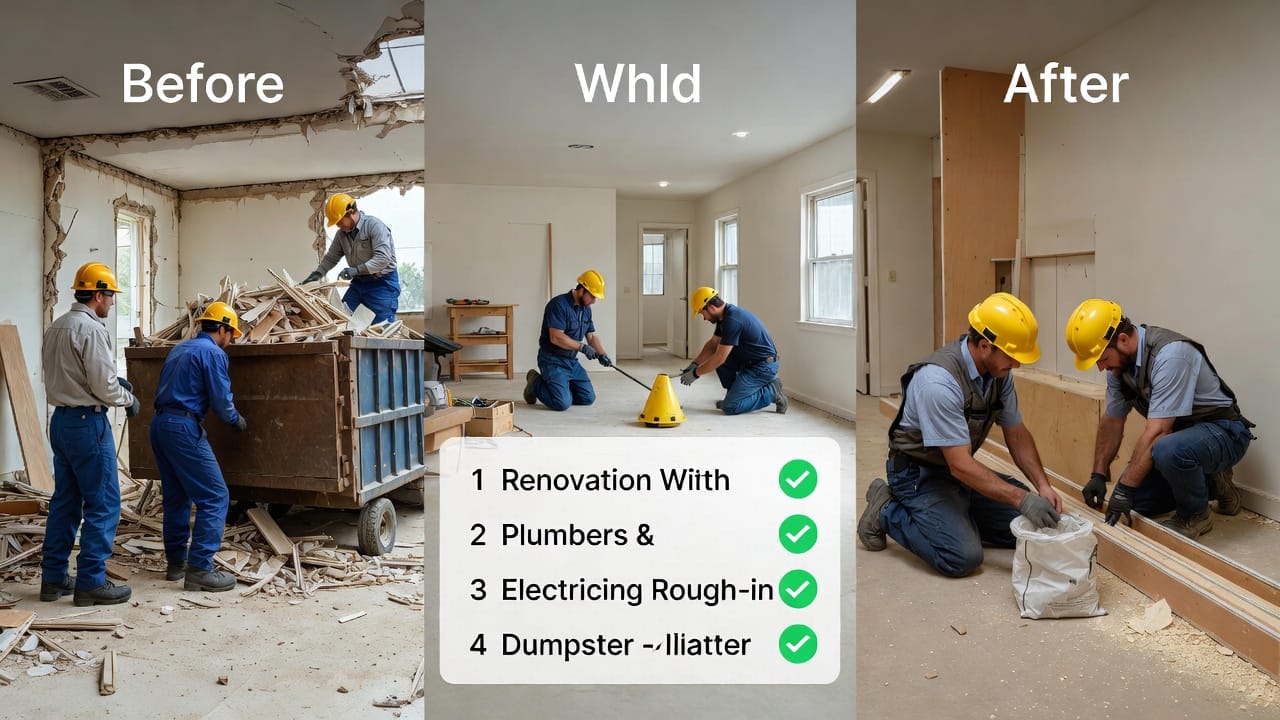
Renovating any space in your home is exciting, yet the mountain of debris that appears during demolition can quickly turn enthusiasm into overwhelm. Strategic dumpster scheduling is the hidden key that keeps projects on time, on budget, and stress-free. When you align dumpster delivery and pickup precisely with your renovation milestones, you eliminate costly delays, avoid surprise downtime charges, and maintain a safe, organized work site from start to finish.
Schedule Your Dumpster Now – Perfect Timing Guaranteed!
This comprehensive guide walks you through every stage of a typical kitchen or bathroom remodel. You will discover exactly when to order your dumpster rental, how to fill it efficiently, and the best moment to schedule pickup so the next phase begins without interruption. Follow these proven logistics and your project will flow smoothly, giving you peace of mind that professionals rely on every single day.
Why Precise Dumpster Timing Matters More Than You Think
Every renovation follows a logical sequence of milestones. Demolition creates the largest volume of waste, while later phases produce lighter, more sporadic debris. A dumpster rental that sits idle for days triggers downtime charges—daily fees after the initial rental period. Conversely, waiting too long for delivery halts demolition and pushes every subsequent milestone back.
Proper timing delivers three powerful benefits:
- Cost control – Pay only for the exact days you need the container.
- Workflow efficiency – Crews move seamlessly from one phase to the next.
- Site safety – Debris is removed before it becomes a tripping hazard or blocks access.
With careful planning you transform waste management from a headache into a silent partner that supports every milestone.
Assessing Your Project Waste Profile First
Before picking up the phone, evaluate the scope. A standard single-bathroom remodel typically generates 4–8 cubic yards of debris. A full kitchen gut-out often requires 10–15 cubic yards. Factor in:
- Heavy materials (tile, concrete, old cabinets)
- Bulky items (appliances, countertops)
- Light finish waste (drywall scraps, packaging)
Knowing your volume helps you select the right container size and plan the rental window accurately. Most reputable providers offer flexible 7-, 10-, or 14-day terms that can be extended if needed, but starting with the shortest practical window keeps costs lowest.
Ordering Dumpster Delivery 2–3 Days Before Demolition
The golden rule: schedule dumpster delivery two to three full days ahead of the first swing of the sledgehammer. This buffer accounts for:
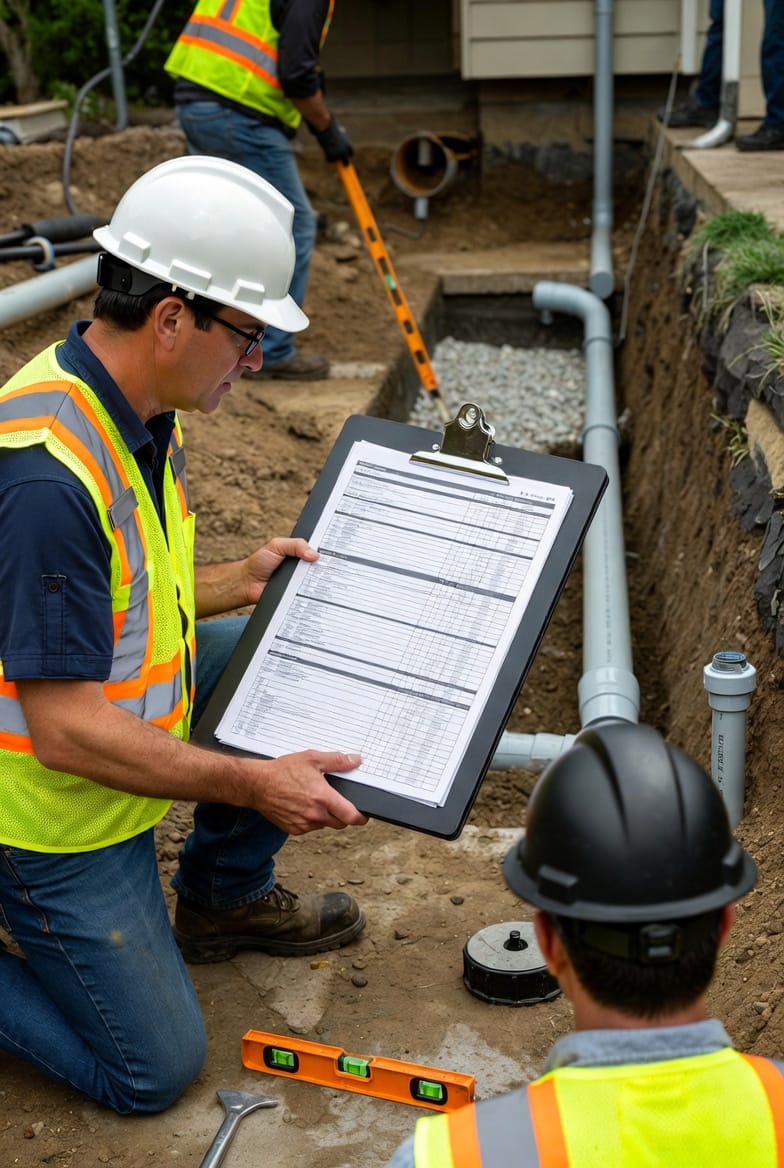
- Permit processing (if required by your municipality)
- Site preparation (level ground, protective plywood, traffic cones)
- Delivery truck access and maneuvering time
Contact your provider early in the morning on a weekday for fastest response. Share your exact street address, preferred delivery window, and container size. Confirm the drop-off location will not block driveways or sidewalks.
Pro tip: Ask the driver to position the dumpster with the door facing your exit path. This small detail makes loading dramatically easier and safer throughout the demolition phase.
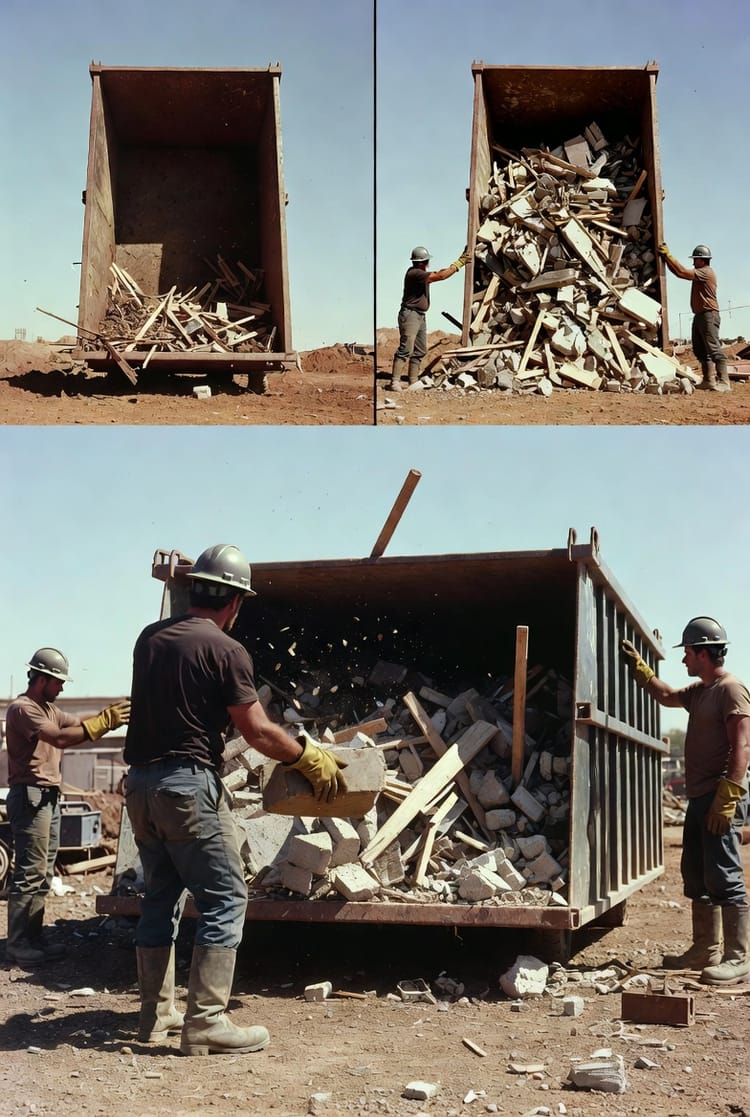
Strategic Filling During Active Demolition
Once the dumpster arrives, treat it as a valuable project asset rather than a simple bin. Train your crew (or yourself) to load strategically:
- Place heaviest items (broken concrete, cast-iron sinks) at the bottom for stability.
- Layer medium-weight debris (wood, drywall) next.
- Keep the top accessible for lighter materials and last-minute sweepings.
Never overfill beyond the top rails—overfill fees are expensive and can create unsafe transport conditions. Break down large items on-site when possible; many providers allow certain appliances if doors are removed and refrigerants properly handled.
Maintain a clean perimeter around the container. Daily sweeping prevents slips and keeps the neighborhood happy. When the crew sees the dumpster filling at the expected pace, confidence grows and momentum builds.
Scheduling Pickup Before the Next Major Phase Begins
The moment demolition debris is cleared, the site must be ready for framing, plumbing, or electrical rough-in. Schedule dumpster pickup for the final day of demolition or the morning after—never later.
Call your provider at least 24 hours in advance. Many companies offer same-day or next-morning service when notified promptly. Provide the exact time you need the container removed so the next trade can arrive without delay.
This precise handoff eliminates downtime charges and prevents the psychological drag of staring at a full dumpster while waiting for the next milestone to start.
Navigating the Quiet Phases – Rough-In and Beyond
During plumbing, electrical, and HVAC rough-in, waste volume drops dramatically. You rarely need a dumpster on site. Instead, use heavy-duty contractor bags for occasional scraps. This break in rental service saves money and frees driveway space.
When drywall installation and taping begin, light debris returns. At this stage many homeowners opt for a smaller 10-yard container for just 3–5 days or simply use bag service. The choice depends on the scale of your finish work.
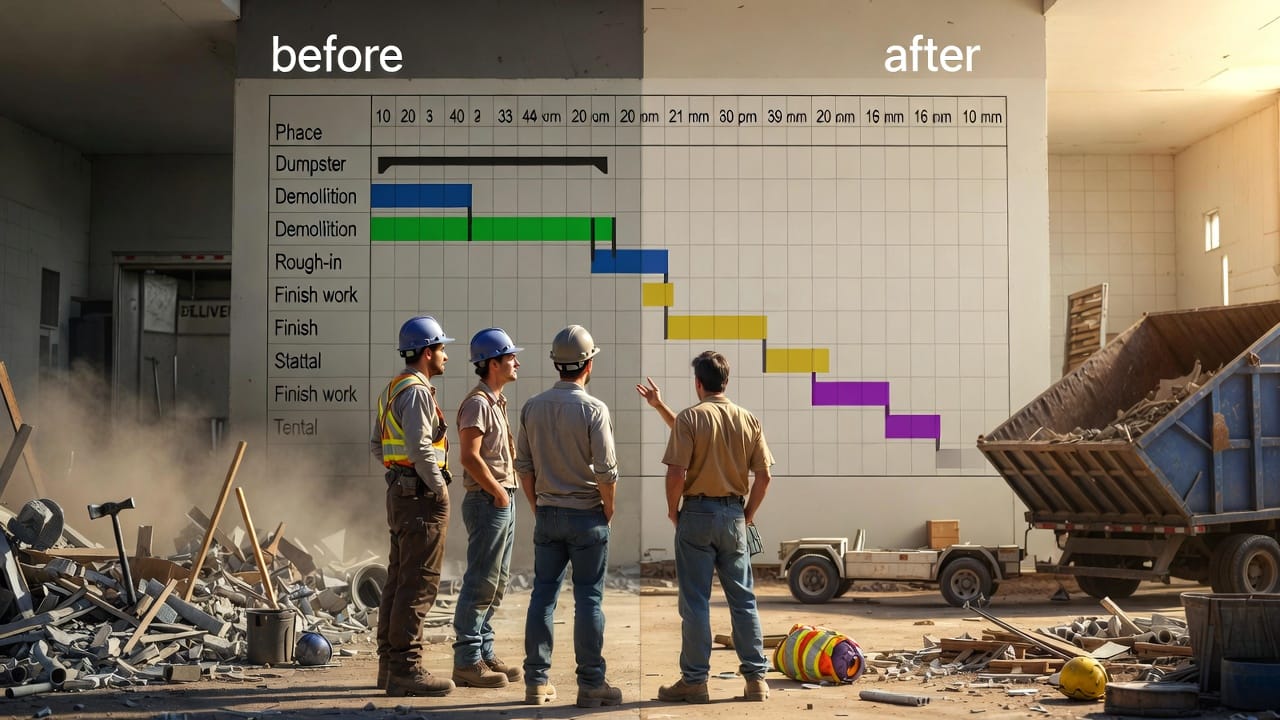
Real-World Example: 10-Day Kitchen Remodel Timeline
Day 1–2: Final prep and ordering. Dumpster arrives morning of Day 3.
Day 3–5: Full demolition and heavy loading.
Day 6: Dumpster pickup at 8 a.m. Framing crew arrives 9 a.m.
Day 7–8: Plumbing and electrical rough-in (no dumpster needed).
Day 9: Small 10-yard container delivered for drywall and finish debris.
Day 10: Final pickup and site sweep.
This schedule keeps the project moving forward without a single idle day or extra fee.
Real-World Example: 7-Day Bathroom Remodel Timeline
A smaller bathroom allows an even tighter window:
Day 1: Dumpster delivery.
Day 1–3: Complete demo and loading.
Day 4: Pickup before noon; rough-in begins same afternoon.
Day 5–6: Tile prep and installation (minimal waste).
Day 7: Final light-debris pickup and walkthrough.
Shorter timelines work beautifully when every milestone is mapped in advance.
Expert Tips to Avoid Downtime Charges and Delays
- Build a one-day buffer into every major transition.
- Confirm pickup time in writing via text or email.
- Photograph the dumpster at 80 % full so you can request early pickup if needed.
- Choose a provider that offers 24/7 scheduling support.
- Review the rental agreement carefully for exact definitions of “downtime” and “overfill.”
Following these practices consistently protects your budget and timeline.
Weather, Permits, and Unexpected Variables
Rain can slow demolition and increase mud on the driveway. Plan delivery for a dry forecast window when possible. Check local regulations early—some neighborhoods require permits for containers larger than 20 yards or for placement on public streets.
If your project runs ahead of schedule, most companies happily move pickup forward at no extra cost. Clear, proactive communication is your best insurance policy.
The Bottom-Line Benefits of Masterful Timing
When dumpster delivery and pickup are perfectly synchronized with your renovation milestones, you enjoy:
- Lower total rental cost
- Faster project completion
- Safer, cleaner work environment
- Happier neighbors and smoother inspections
- Greater overall satisfaction with the entire remodel experience
Professional crews and experienced homeowners alike rely on this timeline approach because it simply works.
Ready for Demolition? Get Your Dumpster Delivered Fast – Call Now