Is My Home a Solar Candidate? Evaluating Roof Condition, Orientation, and Shading for Optimal Production
Are you wondering if your home could harness the power of the sun to reduce energy bills and contribute to a greener planet? Transitioning to solar energy is an exciting step, but not every roof is created equal. In this comprehensive guide, we'll walk you through a step-by-step self-assessment to determine your home's solar viability. We'll focus on key factors like roof condition, orientation, and shading, which are crucial for optimal solar production in the Northern Hemisphere. Rest assured, with the right evaluation, many homes can become solar powerhouses—let's dive in and empower you with the knowledge to make an informed decision.
Maximize Your Solar Savings – Start with a Free Roof Check
Understanding Solar Potential: The Basics
Before installing solar panels, it's essential to evaluate if your property is a good candidate. Solar potential refers to how effectively your roof can capture sunlight and convert it into electricity. Factors like location, roof design, and environmental obstacles play pivotal roles. According to industry standards, homes in sunny regions can achieve payback periods as short as 5-7 years, but this hinges on a solid site analysis.
Why does this matter? Poor assessment can lead to underwhelming energy output, higher costs, or even installation regrets. But don't worry—most issues are identifiable early, and solutions like tree trimming or panel adjustments can optimize results. This guide provides a framework for homeowners to conduct a preliminary check, saving time and money before consulting professionals.
Key Elements of a Solar Site Analysis
A thorough site analysis involves inspecting multiple aspects of your home. Here's a breakdown:
- Roof Space and Slope: Ideal roofs have at least 200-300 square feet of unobstructed space with a slope between 15-40 degrees for maximum sunlight absorption.
- Local Climate: Areas with high annual sun hours (e.g., 4-6 hours daily on average) yield better returns.
- Energy Needs: Assess your household's electricity usage to size the system appropriately.
- Incentives and Regulations: Check for federal tax credits, state rebates, and local permitting rules.
By starting with self-evaluation, you'll gain confidence in your home's potential and be better prepared for expert input.
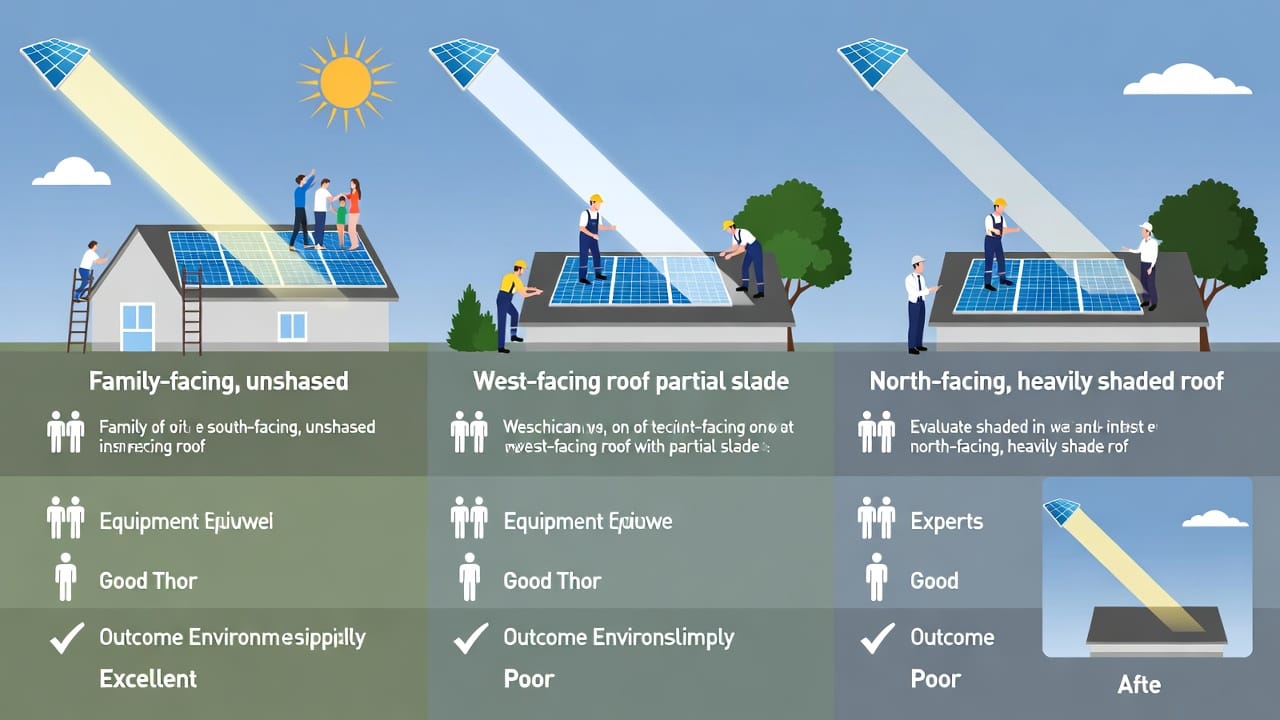
Roof Orientation: Why Direction Matters
In the Northern Hemisphere, roof orientation is a make-or-break factor for solar efficiency. Sunlight travels from east to west, peaking in the south during midday. A south-facing roof captures the most direct rays, potentially producing 20-30% more energy than other directions.
Optimal Orientations Explained
- South-Facing (Azimuth 180°): The gold standard. Panels here receive peak sunlight from 9 AM to 3 PM, maximizing daily output.
- Southwest or Southeast (Azimuth 135°-225°): Still excellent, especially for homes with afternoon peak usage, offering about 90-95% of south-facing efficiency.
- West or East-Facing: Viable but less ideal, with 75-85% efficiency. These work well for time-of-use billing where evening production is valued.
- North-Facing: Generally poor, capturing only diffuse light and yielding 50-70% less energy. Avoid if possible, or consider ground-mounted systems.
To check your roof's orientation, use a compass app on your smartphone or online tools like Google Earth. Stand on your property and note the direction your roof planes face. If your roof isn't ideally oriented, innovative solutions like solar trackers or bifacial panels can compensate, ensuring even non-south roofs remain candidates.
Remember, orientation isn't absolute—slight deviations (up to 30°) have minimal impact. This factor alone can influence your system's return on investment (ROI), so prioritize it in your assessment.
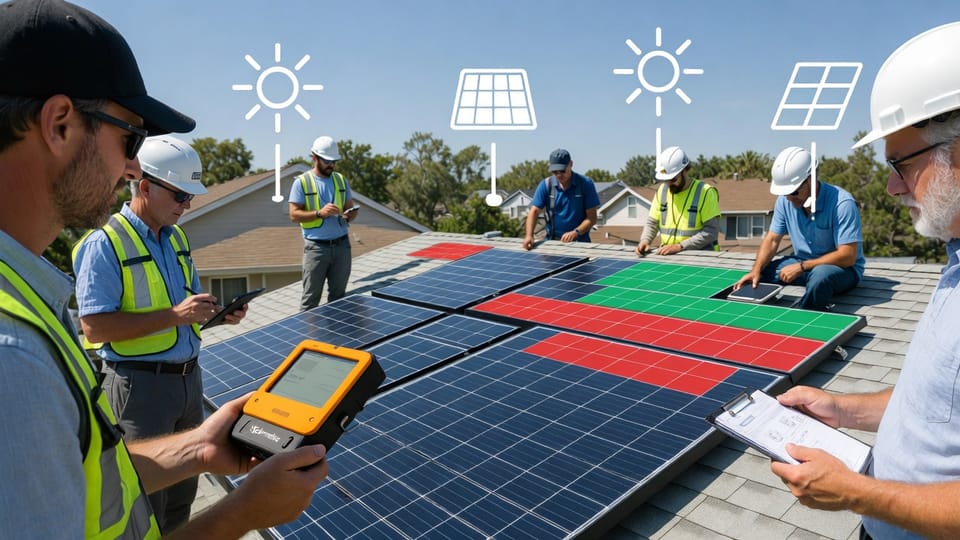
Assessing Shading: The Silent Energy Thief
Shading from trees, chimneys, buildings, or even nearby poles can drastically reduce solar production. Even partial shade on one panel can affect an entire string due to how solar systems are wired. Studies show that shading can cut output by 10-50%, extending payback periods significantly.
How to Evaluate Shading
Conduct a shading analysis during peak sun hours (10 AM-2 PM) across seasons. Walk around your roof's perimeter and observe shadows.
- Identify Sources: Note trees that grow taller, seasonal foliage changes, or permanent structures like vents.
- Measure Impact: Use free apps like Sun Seeker or a DIY solar pathfinder to map shade patterns over a year.
- Quantify Loss: If shade covers more than 10% of the roof during peak hours, it could deem the site suboptimal.
Solutions for shading include strategic panel placement, microinverters to isolate affected areas, or tree removal. Reassuringly, modern technology like shade-tolerant panels minimizes losses, making many shaded roofs still viable. Always consider future growth— a small sapling today could become a major obstacle tomorrow.
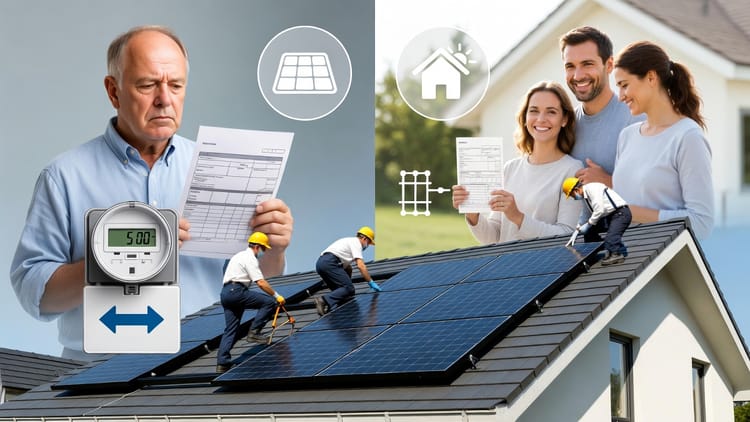
Roof Condition: Age, Material, and Structural Integrity
Your roof's condition directly impacts solar installation feasibility and longevity. Installing panels on a failing roof can lead to costly removals and reinstalls. Aim for a roof with at least 15-20 years of life left to match the 25-year warranty of most panels.
Inspecting Roof Age and Material
- Age Check: Roofs over 20 years old may need replacement. Signs of aging include curling shingles, granule loss, or leaks.
- Material Suitability: Asphalt shingles are most common and solar-friendly. Metal roofs offer durability and easy mounting. Tile or slate requires special care to avoid cracking.
- Structural Assessment: Ensure your roof can support the added weight (about 3-4 lbs per square foot). Check for sagging, rot, or weak rafters.
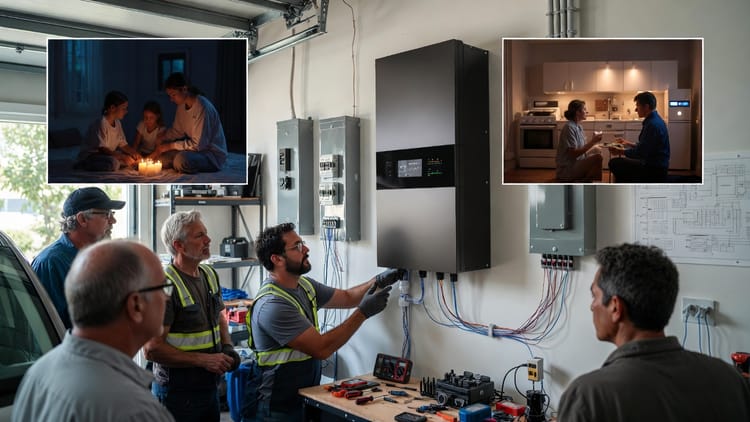
Hire a roofer for a professional inspection if unsure. Materials like composite shingles are ideal, as they allow for secure racking without penetration risks. If your roof needs work, bundle it with solar installation for tax incentives—turning a necessary expense into a smart investment.
Common Roof Risks and Mitigations
- Leak Potential: Poor installation can cause water ingress; choose certified installers.
- Wind and Snow Load: In harsh climates, reinforced mounting systems are essential.
- Aesthetic Impact: Panels can enhance modern appeal, but check HOA rules.
By addressing these early, you'll avoid surprises and ensure a seamless transition to solar.
Regional Factors: Sun Hours and System Sizing
Annual sun hours in your area dictate how much energy your system produces. For instance, sunny states like California average 5-6 peak sun hours daily, while northern regions like Washington get 3-4.
Calculating Payback and Sizing
Use online calculators to input your location's insolation data. A 5kW system in a high-sun area might generate 7,000 kWh annually, covering most household needs.
- System Sizing: Match to your bill—oversizing wastes money, undersizing leaves gaps.
- Payback Period: Factor in costs ($10,000-$20,000 post-incentives), savings ($1,000/year), and incentives like the 30% federal ITC.
- Net Metering: Sell excess energy back to the grid for credits.
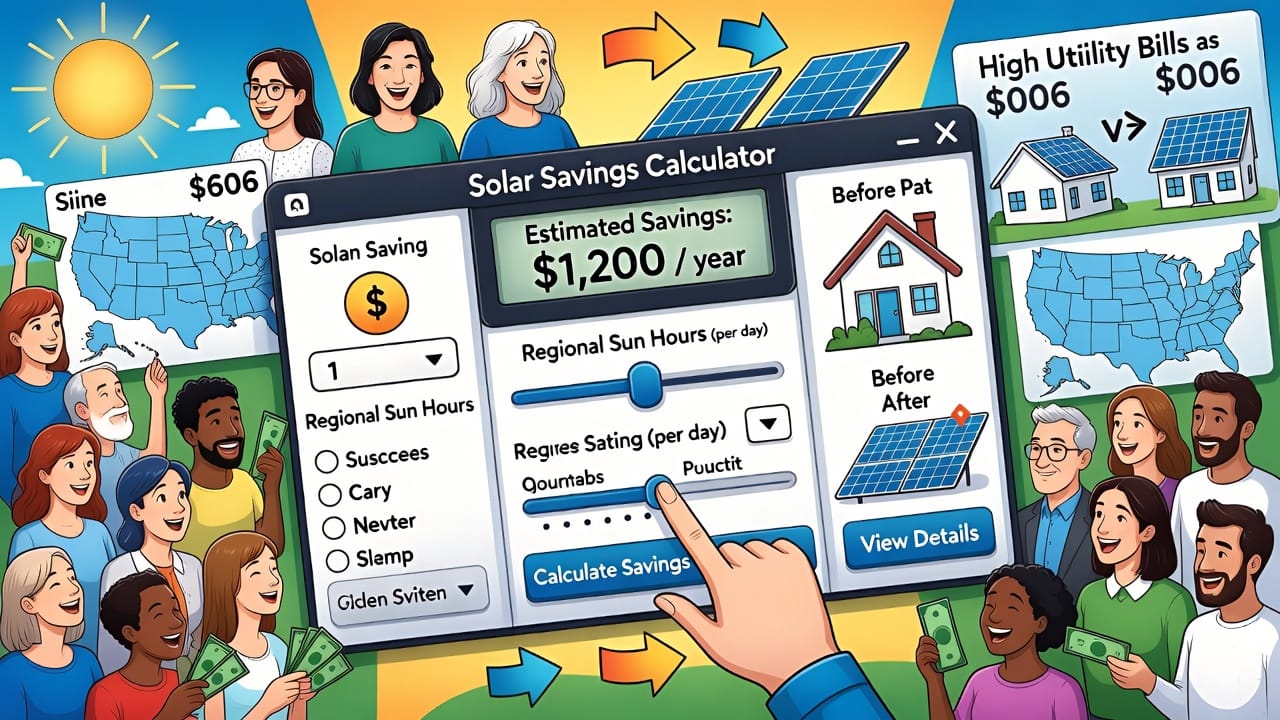
These calculations provide a realistic ROI, often 8-12% annually—better than many investments.
Self-Assessment Checklist: Step-by-Step Guide
Ready to evaluate? Follow this homeowner framework:
- Map Your Roof: Sketch planes, noting orientation and slope.
- Shade Audit: Track shadows hourly on a sunny day; repeat seasonally.
- Condition Review: Inspect for damage; estimate remaining lifespan.
- Sun Hour Research: Use PVWatts or similar tools for local data.
- Energy Audit: Review 12 months of bills to estimate needs.
- Budget Estimate: Calculate costs vs. savings with online simulators.
Document findings with photos for pros. This empowers you to spot red flags or green lights early.
Overcoming Common Challenges
Many homeowners fear their home isn't suitable, but innovations abound:
- Suboptimal Orientation: Use higher-efficiency panels or additional arrays.
- Heavy Shading: Opt for ground or carport mounts.
- Old Roof: Time replacements with solar for efficiency.
Success stories abound—homes with east-west roofs achieve 85% efficiency through smart design.
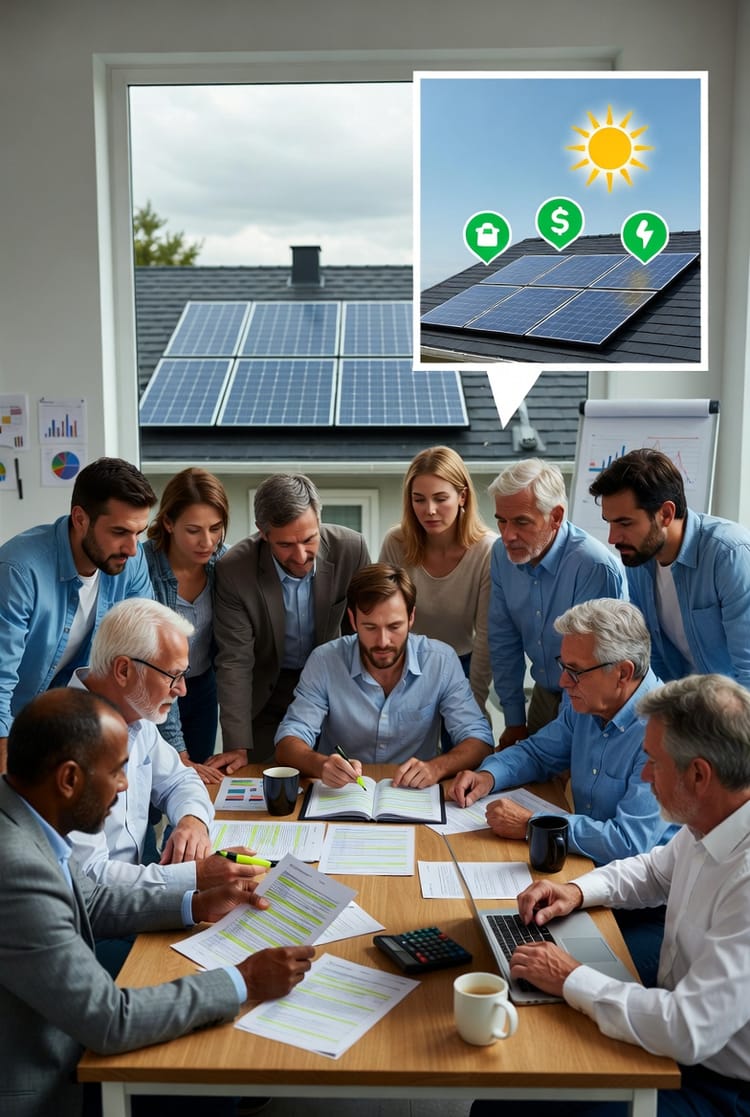
The Role of Professional Evaluation
While self-assessments are valuable, professionals use tools like drones and 3D modeling for precision. They account for nuances like microclimates or advanced shading simulations.
Maximizing Incentives and Long-Term Benefits
Leverage the Inflation Reduction Act's credits, plus state programs. Solar boosts home value by 4-6%, per appraisals, and provides energy independence.
Environmental and Economic Impact
Going solar reduces carbon footprints by 30-50 tons over a system's life, equivalent to planting 700 trees. Economically, it hedges against rising utility rates.
Frequently Asked Questions
- What if my roof is flat? Adjustable tilts can optimize.
- How much shade is too much? Over 20% during peak hours.
- Can renters go solar? Community solar options exist.
Conclusion: Empower Your Solar Journey
Your home likely has untapped solar potential—with proper evaluation of roof condition, orientation, and shading, you can unlock sustainable energy. This guide equips you with the tools for a confident start.
Ready for Solar Panels? Free Home Assessment – Call Today