The Wet Wall Assembly: Building a Super-Strong, Perfectly Plumb Core for Your Shower Valve and Fixtures
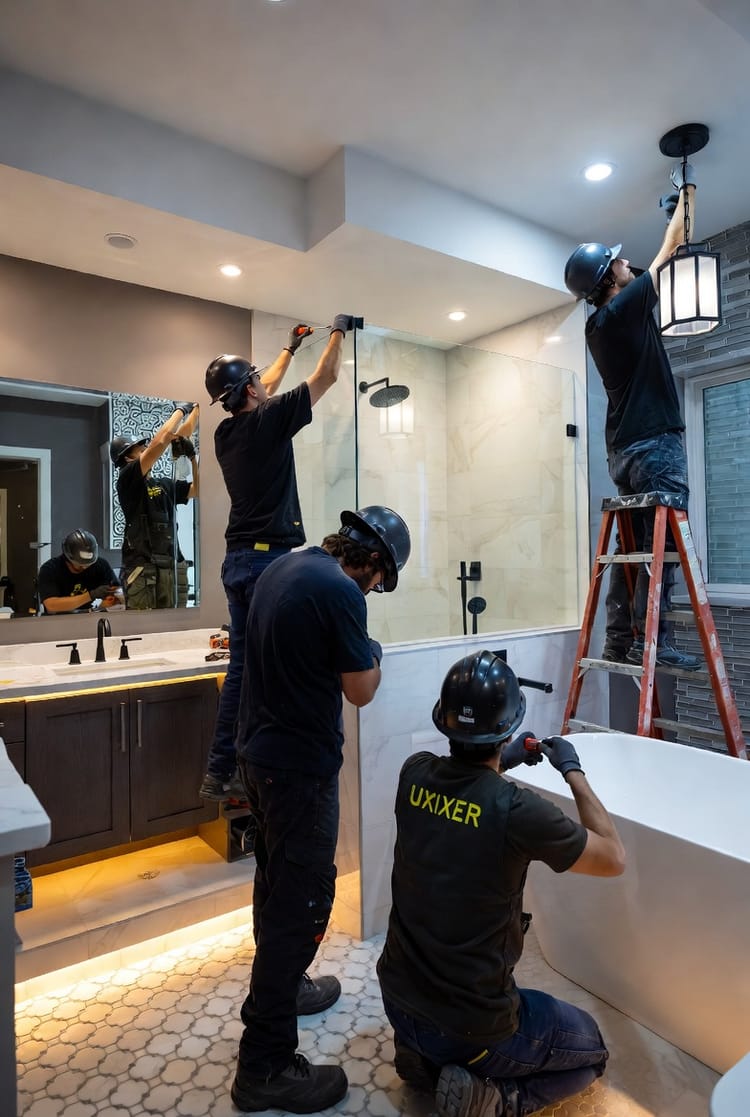
In the world of bathroom remodeling, the wet wall isn't just a structural element—it's the heartbeat of your shower system. This critical behind-the-wall assembly houses your plumbing, supports fixtures, and ensures long-term durability against water exposure. Done right, it creates a super-strong, perfectly plumb core that prevents leaks, maintains alignment, and extends the life of your bathroom. As experts in structural precision, we know that skimping here can lead to costly repairs down the line. But rest assured, with best practices like using thicker boards, strategic blocking, precise plumbing alignment, and waterproof backing boards, you can build a foundation that stands the test of time.
Expert Plumb & Waterproof Wet Wall – Call for Your Remodel!
Whether you're a homeowner planning a DIY upgrade or a contractor seeking reliable techniques, this guide dives deep into the essentials of wet wall construction. We'll cover everything from framing fundamentals to waterproofing strategies, all while emphasizing SEO-friendly keywords like wet wall assembly, shower valve installation, and bathroom waterproofing to help you find the information you need. Let's build from the inside out for a bathroom that's as functional as it is beautiful.
Understanding the Wet Wall: Why It Matters in Bathroom Remodeling
The wet wall, often referred to as the "plumbing wall" or "shower core," is the vertical assembly behind your shower or tub where all the magic—and potential mishaps—happen. It's where shower valves, faucets, and fixtures are mounted, and it's constantly exposed to moisture, making it prone to issues if not constructed properly.
Think of it as the skeleton of your bathroom: strong bones lead to a healthy body. A poorly built wet wall can result in leaking valves, misaligned fixtures, or even structural sagging over time. On the flip side, a meticulously framed one ensures perfect plumbing alignment, reduces vibration, and supports heavy tile or surround materials without cracking.
Key benefits of a well-built wet wall include:
- Enhanced Durability: Resists water damage and daily wear.
- Improved Functionality: Keeps fixtures secure and operational.
- Cost Savings: Prevents future repairs from leaks or instability.
- Aesthetic Perfection: Provides a flat, plumb surface for flawless tile installation.
In our experience at professional remodeling services, investing time in this phase pays dividends. It's not visible in the final product, but it's what makes your bathroom remodel truly exceptional.
Selecting Materials: The Foundation of Strength
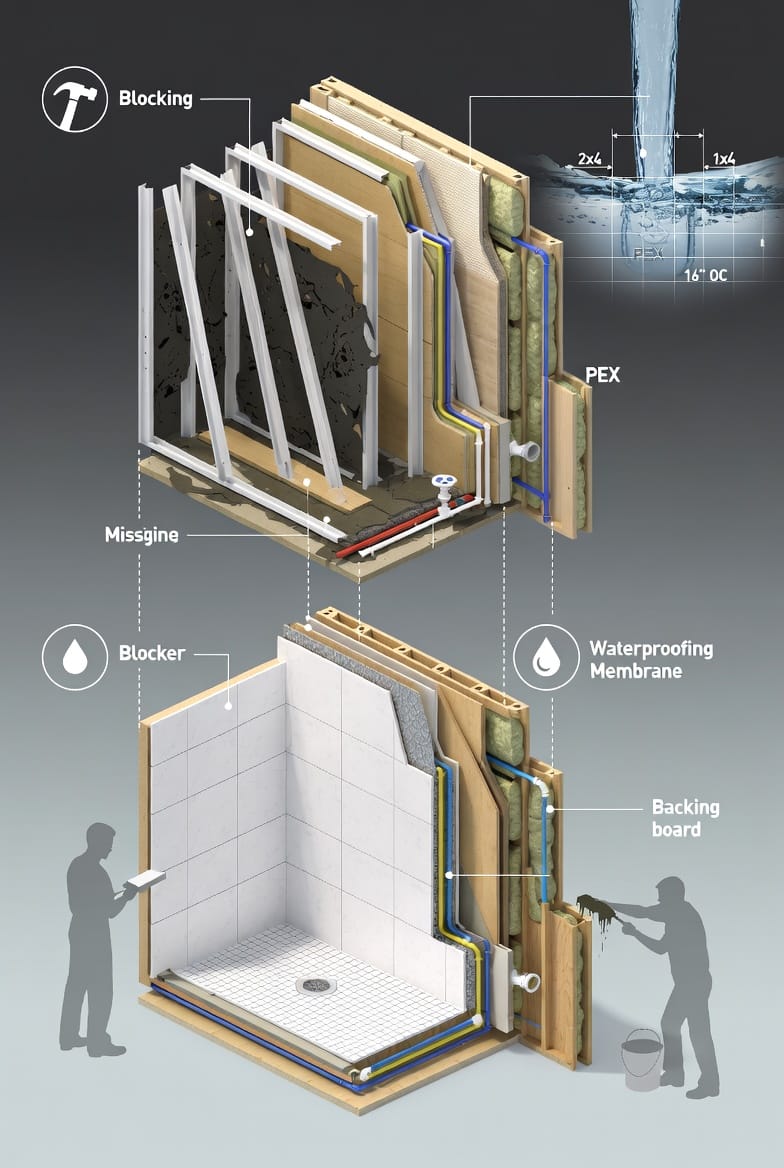
Starting with the right materials is non-negotiable for a super-strong wet wall. Traditional 2x4 studs might suffice for dry walls, but in wet areas, opt for thicker boards like 2x6 or even 2x8 lumber. These provide extra depth for insulation, plumbing runs, and robust support.
Why thicker? They allow for better blocking for support—horizontal pieces of wood nailed between studs to anchor fixtures securely. Use pressure-treated or moisture-resistant lumber to combat humidity.
For plumbing, PEX lines are ideal due to their flexibility and corrosion resistance, outperforming rigid copper in tight spaces. Pair them with high-quality shower valves designed for easy access and maintenance.
Don't forget the waterproof backing board. Cement board or fiber-reinforced gypsum panels are superior to greenboard, offering mold resistance and a stable base for tile adhesion. Avoid shortcuts here—subpar materials can lead to common failures like warped walls or fungal growth.
Pro Tip: Source materials from reputable suppliers to ensure compliance with building codes. This step alone can elevate your bathroom remodeling project from average to elite.
Framing Best Practices: Achieving Structural Integrity
Framing sets the stage for everything else. Begin by marking your wall layout precisely, using a laser level for perfectly plumb lines. Install studs at 16-inch centers, but reinforce the wet wall area with additional vertical members if spanning wider than standard.
Incorporate blocking for support strategically:
- Place horizontal blocks at valve height (typically 48-52 inches from the floor) to mount the shower valve securely.
- Add blocking behind grab bars, showerheads, and niches for added stability.
- Use double blocking in high-stress areas to distribute weight evenly.
Nail or screw everything with corrosion-resistant fasteners to prevent rust in humid environments. Double-check plumb and level at every step— even a slight deviation can cause misaligned fixtures later.
This phase is where precision shines. Our teams use advanced tools like digital levels and stud finders to guarantee accuracy, ensuring your wet wall becomes a rock-solid core.
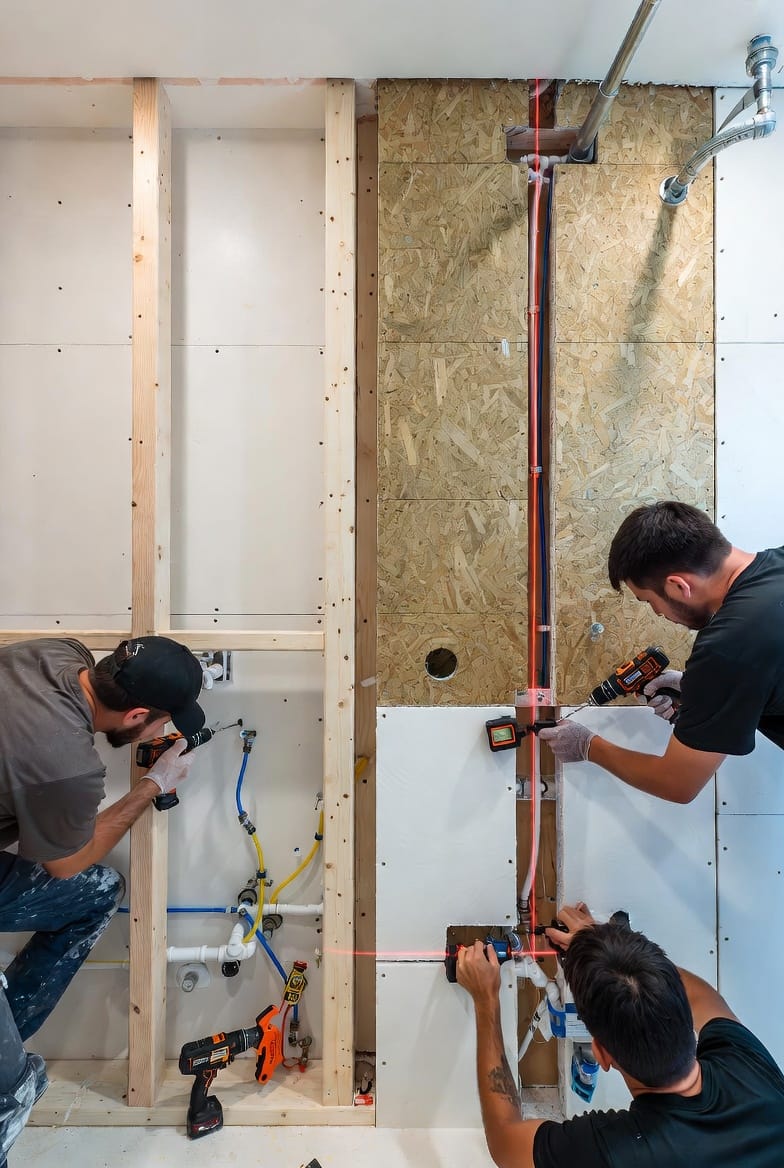
Plumbing Alignment: Precision for Leak-Free Performance
Once framed, focus on plumbing alignment—the make-or-break element for functionality. Route PEX lines vertically through the studs, securing them with clamps every 32 inches to prevent sagging or noise.
Install the shower valve at the correct depth: typically 2-3 inches behind the finished wall surface to accommodate backing and tile. Use a valve guard or template for exact positioning.
Key steps for flawless alignment:
- Measure twice: Align valve outlets with fixture locations to avoid awkward bends.
- Test for leaks: Pressure-test lines before closing the wall.
- Plan for access: Include removable panels or access doors for future maintenance.
Misalignment here often leads to leaking valves or uneven water flow. By prioritizing precision, you create a system that's efficient and reliable, minimizing water waste and repair needs.
Incorporate shut-off valves within the assembly for easy isolation during emergencies. This thoughtful approach not only enhances safety but also boosts the overall value of your bathroom remodel.
Waterproofing and Backing Board: The Barrier Against Moisture
No wet wall is complete without robust waterproofing. After plumbing, install the waterproof backing board—cut panels to fit snugly between studs, securing with screws every 8-12 inches.
Apply a liquid waterproofing membrane or sheet over seams and screw heads for a seamless barrier. This prevents water penetration, protecting the framing from rot.
Best practices include:
- Overlapping seams by at least 2 inches.
- Extending waterproofing 6-8 inches beyond the shower area.
- Using silicone caulk at edges for extra sealing.
This layer is your defense against cracked tile from substrate movement. Trust us: a properly waterproofed wet wall means peace of mind during every shower.
Common Pitfalls and How to Avoid Them
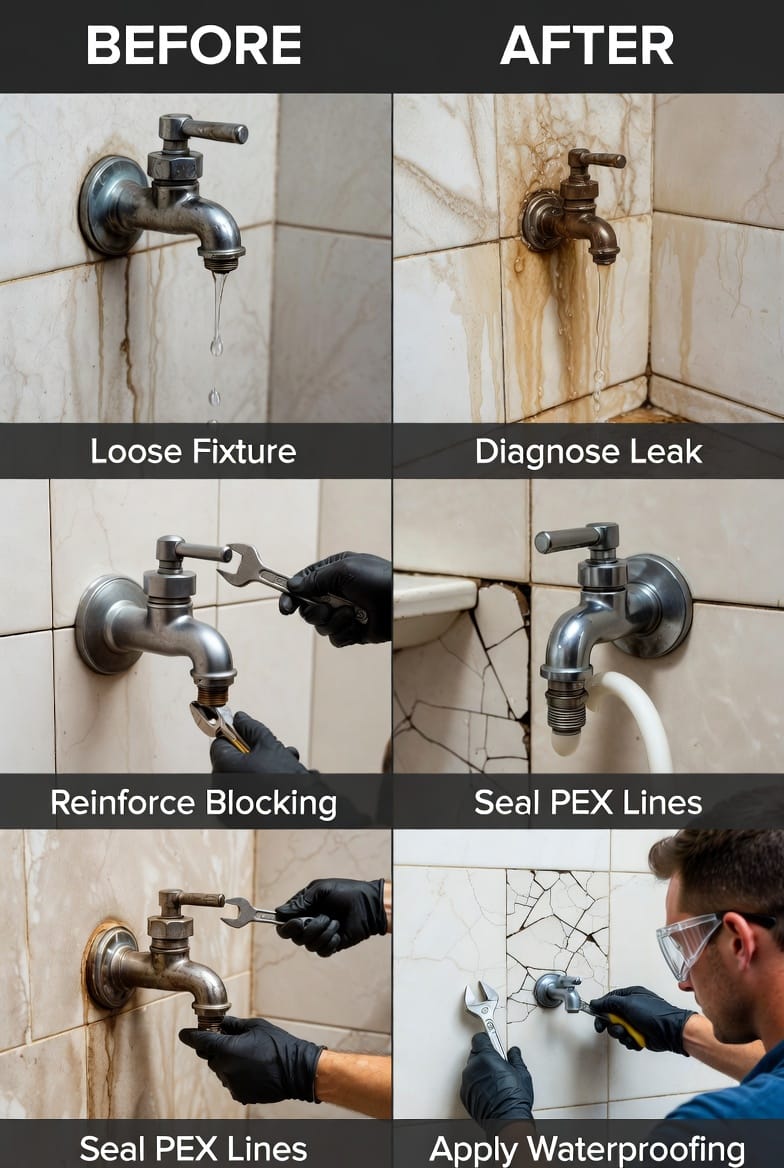
Even seasoned pros encounter challenges, but awareness is key. Poorly built wet walls often stem from rushed framing or inadequate materials, leading to:
- Loose Faucets: From insufficient blocking, causing wobbles and leaks.
- Leaking Valves: Due to misalignment or poor sealing.
- Cracked Tile: Resulting from uneven surfaces or moisture damage.
Avoid these by adhering to codes, using quality tools, and consulting experts. Regular inspections during construction catch issues early.
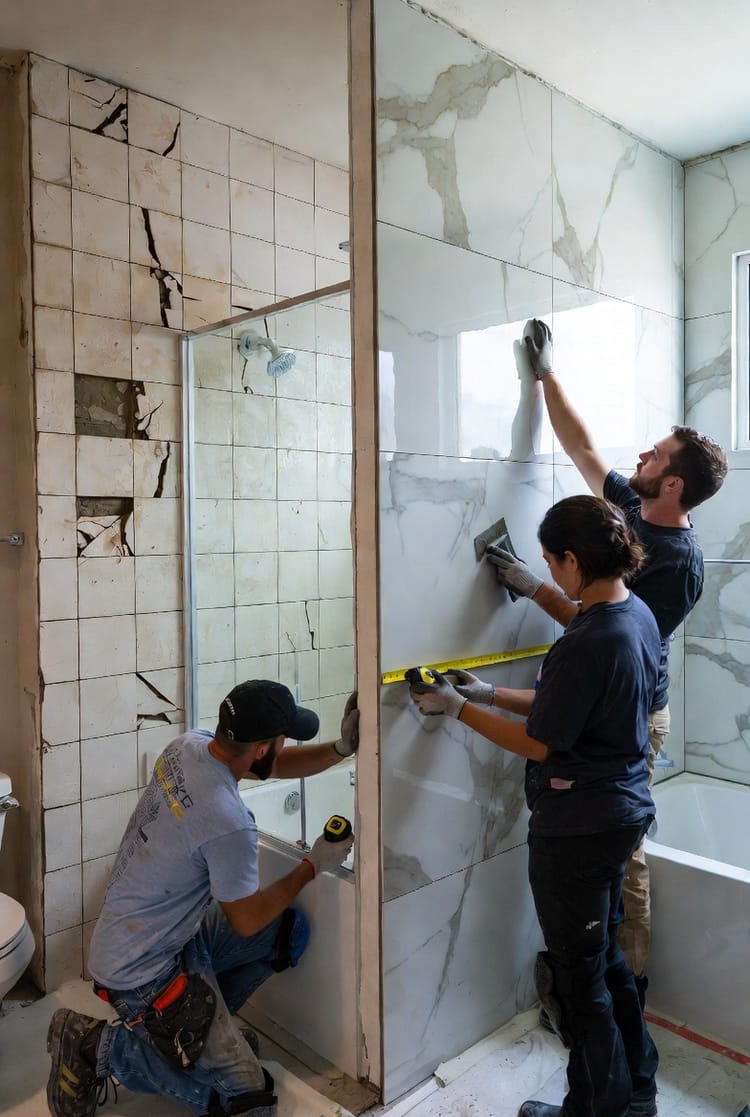
Finishing Touches: Preparing for Tile or Surround
With the core assembled, prepare for the finish. Ensure the backing board is flat and plumb, sanding any high spots. Apply thinset or adhesive evenly before installing tile or acrylic surrounds.
For tile, use a notched trowel for uniform coverage, and grout with waterproof sealants. This creates a cohesive, durable surface.
Final checks:
- Verify all plumbing connections.
- Insulate voids to reduce noise and improve energy efficiency.
- Document the assembly for future reference.
These steps transform your wet wall from functional to flawless.
Long-Term Maintenance and Professional Help
A strong wet wall requires minimal upkeep, but periodic checks for leaks or wear keep it performing. Clean drains regularly and monitor for moisture signs.
If DIY feels overwhelming, partner with specialists. Our team at (855) 321-3081 delivers structural precision tailored to your needs.
In conclusion, mastering the wet wall assembly is essential for a successful bathroom remodeling project. By focusing on thicker boards, blocking, alignment, and waterproofing, you build a core that's super-strong and perfectly plumb.
Build your bathroom to last from the inside out. Trust our structural precision at
Perfectly Plumb Valves & Fixtures Guaranteed – Call Us!