The Oven Temperature Calibration: Why Your Cookies Burn and How to Fix an Inaccurate Oven

Picture this: You've followed your grandmother's cherished cookie recipe to the letter. The dough is perfectly chilled, the oven preheated, and the timer set. Yet, 12 minutes later, you pull out a tray of charred edges and doughy centers. Frustrating? Absolutely. But here's the reassuring truth—it's rarely your baking skills at fault. More often than not, the culprit is an inaccurate oven temperature.
Stop Burned Cookies – Get Precise Calibration Today!
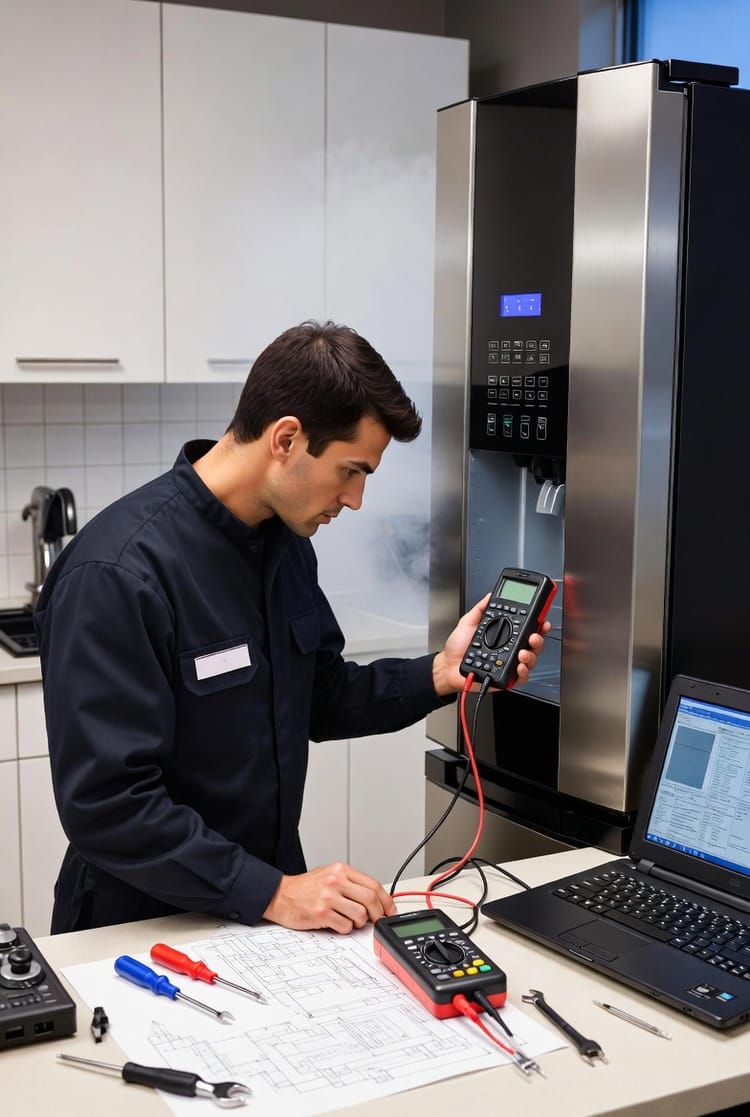
At our appliance repair service, we've helped thousands of home bakers reclaim their kitchens from this silent saboteur. Oven temperature calibration isn't just a technical fix; it's the key to consistent, delicious results every time you bake. In this comprehensive guide, we'll walk you through why ovens go off-kilter, how to diagnose the issue with a simple test, and step-by-step instructions to calibrate your oven yourself. We'll also cover when it's time to call in the professionals for thermostat or sensor replacement.
By the end, you'll bake with renewed confidence, knowing your oven is working as it should. Let's dive in and turn those baking frustrations into triumphs.
Why Accurate Oven Temperature Is Non-Negotiable for Baking Success
Baking is a science of precision. Recipes are calibrated for specific temperatures because heat triggers chemical reactions in your ingredients. Too hot, and your cookies spread too thin before setting, burning on the bottom. Too cool, and they stay pale and underbaked.
Most ovens are designed to run within 25°F of the set temperature, but over time, wear and tear can push that deviation much further. Factors like altitude, frequent use, or even a recent power surge can throw things off.
The good news? Identifying and fixing an inaccurate oven is straightforward. And when you do, the difference is transformative—fluffy cakes, crispy-edged cookies, and evenly browned roasts become your new normal.
Telltale Signs Your Oven Temperature Is Off
Don't ignore these red flags. They signal it's time for a temperature check:
- Uneven baking: One side of your sheet pan browns faster than the other.
- Burned bottoms with raw tops: Classic sign of an oven running too hot.
- Pale, underdone results: Your oven is likely running too cool.
- Inconsistent preheat times: The "preheat" beep comes way too early or takes forever.
- Recipe failures despite perfect measurements: If adjustments like "add 5 minutes" become routine, your oven needs attention.
These issues affect more than just cookies. Cakes fall flat, breads don't rise properly, and casseroles come out soggy. But with the right approach, you can restore accuracy—and your baking joy.
The Science Behind Oven Temperature Inaccuracies
Ovens maintain heat through a cycle: the heating element (or gas burner) turns on until the temperature sensor detects the target, then cycles off. Over years, this sensor can drift, or the control board can miscommunicate.
Common causes include:
- Worn temperature sensor: This thin probe at the back of the oven loses sensitivity.
- Faulty thermostat: The brain of the operation, it fails to regulate properly.
- Heating element issues: Warped or damaged elements create hot spots.
- Poor insulation or door seals: Heat escapes, forcing the oven to overcompensate.
Understanding these helps you approach fixes confidently, whether DIY or professional.
How to Test Your Oven's Temperature: The Foolproof Method
Before any adjustments, you need data. An independent oven thermometer is your most reliable tool—far more accurate than the oven's built-in display.
Step-by-Step Testing Guide
- Gather your tools: A quality oven thermometer (digital or analog that hangs from the rack). Avoid cheap models; invest in one rated for high heat.
- Position it correctly: Place the thermometer in the center of the middle rack. This is the most consistent heat zone.
- Preheat to 350°F: Set your oven and wait for the full preheat cycle (usually 10-15 minutes). Do not open the door during this time.
- Take multiple readings: After preheat, note the temperature. Check again at 20 minutes, 30 minutes, and 40 minutes. Average the results for the truest picture.
- Test at another temperature: Repeat at 400°F to check consistency across ranges.
What the numbers mean:
- Within 15-25°F: Minor drift—calibration can fix it easily.
- 25-50°F off: Time to calibrate.
- Over 50°F or wildly erratic: Likely a faulty sensor or thermostat—professional help is best.
This test takes under an hour but saves countless ruined batches. Many homeowners are shocked to discover their "350°F" oven is actually 385°F!
Mastering Oven Temperature Calibration: DIY for Digital Models
If your test shows a moderate offset, calibration is your solution. Most modern digital ovens allow adjustments of up to 35°F in either direction.
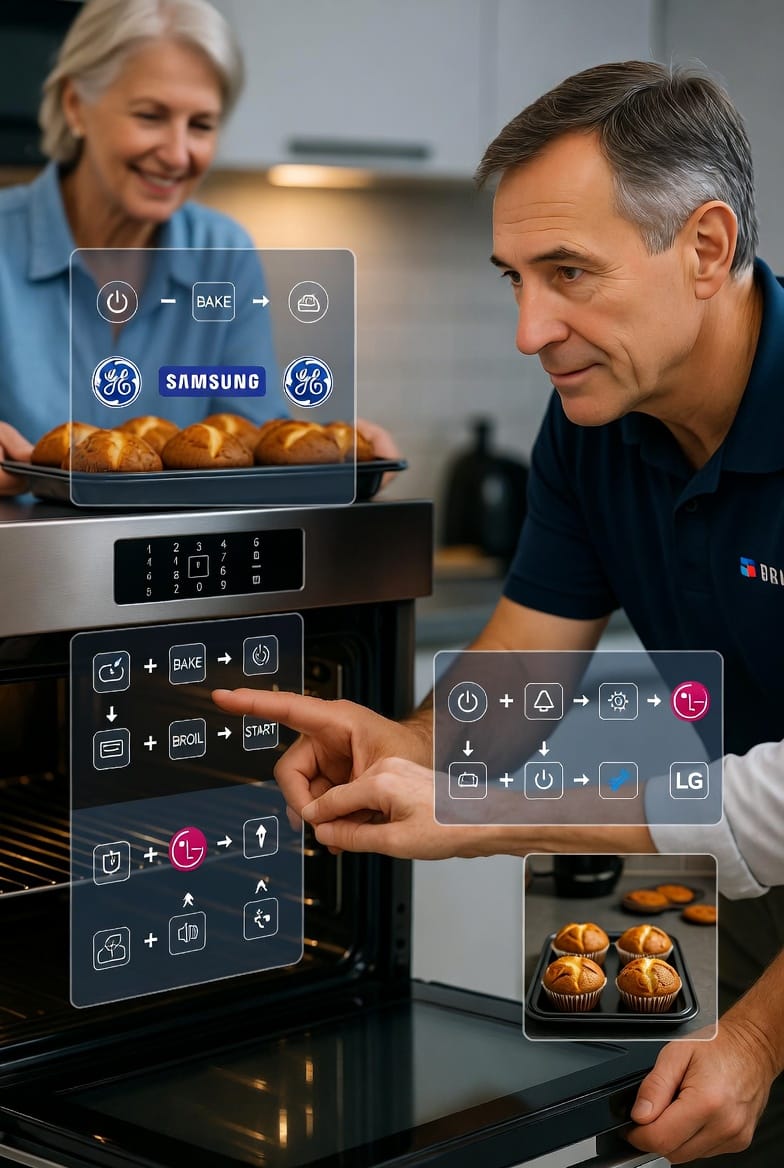
General Steps to Enter Calibration Mode
- Consult your manual first: Models vary, but the process is similar.
- Access the settings: Typically, press and hold Bake + Broil for 3-5 seconds until "SF" or "CAL" appears.
- Adjust the temperature: Use arrow keys or number pads to add or subtract degrees.
- Save and exit: Press Start or wait for the display to confirm.
Brand-Specific Examples
- GE Appliances: Hold Bake and Broil Hi/Lo for 2 seconds. Press Bake to toggle, then arrows to adjust ±35°F.
- Whirlpool/KitchenAid: Hold Temp/Time arrows for 5 seconds, or press Bake for "00". Adjust in 5-10°F increments.
- Samsung: Navigate to Settings > Thermostat Adjustment, or hold Broil + 1 until "ADJ 0" shows.
- LG: Often through the Options menu—check for "Oven Temp Adjust."
After calibrating, retest with your thermometer. Most bakers see immediate improvements.
Pro Tip: Calibrate in 10°F increments and test after each. Over-adjusting can create new problems.
For older analog ovens, calibration involves a small screw behind the temperature knob—best left to pros to avoid damage.
When Calibration Isn't Enough: Recognizing Major Issues
Sometimes, no amount of tweaking helps. If temperatures swing wildly or stay off by more than 50°F, suspect a deeper problem.
Key indicators for professional intervention:
- Erratic cycling (oven heats, then drops suddenly).
- Error codes on the display (like "F1" or "E1").
- No improvement after calibration.
In these cases, the temperature sensor or thermostat likely needs replacement. These parts are affordable, but installation requires electrical know-how and safety precautions.
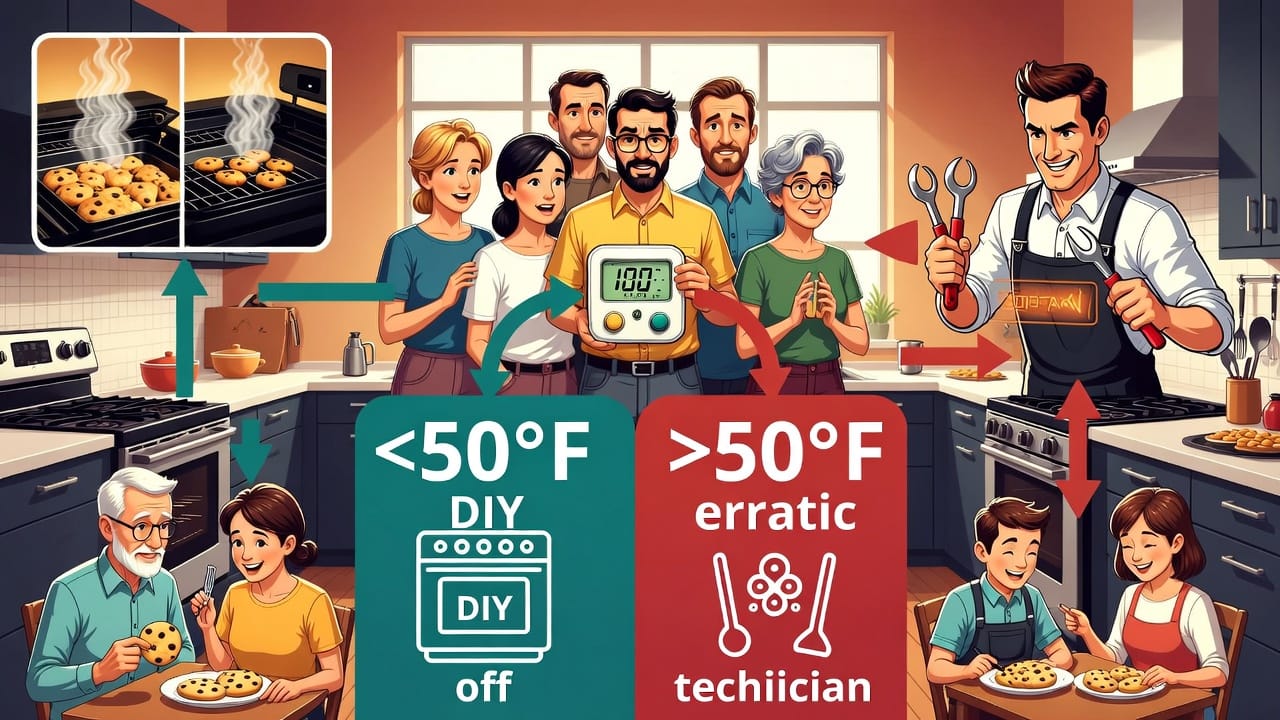
The Decision Flowchart: Test → Calibrate → Call for Help
To make it simple, follow this mental roadmap:
- Oven too hot or cold? → Test with thermometer.
- Off by less than 50°F? → Calibrate yourself.
- Off by more than 50°F or inconsistent? → Schedule professional diagnosis.
This structured approach prevents unnecessary repairs while ensuring you don't overlook serious faults.
Preventive Maintenance to Keep Your Oven Accurate
Once fixed, maintain that precision:
- Clean regularly: Residue affects sensors.
- Check door seals: Replace if cracked.
- Avoid slamming the door: It jars components.
- Annual thermometer test: Catch drifts early.
These habits extend your oven's life and keep baking stress-free.
Advanced Baking Tips with a Calibrated Oven
With accuracy restored, elevate your game:
- Use the center rack for even heat.
- Rotate pans midway for uniformity.
- Invest in dark pans for better browning (reduce temp by 25°F).
- Trust the process: No more peeking—let the oven do its job.
Home bakers report 30-50% better results after calibration. Your cookies will thank you.
Bake with Confidence Again
An inaccurate oven doesn't have to derail your passion for baking. By testing, calibrating, and knowing when to seek expert help, you reclaim control over your kitchen creations.
Whether it's a quick DIY adjustment or a full sensor replacement, the result is the same: reliable heat, perfect bakes, and fewer disappointments.
Ready to troubleshoot or need hands-on assistance with oven temperature calibration or thermostat diagnosis? Our certified technicians are here to help.
End Temperature Guesswork – Schedule Calibration Now!