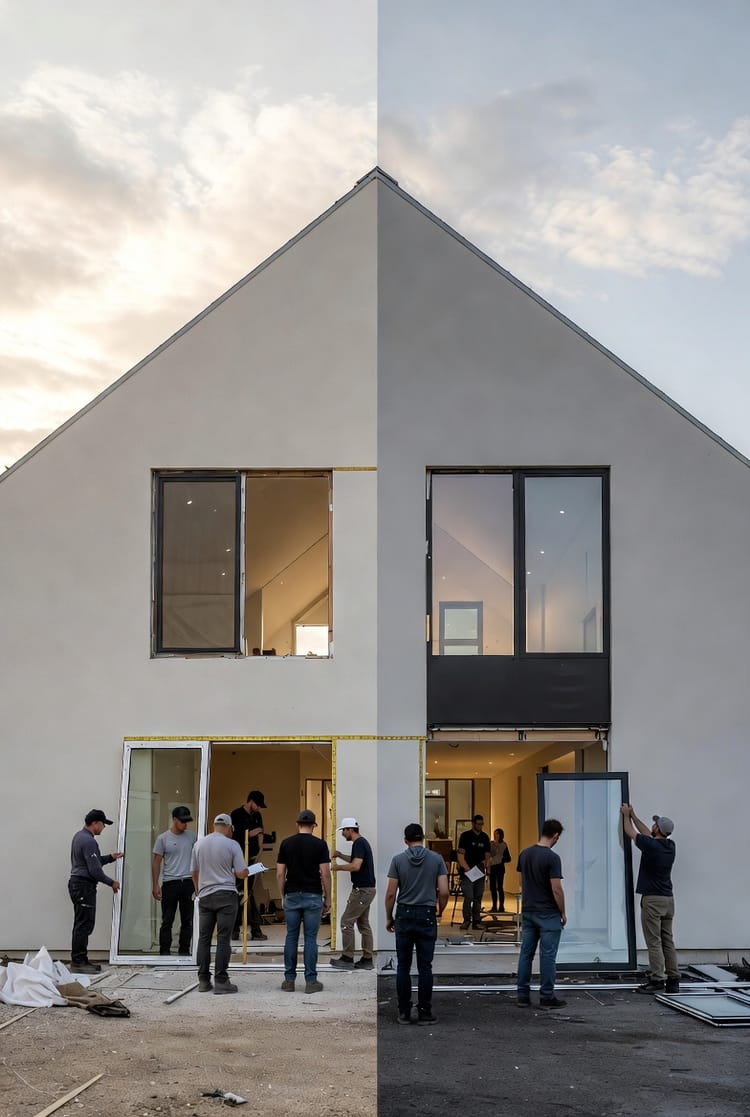
The Installation Flashing System: A Step-by-Step Breakdown of the Water-Management Details That Prevent Leaks
When it comes to protecting your home from water damage, the window installation flashing system is your first line of defense. Far too often, homeowners focus solely on the window unit itself—its energy efficiency, style, or durability—while overlooking the critical installation details that ensure long-term performance. But rest assured, a properly executed flashing system is what truly prevents leaks, mold, and costly repairs. In this comprehensive guide, we'll dive deep into the layers of a professional flashing installation, explaining how each component works in harmony to direct water out and away from your home's structure. We'll go beyond the window to explore the "shingled" approach that mimics roofing techniques, creating an impenetrable barrier against moisture.
Protect Your Windows with Expert Flashing – Call Today
As certified experts in window installations, we emphasize that proper flashing isn't optional—it's essential for any climate, from rainy coastal areas to arid regions prone to occasional storms. By understanding these water-management details, you'll gain confidence in your home's resilience. Let's break it down step by step, with practical insights to help you appreciate the science and craftsmanship involved.
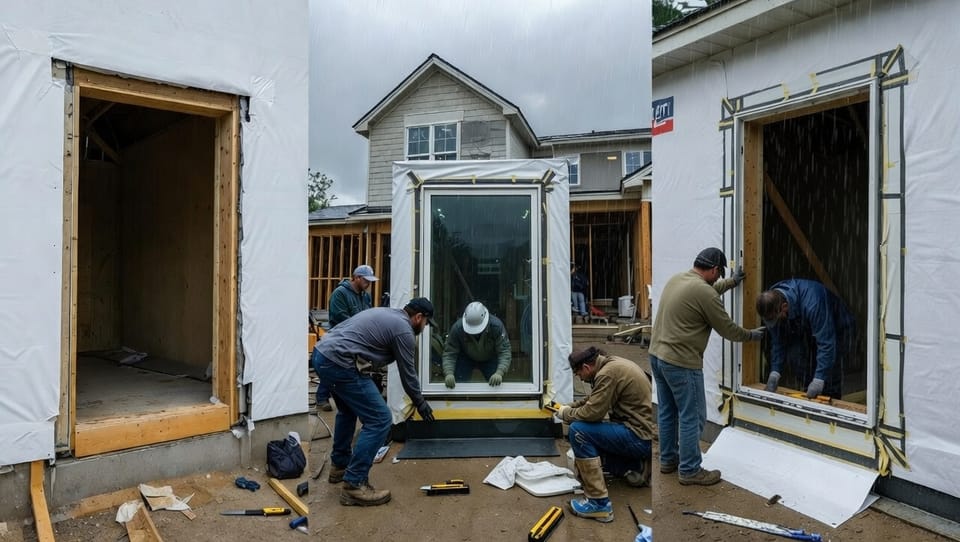
Understanding the Rough Opening: The Foundation of Flashing Success
Before any flashing tape or pan is applied, the rough opening—the framed hole in your wall where the window will sit—must be prepared meticulously. This space is vulnerable to water intrusion if not addressed properly. Think of it as the gateway between your home's interior and the elements outside.
- Inspect for Structural Integrity: Ensure the framing is square, level, and free from defects. Any warping or gaps can compromise the flashing's effectiveness.
- Measure Precisely: Accurate dimensions prevent forcing the window in, which could damage seals.
- Clean Thoroughly: Remove debris, dust, or old materials to allow adhesives to bond securely.
A well-prepared rough opening sets the stage for the layered flashing system. Without this foundation, even the best materials fail. Homeowners often underestimate this step, but our authoritative approach guarantees it's done right, providing peace of mind that your investment is protected.
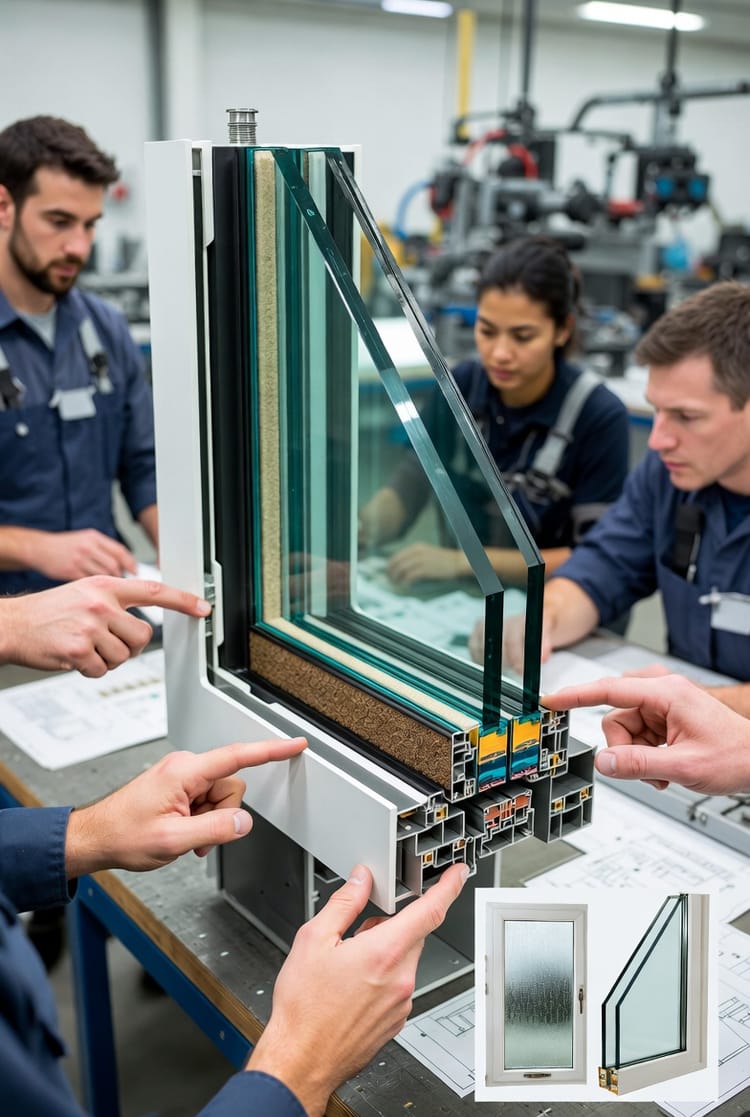
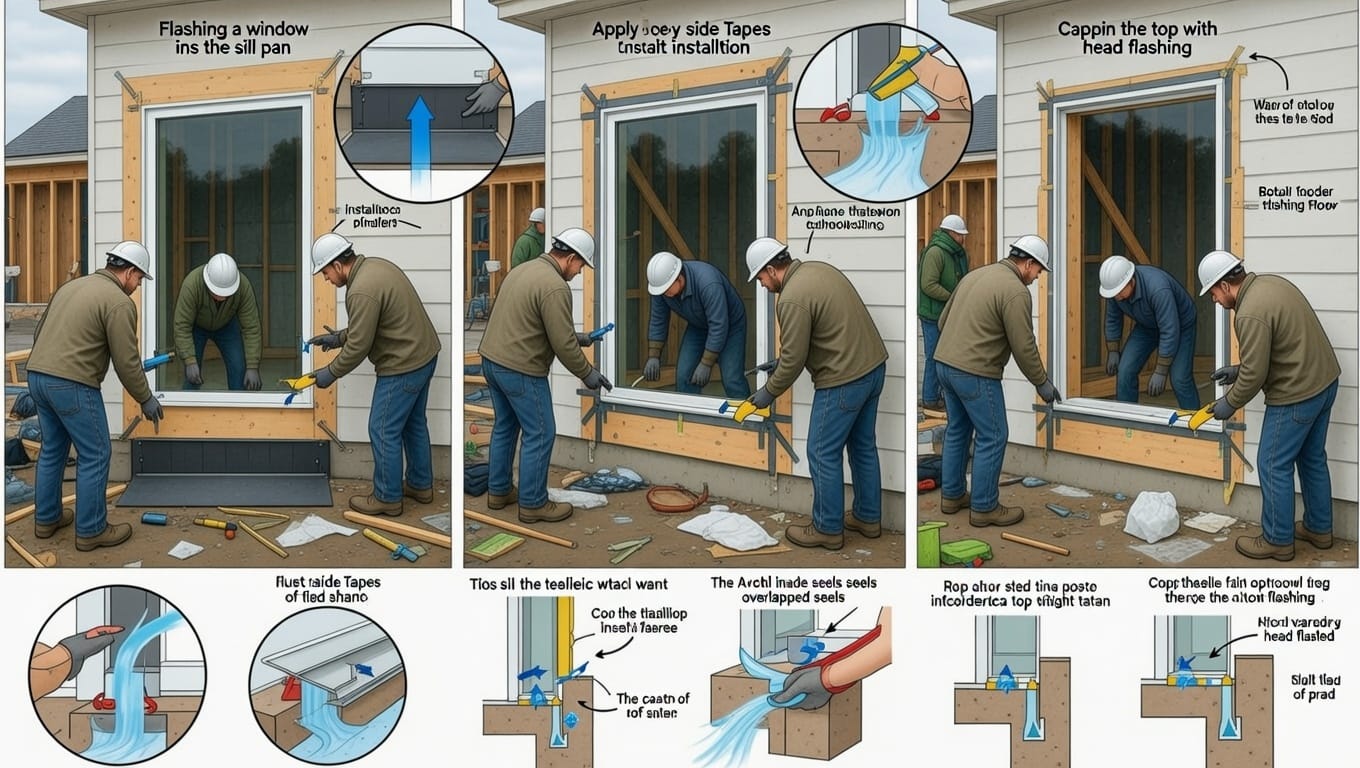
The Sill Pan: The Base Layer for Water Diversion
The sill pan is the unsung hero of the flashing system, acting as the bottom layer that collects and directs water outward. Installed at the base of the rough opening, it's typically made from durable materials like metal, plastic, or self-adhering membranes. Its sloped design ensures gravity pulls water away from the interior.
Here's how it integrates into the overall system:
- Material Selection: Choose corrosion-resistant options for longevity. For example, aluminum or PVC pans withstand harsh weather without degrading.
- Installation Technique: Position the pan with a slight outward slope (at least 1/4 inch per foot) and seal all edges with compatible tape or sealant.
- Back Dam Creation: Include a raised back edge to prevent water from flowing inward during heavy rains.
By channeling water to the exterior, the sill pan prevents pooling that could lead to rot or mold. In our installations, we prioritize high-quality sill pans certified for water resistance, ensuring your home stays dry even in extreme conditions. This layer exemplifies the "shingled" principle: overlapping components that guide moisture downward and out, much like roof shingles.
Common risks if skipped? Water accumulation behind walls, leading to structural damage over time. But with proper application, you can trust this base layer to perform reliably for decades.
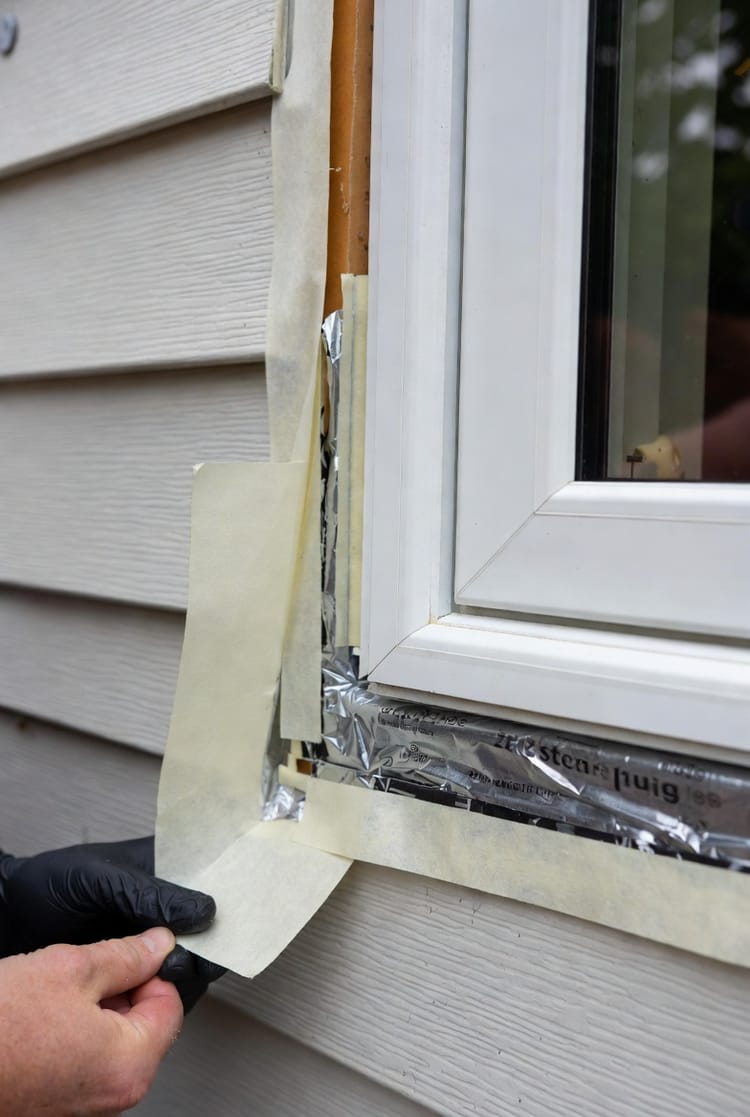
Side Flashing Tapes: Sealing the Vertical Vulnerabilities
Moving up from the sill pan, side flashing tapes cover the vertical jambs of the rough opening. These self-adhering membranes create a seamless seal along the sides, bridging gaps and preventing lateral water entry.
Key steps in application:
- Prep the Surface: Ensure the substrate is dry and primed if needed for optimal adhesion.
- Apply from Bottom Up: Start at the sill pan and extend upward, overlapping the pan by at least 2-3 inches for continuity.
- Smooth Out Air Bubbles: Use a roller to eliminate voids that could allow water penetration.
These tapes are flexible yet tough, accommodating minor movements in the building structure without cracking. They integrate with the sill pan to form the lower "shingle," directing any infiltrating water back to the pan for expulsion.
Why is this layer crucial? Sides are prone to wind-driven rain, and without robust flashing, leaks can seep into insulation or framing. Our certified installers use premium tapes rated for UV exposure and temperature extremes, offering authoritative assurance against such threats.
Head Flashing: The Top Cap for Ultimate Protection
At the top of the rough opening, head flashing serves as the crowning element, deflecting water away from the window's header. Often a metal drip cap or rigid tape, it's installed to overlap the side tapes and housewrap.
Detailed breakdown:
- Positioning: Place it above the window flange, extending beyond the sides for full coverage.
- Integration with Sheathing: Secure it to the wall sheathing, ensuring no gaps.
- Drip Edge Design: Include a protruding lip to shed water clear of the opening.
This layer completes the "shingled" system by overlapping lower components, ensuring water flows downward without backtracking. It's particularly vital in areas with heavy snowfall or driving rains, where overhead moisture is a constant risk.
Skipping head flashing? That's a recipe for header rot and interior damage. Rest assured, our techniques prioritize this step, using materials that endure for the life of your home.
Integration with Housewrap: The Outer Envelope of Defense
No flashing system is complete without seamless integration with housewrap—the weather-resistant barrier wrapping your home's exterior. This vapor-permeable membrane allows moisture to escape while blocking bulk water entry.
How it ties everything together:
- Overlapping Sequence: Cut and fold housewrap into the rough opening, overlapping the sill pan and securing with tape.
- Tape All Seams: Use compatible flashing tape to seal where housewrap meets flashing components.
- Window Flange Sealing: After window insertion, tape the flanges to the housewrap, maintaining the shingle effect.
This integration creates a continuous envelope, directing any water that penetrates siding or cladding outward. It's the "shingled" system's backbone, ensuring no weak points.
In humid climates, improper integration risks condensation buildup, but our authoritative methods use breathable housewraps to mitigate this. You'll feel reassured knowing this layer enhances overall energy efficiency too.
The "Shingled" System Explained: Directing Water Out and Away
At its core, the flashing system employs a shingled approach, where each layer overlaps the one below, mimicking how shingles on a roof shed water. This gravity-fed design ensures moisture is always directed downward and outward, away from the rough opening.
Benefits include:
- Redundancy: Multiple layers provide backup if one fails.
- Adaptability: Handles building settling or thermal expansion.
- Longevity: Reduces wear on interior structures.
Common pitfalls? Reverse shingling—installing layers out of order—allows water to trap behind. But with our certified techniques, this risk is eliminated, offering dependable protection.
Common Mistakes and How to Avoid Them
Even seasoned DIYers fall into traps. Here's what to watch for:
- Ignoring Slope: Flat sill pans lead to pooling—always verify the angle.
- Poor Adhesion: Dirty surfaces cause tape failure—clean meticulously.
- Incompatible Materials: Mismatched tapes and sealants degrade quickly—use system-matched products.
Our installers undergo rigorous training to sidestep these, ensuring your flashing performs flawlessly.
Benefits of Professional Flashing Installation
Investing in expert installation yields:
- Leak Prevention: Safeguards against water damage claims.
- Energy Savings: Seals reduce drafts, lowering bills.
- Home Value Boost: Proper details appeal to buyers.
Rest assured, this system extends your windows' lifespan, providing authoritative reliability.
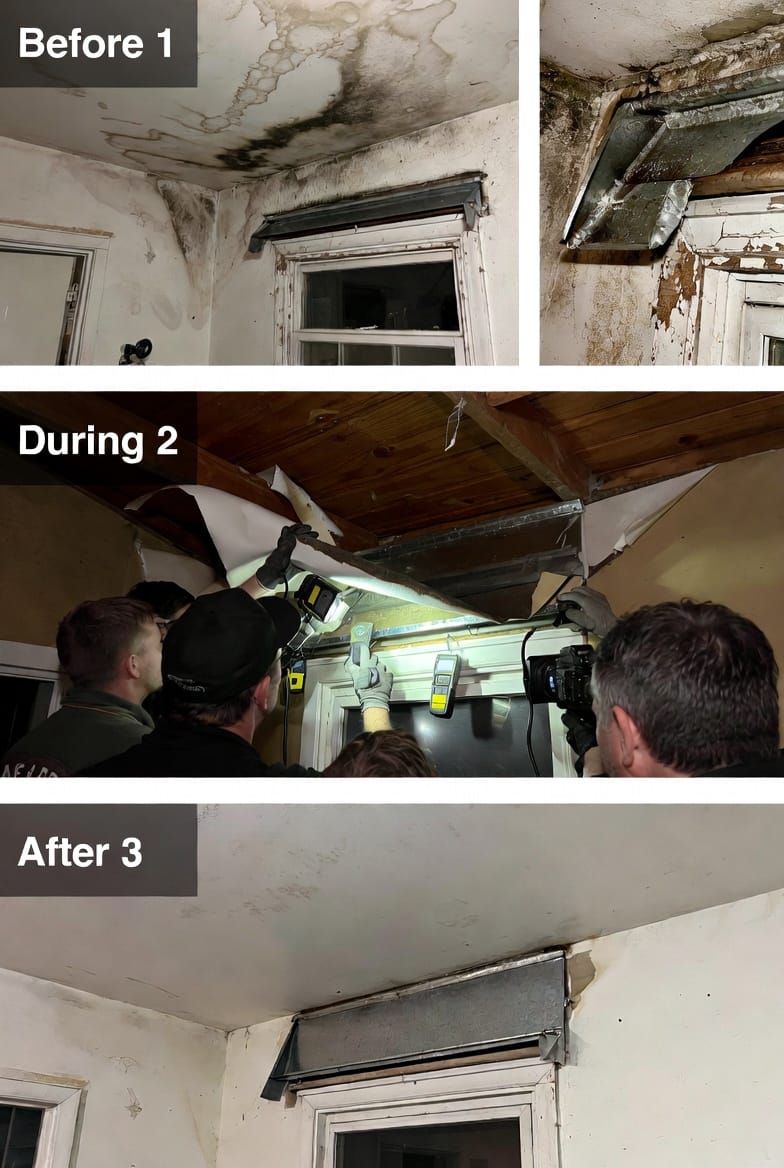
ed flashing as the culprit, not the window—demonstrating how proper techniques resolve and prevent issues.
Why Flashing Matters More Than the Window Itself
Ultimately, leaks rarely stem from the window unit; they're installation flaws. By prioritizing the flashing system, you fortify your home against nature's assaults.
Conclusion: Secure Your Home Today
Demand the details that keep water out. Our installers are certified in proper flashing techniques, delivering peace of mind through expert craftsmanship.
Secure Your Windows Against Water Damage – Call for Expert Help