The Hidden Cavity Drying: Why Restorers Drill Holes in Walls to Dry Structural Cores
Water damage in homes and buildings often goes beyond what meets the eye. While surface stains and puddles are visible signs, the real threat lurks within the walls—hidden moisture that can compromise structural integrity, foster mold growth, and lead to costly repairs if not addressed promptly. As a leading expert in water damage restoration, we understand the importance of thorough drying techniques. One such method, often misunderstood but essential, involves drilling small holes into walls to access and dry the internal cavities. This intrusive yet necessary approach, known as cavity drying, ensures that every layer of your structure is protected from long-term damage.
Stop Hidden Water Damage – Call for Professional Weep Hole Drying Now
In this comprehensive guide, we'll explore why restorers employ this technique, how water infiltrates wall cavities, the role of weep holes in facilitating drainage and air circulation, and the seamless patching process that restores your walls to their original condition. Rest assured, with professional intervention, your property can recover fully and safely. Let's delve into the science and steps behind this proven method.
Understanding Water Infiltration in Wall Cavities
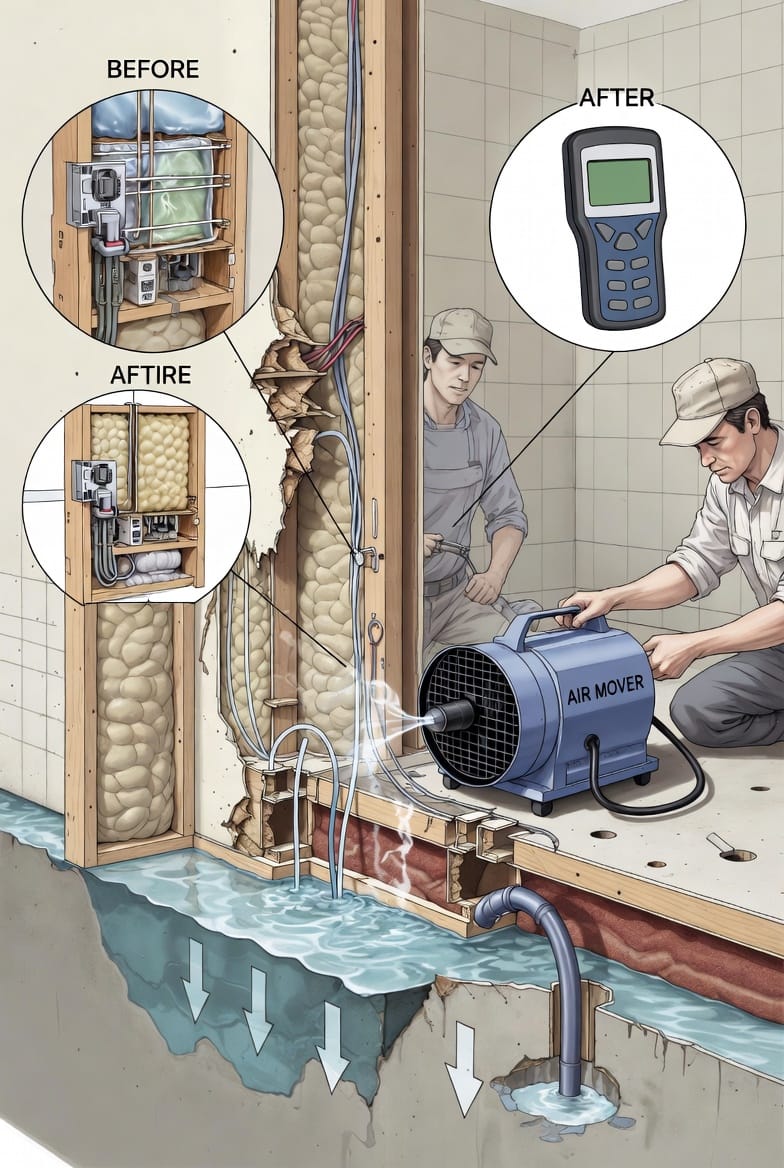
Walls aren't solid barriers; they're complex assemblies of materials like drywall, insulation, studs, and sheathing. When water enters—whether from a burst pipe, roof leak, or flooding—it doesn't stay on the surface. Instead, gravity pulls moisture downward, allowing it to seep into hidden spaces.
- Pathways of Water Travel: Water exploits gaps, cracks, and porous materials. For instance, in a typical stud wall, moisture can wick through insulation or flow along wooden frames, accumulating at the base where it has nowhere to escape.
- Trapped Moisture Risks: Without intervention, this leads to wood rot, mold proliferation, and even structural weakening. Studies show that undetected dampness can reduce a wall's load-bearing capacity by up to 30% over time.
- Why Surface Drying Isn't Enough: Blowers and dehumidifiers work well for visible areas, but they can't penetrate sealed cavities. This is where cavity drying becomes indispensable.
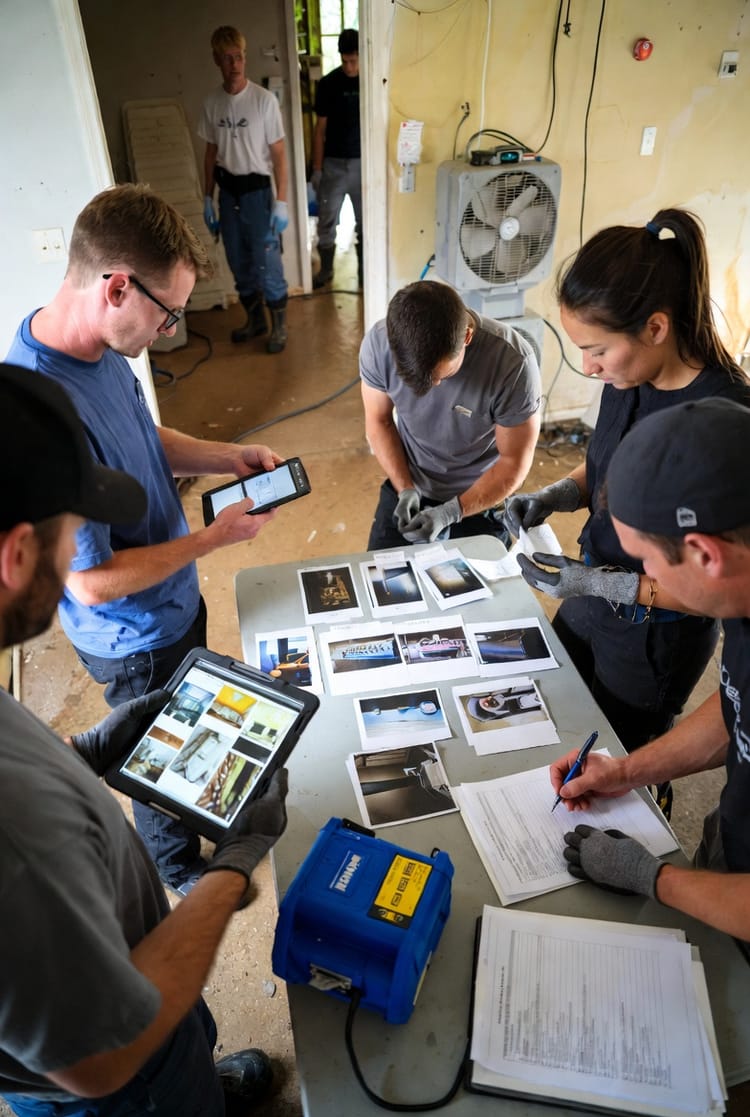
By recognizing these dynamics, homeowners can appreciate the proactive steps restorers take to mitigate risks. Our teams use advanced moisture detection tools, like infrared cameras and hygrometers, to map out affected areas before any drilling begins.
The Role of Weep Holes in Cavity Drying
Weep holes—small, strategically placed openings drilled into the wall—are the cornerstone of effective cavity drying. Far from being random punctures, these holes are calculated to promote airflow and drainage, transforming a stagnant, moist environment into one that dries efficiently.
How Weep Holes Are Created
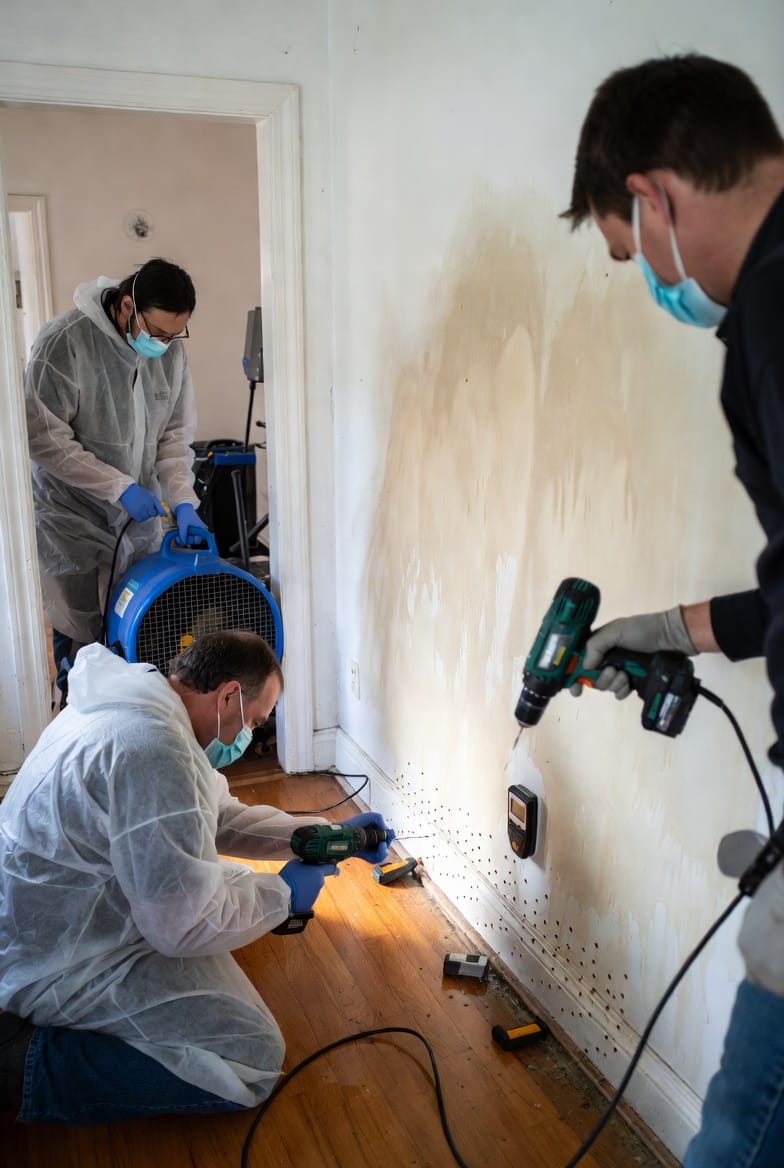
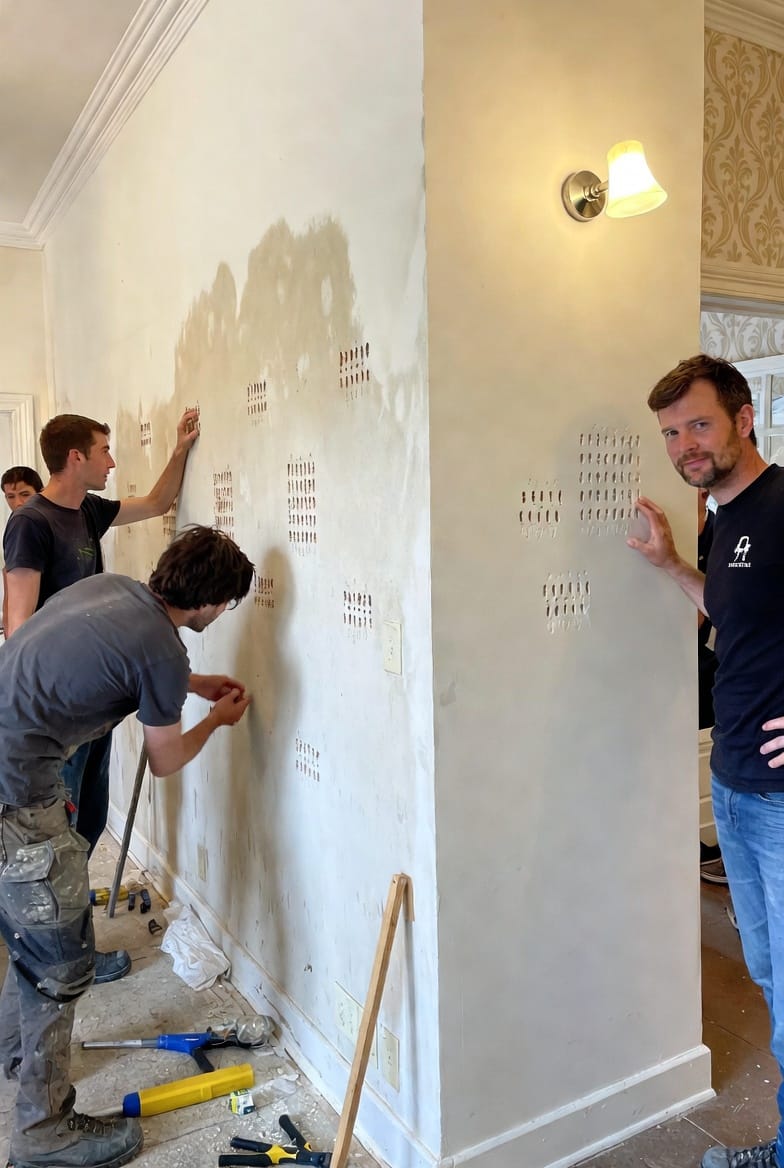
The process starts with a thorough assessment. Restorers identify the lowest points of water accumulation, typically near the baseboard. Using specialized drills with dust-control attachments, they create holes about 1/4 to 1/2 inch in diameter, spaced 12-16 inches apart. This minimizes aesthetic disruption while maximizing coverage.
- Precision Drilling: Holes are angled slightly upward to prevent debris fallout and ensure optimal air injection.
- Safety Measures: Professionals wear protective gear and use low-vibration tools to avoid compromising wall stability.
- Integration with Equipment: Once drilled, high-velocity air movers or injectidry systems are connected, forcing dry air into the cavity and expelling humid air through the holes.
This technique isn't new; it's rooted in building science principles that emphasize ventilation to combat condensation and dampness.
Benefits of Air Circulation and Drainage
Drilling weep holes allows for dual-action relief:
- Drainage: Excess water drains out naturally or is suctioned, preventing pooling that could lead to further saturation.
- Air Circulation: By introducing forced air, restorers accelerate evaporation. This can reduce drying time from weeks to days, depending on the extent of damage.
- Mold Prevention: Enhanced airflow disrupts the humid conditions mold thrives in, with relative humidity dropping below 60%—the threshold for spore activation.
- Energy Efficiency: Modern systems recycle air, making the process environmentally friendly and cost-effective.
Homeowners often worry about the invasiveness, but consider this: untreated hidden moisture can cost thousands in mold remediation alone. Our authoritative approach ensures minimal disruption with maximum results.
Monitoring the Drying Process
Once weep holes are in place, continuous monitoring is key to success. Restorers employ data loggers to track humidity and temperature inside the cavity, adjusting equipment as needed.
- Daily Checks: Moisture readings are taken multiple times a day to confirm progress.
- Threshold for Completion: Drying is deemed complete when cavity moisture content matches ambient levels, typically under 15% for wood materials.
- Common Challenges: In insulated walls, fiberglass or cellulose can retain water longer, requiring extended air injection.
This meticulous oversight reassures clients that no corners are cut—your home's health is our priority.
Patching and Restoring the Walls
After drying, the focus shifts to restoration. Patching weep holes is a straightforward process that leaves no trace, blending seamlessly with your existing decor.
Step-by-Step Patching Guide
- Cleaning the Holes: Debris is removed, and the area is sanitized to prevent any residual contamination.
- Filling: Holes are filled with a compatible material, such as drywall compound or spackle, applied in layers for strength.
- Sanding and Smoothing: Once dry, the surface is sanded to match the wall's texture.
- Painting and Finishing: A primer coat followed by matching paint ensures invisibility. For textured walls, tools like spray cans replicate the original finish.
- Tools Used: Putty knives, sandpaper, and color-matching software for precision.
- Timeframe: Patching typically takes 24-48 hours, including drying time.
- Durability: Properly done, these repairs withstand daily wear, with no weakening of the wall.
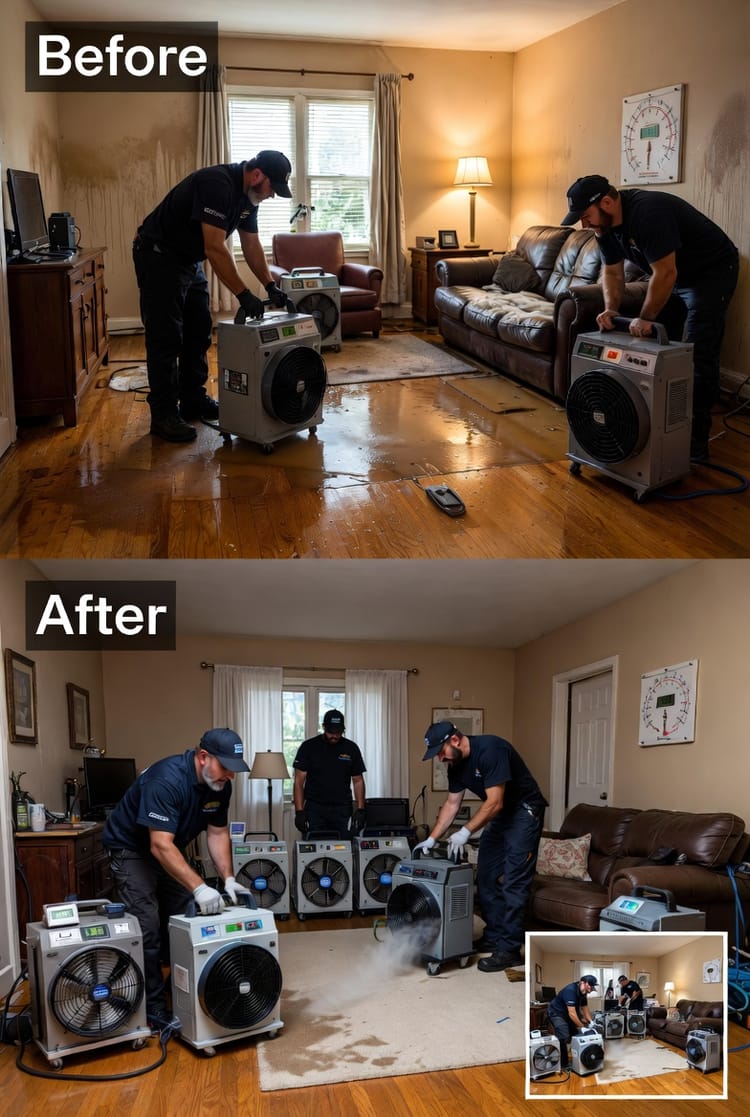
Before-and-after documentation provides peace of mind, showing the transformation from damaged to pristine.
Why Choose Professional Restorers for Cavity Drying
Attempting DIY cavity drying can exacerbate issues—improper drilling might damage wiring or plumbing, and inadequate equipment could leave moisture behind. Professionals bring:
- Certified Expertise: Trained in IICRC standards for water damage restoration.
- Advanced Technology: From thermal imaging to high-capacity dehumidifiers.
- Insurance Coordination: We handle claims to ease your burden.
- Warranties: Backed guarantees on work performed.
In regions prone to humidity or flooding, like coastal areas, this technique is a staple in preventing recurrent problems.
Potential Risks and How We Mitigate Them
While effective, cavity drying isn't without considerations:
- Dust and Noise: Managed with containment barriers and scheduled work.
- Aesthetic Concerns: Temporary, resolved through expert patching.
- Structural Impact: Minimal, as holes are small and non-load-bearing.
Our reassuring protocols include pre-work consultations and post-job walkthroughs, ensuring transparency.
Case Studies: Real-World Applications
Consider a recent residential flood where basement walls trapped water for days. By drilling weep holes and circulating air, we dried the cores in 72 hours, averting mold. Another commercial building with pipe leaks saw similar success, with patched walls indistinguishable from originals.
These examples underscore the technique's reliability across scenarios.
SEO-Optimized Tips for Preventing Future Water Damage
To safeguard your property:
- Regular Inspections: Check for leaks in roofs, pipes, and foundations annually.
- Proper Ventilation: Use exhaust fans in bathrooms and kitchens.
- Humidity Control: Maintain indoor levels at 30-50% with dehumidifiers.
- Quick Response: Act within 24-48 hours of water exposure.
Incorporating these habits reduces the need for invasive drying.
In conclusion, cavity drying via weep holes is a testament to modern restoration science—intrusive only in necessity, but transformative in outcome. By addressing moisture at its core, we preserve your home's integrity. Trust in our authoritative methods for a dry, safe future.
Prevent Mold & Rot – Call for Hidden Cavity Drying Experts