The Heated Floor System: Electric Radiant Heat Installation and Material Considerations
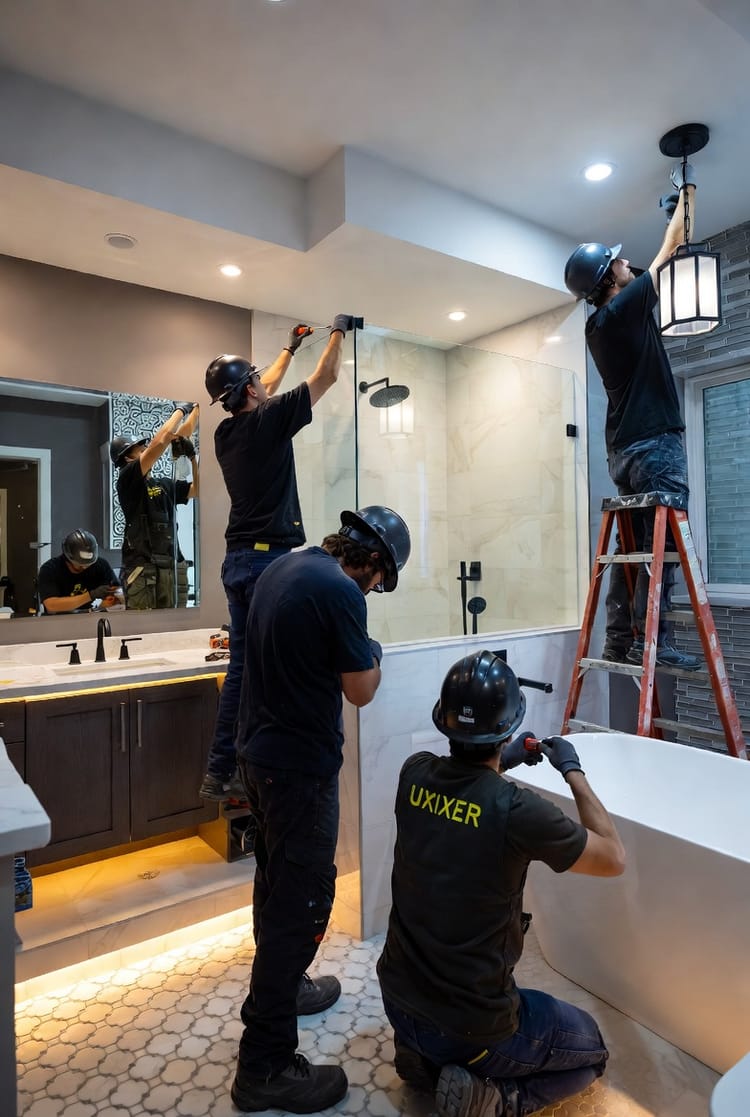
Imagine stepping out of bed on a chilly morning, your bare feet greeted not by a shock of cold tile but by gentle, enveloping warmth. This is the promise of electric radiant floor heating, a modern solution that prioritizes in-floor comfort and transforms ordinary bathrooms into luxurious retreats. As a leading expert in bathroom remodeling, we at [Your Company Name] have seen firsthand how this technology elevates daily living. In this comprehensive guide, we'll explore the installation process, key materials, and why heated floor systems are a smart, cost-effective choice for homeowners seeking ultimate comfort.
Get Your Warm Floors Installed – Free Consultation Now
Whether you're renovating a master bath or updating a guest powder room, understanding electric radiant heat ensures you make informed decisions. We'll cover everything from the basics to advanced considerations, reassuring you that this upgrade is accessible, reliable, and energy-efficient. Let's dive in.
Understanding Electric Radiant Floor Heating
Electric radiant floor heating operates on a simple yet ingenious principle: thin heating elements embedded beneath your flooring generate gentle heat that radiates upward, warming your feet and the room evenly. Unlike traditional forced-air systems that can create drafts or uneven temperatures, this method focuses on in-floor comfort, providing a consistent, luxurious warmth where you need it most.
At its core, the system uses electric heating mats or cables that convert electricity into heat. These are designed for underfloor installation, making them ideal for tile, stone, or other conductive materials. The result? A bathroom floor that feels like a spa treatment every time you step on it.
Key benefits include:
- Energy efficiency: Heat rises naturally, reducing the need for higher thermostat settings.
- Silent operation: No noisy fans or ducts.
- Zoned heating: Warm specific areas without heating the entire home.
- Health advantages: Reduces dust circulation compared to air-based systems.
Homeowners often report a significant improvement in overall comfort, especially in colder climates. With proper installation, these systems can last for decades, offering long-term value.
The Installation Process: Step-by-Step Guide
Installing electric radiant floor heating might seem complex, but with professional guidance, it's straightforward and minimally disruptive. We recommend working with certified installers to ensure safety and optimal performance. Here's how it typically unfolds, focusing on installation under tile for maximum in-floor comfort.
Preparing the Subfloor
The foundation of a successful installation is a clean, level subfloor. Start by inspecting for any damage or unevenness—address these to prevent future issues.
- Clean thoroughly: Remove debris, old adhesives, or residues.
- Level the surface: Use self-leveling compounds if needed for a flat base.
- Insulate if necessary: In some cases, add insulation boards to direct heat upward, enhancing efficiency.
This preparation step is crucial for even heat distribution and longevity.
Laying the Uncoupling Membrane
An uncoupling membrane acts as a protective layer, preventing cracks from subfloor movement while providing a grid for the heating elements.
- Roll out the membrane over the subfloor.
- Secure it with thin-set mortar or adhesive.
- This membrane also allows for easy cable placement, reducing installation time.
It's a game-changer for tile installations, ensuring durability.
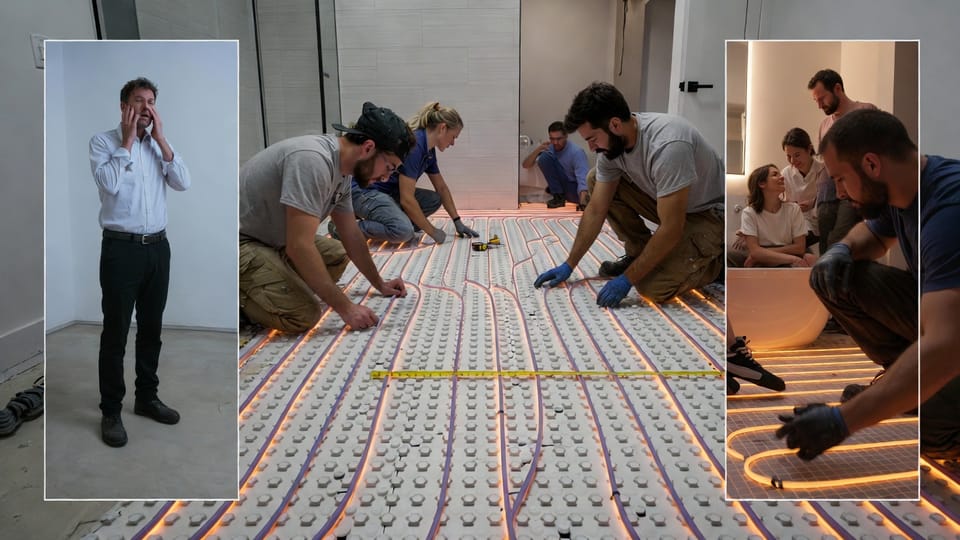
Installing the Electric Heating Mats or Cables
Now comes the heart of the system: the electric heating mats. These pre-woven mats with embedded cables are rolled out and positioned for full coverage.
- Plan the layout: Arrange in a serpentine pattern to avoid cold spots, ensuring even in-floor comfort.
- Secure in place: Embed into the uncoupling membrane using thin-set.
- Test continuity: Use a multimeter to verify no damage during placement.
For custom areas, loose cables can be used instead of mats, offering flexibility.
Applying Thin-Set and Tile
Once the heating elements are set, cover with thin-set mortar and lay your tiles.
- Spread thin-set evenly: Ensure full contact without voids.
- Install tiles: Press firmly for good adhesion.
- Allow curing: Follow manufacturer guidelines for drying times.
The entire process can often be completed in a day or two, depending on the space size.
Professional tip: Always follow electrical codes and have a licensed electrician handle wiring connections for safety.
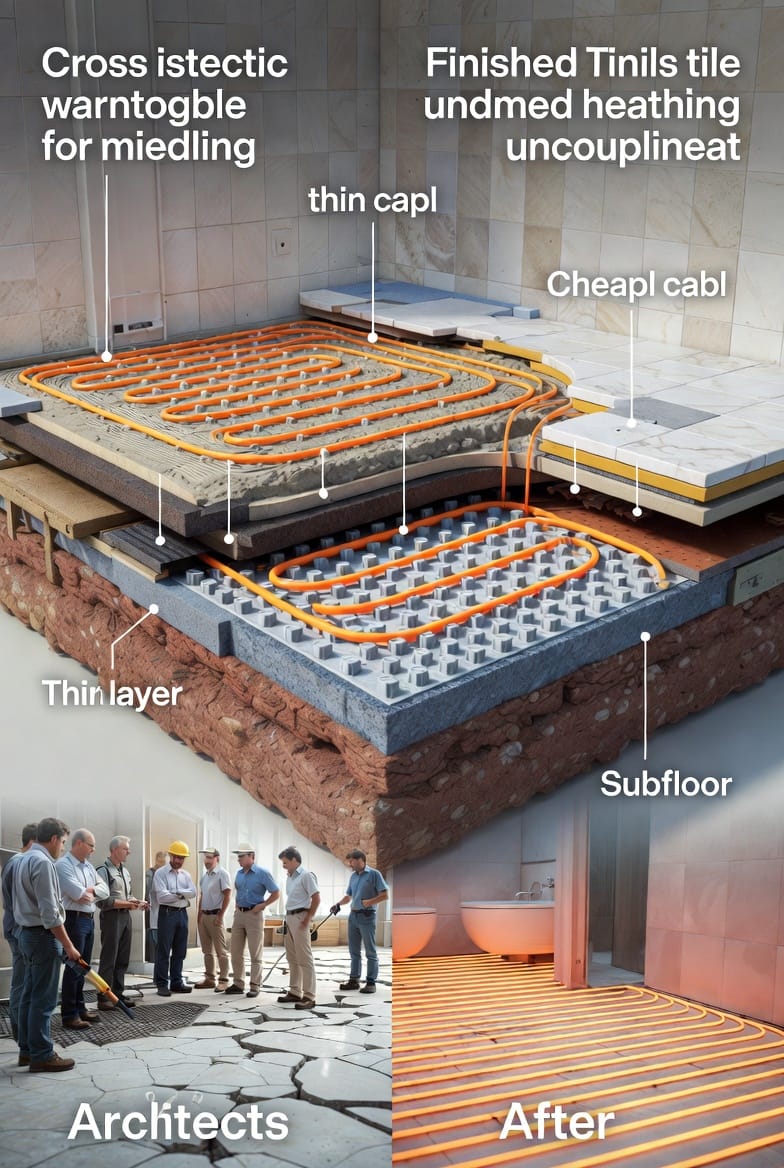
Material Considerations for Optimal Heat Conduction
Not all flooring materials are created equal when it comes to electric radiant heat. The key lies in thermal conductivity—the ability to transfer heat efficiently. Materials like stone and tile excel here, making them top choices for bathrooms.
Why Stone and Tile Shine
Stone (such as marble or slate) and ceramic/porcelain tile are dense and conduct heat superbly. Heat from the underlying mats transfers quickly to the surface, providing rapid warm-up times.
- High thermal mass: Retains heat longer, maintaining in-floor comfort even after the system cycles off.
- Durability: Resists wear in high-moisture areas like bathrooms.
- Aesthetic appeal: Offers endless design options to match your remodel.
In contrast, materials like wood or vinyl have lower conductivity. Wood can warp with heat fluctuations, while vinyl may not transfer warmth as effectively, leading to higher energy use for the same comfort level.
Alternatives and Limitations
If you prefer wood, opt for engineered varieties over solid hardwood, and ensure the system is rated for it. Vinyl can work with low-temperature settings, but expect slower heating.
- Carpet: Possible but less efficient; heat loss is higher.
- Laminate: Compatible if thin and conductive.
Always check manufacturer compatibility to avoid voids in warranties. Our team can help select materials that balance beauty, performance, and budget.
The Crucial Role of a Floor Sensor Thermostat
No heated floor system is complete without a floor sensor thermostat. This device is the brain of the operation, ensuring precise control and safety.
How It Works
Embedded in the floor, the sensor monitors surface temperature, preventing overheating while maintaining your desired warmth.
- Programmable features: Set schedules for automatic operation, like warming up before your morning routine.
- Dual sensing: Tracks both floor and air temperatures for balanced comfort.
- Energy savings: Avoids unnecessary runtime, contributing to minimal operating costs.
Without it, you risk uneven heating or energy waste. It's a small investment for big peace of mind.
Installation and Setup
The sensor is placed during the heating mat phase, with wires running to the wall-mounted thermostat.
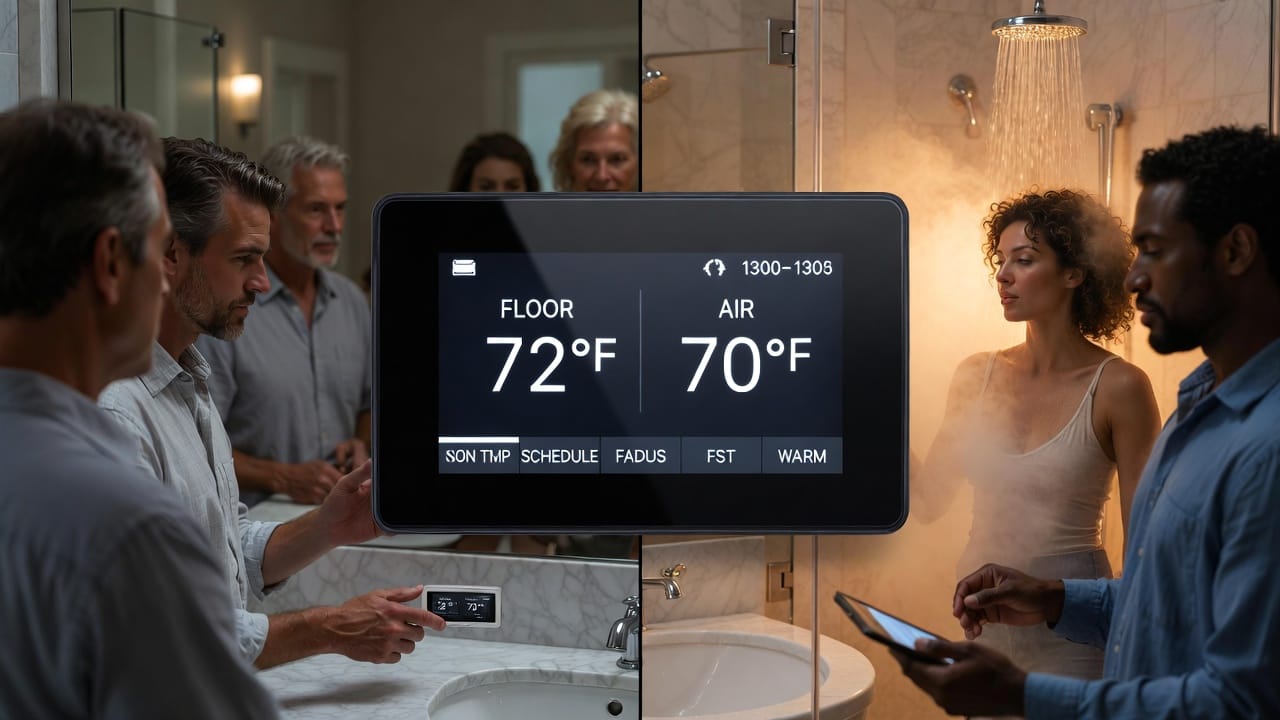
- User-friendly interfaces: Touchscreens display real-time data.
- Smart integrations: Many models connect to apps for remote control.
In our experience, homeowners love the customization—program it once, and enjoy effortless in-floor
Minimal Operating Costs: A Smart Investment
One of the most reassuring aspects of electric radiant floor heating is its minimal operating costs. Contrary to myths, these systems are highly efficient.
Calculating Efficiency
Operating at about 12-15 watts per square foot, a typical bathroom system (say, 50 sq ft) uses roughly 600-750 watts—comparable to a hairdryer, but only when active.
- Daily usage: Often just 1-2 hours to maintain warmth.
- Annual estimates: For a moderate climate, expect $50-150 per year, far less than whole-home heating boosts.
- Factors influencing cost: Insulation quality, room size, and usage patterns.
Pair with good insulation, and costs drop even further. Many users see a return on investment through increased home value and comfort.
Cost-Saving Tips
- Zone wisely: Heat only when needed.
- Insulate below: Prevent heat loss to the subfloor.
- Choose efficient materials: Tile and stone maximize output.
Rest assured, this isn't a luxury reserved for the elite—it's an affordable upgrade with quick payback.
Maintenance and Longevity
Maintaining your heated floor system is straightforward, ensuring years of reliable in-floor comfort.
- Regular checks: Inspect the thermostat annually.
- Cleaning: Treat as you would any tile floor—no special care needed.
- Warranty coverage: Most systems offer 25+ years, with professional installation.
Issues are rare, but if they arise, they're often simple fixes like sensor recalibration.
Common Questions and Reassurances
To address potential concerns:
- Is it safe? Absolutely—systems include GFCI protection against electrical faults.
- Can it be retrofitted? Yes, during remodels, with minimal floor height increase (about 1/8 inch).
- Environmental impact? Efficient use reduces overall energy consumption.
We're here to guide you every step.
Conclusion: Embrace the Warmth
Incorporating electric radiant floor heating into your bathroom remodel is more than an upgrade—it's a commitment to everyday luxury and in-floor comfort. With easy installation under tile, the essential floor sensor thermostat, minimal operating costs, and superior heat conduction from materials like stone, this system delivers unparalleled benefits.
Upgrade to Radiant Heat Comfort – Schedule Your Remodel Call