The Garage Door Hinge Maintenance: Identifying Worn Hinges and Replacing Them Before Damage Occurs.
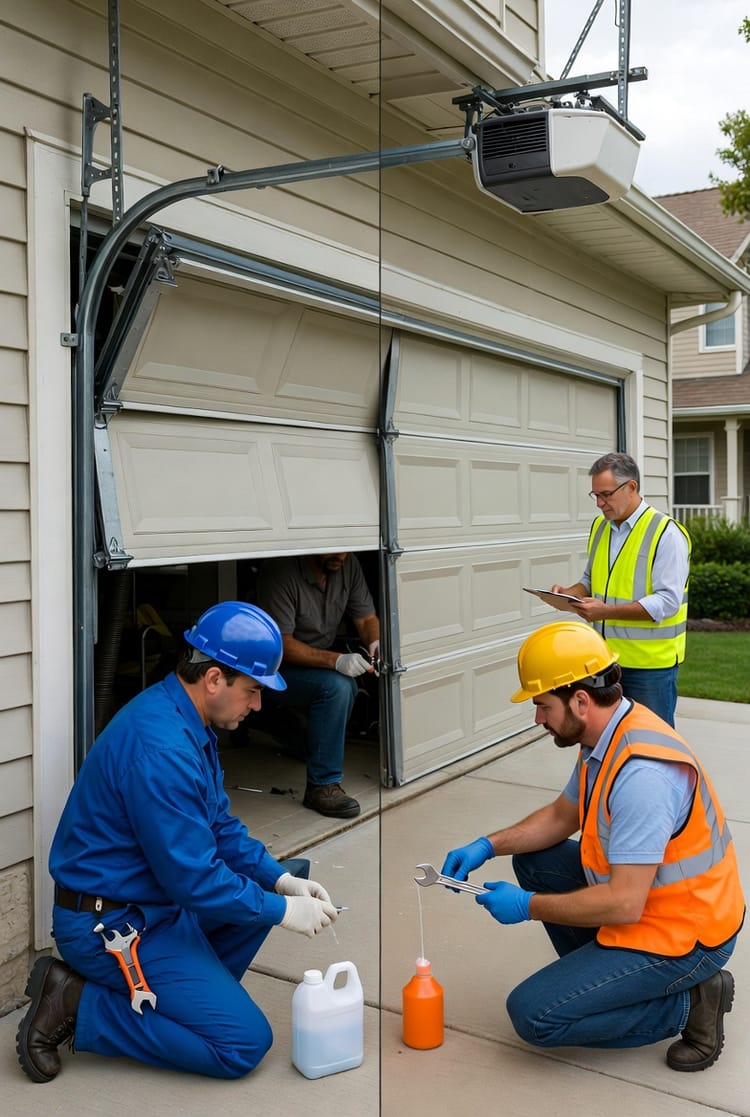
Your garage door works hard every day, lifting and lowering to protect your home and vehicles. While the opener and springs often get attention, the humble garage door hinges play a critical role in smooth operation. These small but essential components connect the door panels, allowing them to bend and flex as the door moves along the tracks.
Protect Your Garage Door – Expert Hinge Replacement – Call Today
Over time, constant use can lead to worn hinges, resulting in misalignment, increased strain on the opener, and even potential safety issues. The good news is that identifying and replacing worn hinges early is straightforward with the right knowledge. Timely garage door hinge maintenance not only prevents expensive repairs but also ensures your door operates reliably for years to come.
In this comprehensive guide, we'll walk you through how hinges wear, the warning signs to watch for, and a step-by-step process for safe replacement. Whether you're a homeowner looking to stay proactive or seeking to understand when professional help is best, this article provides authoritative insights to keep your garage door in top condition.
Small issues today can prevent major headaches tomorrow. By addressing hinge wear promptly, you protect your entire system from cascading problems.
Understanding Your Garage Door Hinges
Garage door hinges are more than simple connectors—they are the flexible joints that let a sectional door curve smoothly from vertical to horizontal as it opens and closes. Each hinge attaches two adjacent panels, allowing controlled movement while supporting the weight of the sections above it. Most residential doors use standard stamped-steel hinges, though heavy-duty models appear on taller or insulated doors for extra strength.
These components endure thousands of cycles every year. Proper garage door hinge maintenance begins with understanding their role: they absorb flex, distribute weight, and keep panels aligned within the tracks. When hinges perform well, your door glides quietly and evenly. Neglect, however, turns these reliable parts into the source of garage door misalignment and unnecessary stress on rollers, cables, springs, and the opener motor itself.
Homeowners often overlook hinges because they appear small and uncomplicated. Yet their importance cannot be overstated. A single failing hinge can shift an entire panel, creating gaps that let in weather or pests while forcing the opener to work harder. Regular attention to this simple component delivers lasting peace of mind and extends the life of your entire garage door system.
How and Why Garage Door Hinges Wear Over Time
Daily operation, weather exposure, and the constant pull of gravity gradually take their toll on garage door hinges. Each open-close cycle stresses the metal around the bolt holes. Over months and years, these holes elongate from round to oval shapes—an unmistakable sign of wear. Moisture, road salt, and temperature swings accelerate rust and fatigue, while inadequate lubrication adds friction that speeds the process.
Heavier bottom panels place greater load on lower hinges, so wear often begins there and works upward. Without routine garage door hinge maintenance, the cumulative effect creates play between panels. The door starts to sag slightly, binding in the tracks and forcing other components to compensate. Springs stretch unevenly, cables fray, and the opener motor overheats—all because a few small hinges were ignored.
The reassuring truth is that this wear happens predictably and slowly. Catching it early requires only a quick visual check and simple hand test. Replacing worn hinges before the damage spreads restores perfect alignment and returns your door to quiet, efficient operation. Timely action here is one of the smartest and least expensive ways to safeguard your investment.
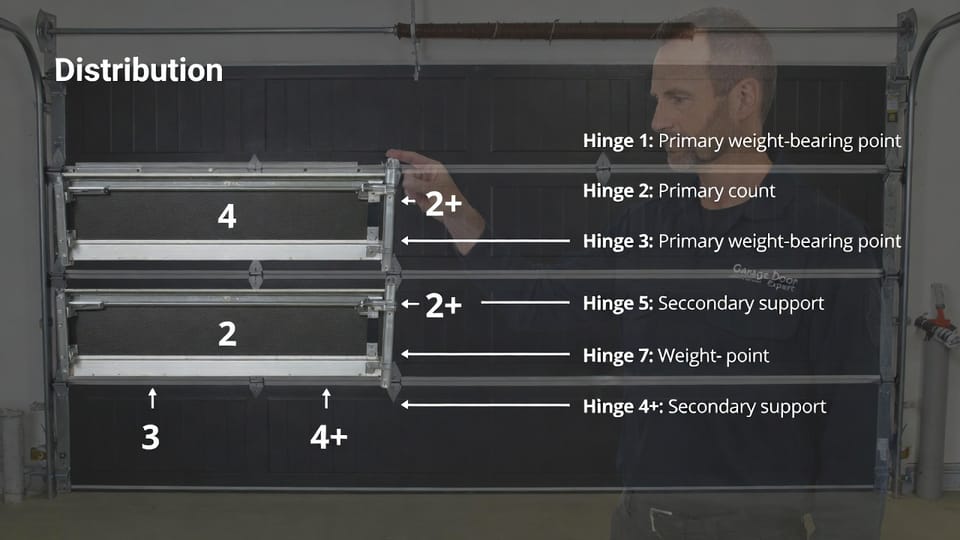
The Garage Door Hinge Numbering System Explained
Every sectional garage door follows a standard numbering system that makes hinge replacement straightforward. Hinges are labeled by position, starting with #1 at the very bottom panel and increasing upward. A typical seven-panel door uses hinges numbered 1 through 4, with higher numbers near the top where less weight is carried.
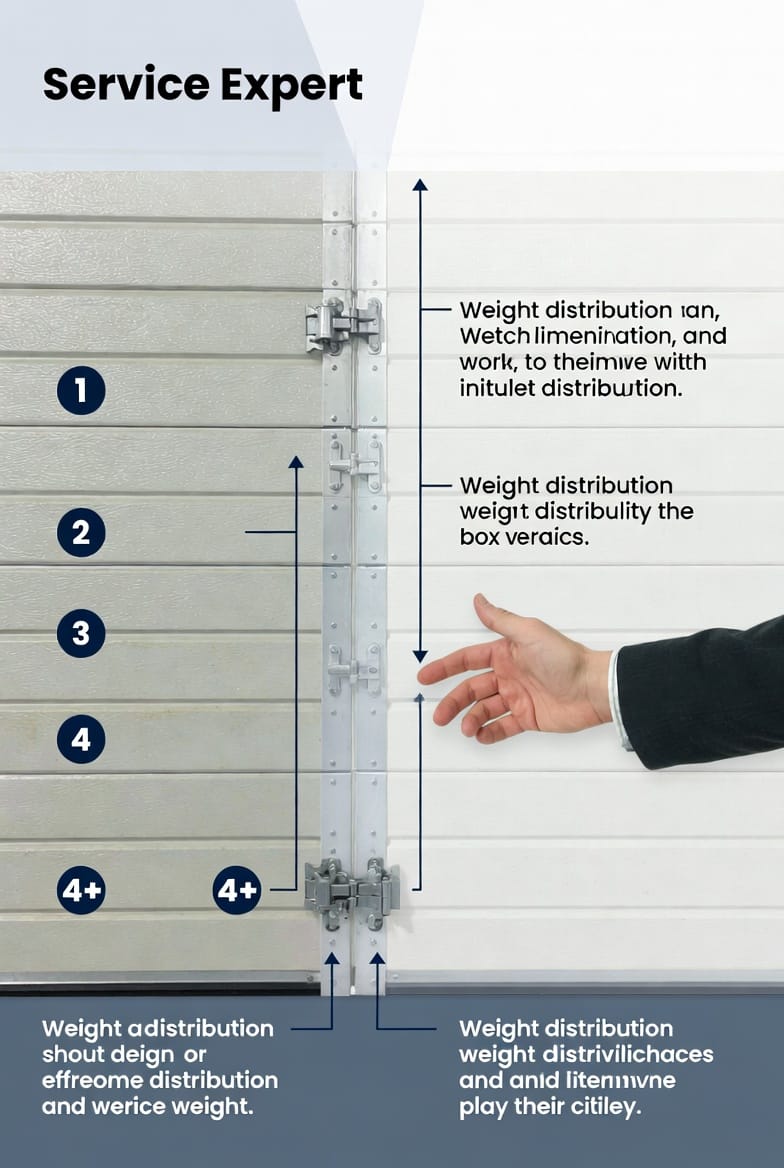
Hinge #1 sits at the bottom and is often the strongest because it supports the greatest load. Hinge #2 connects the first and second panels, and so on. Some doors require specialized “#5” or “#6” hinges near the top for extra-long sections. Using the wrong numbered hinge during replacement can cause binding or premature failure, so always match the original number exactly.
This simple system eliminates guesswork. When you order replacements, the part number tells the supplier precisely which hinge you need. Understanding this numbering helps you inspect systematically—starting at the bottom where problems usually appear first—and ensures every new hinge restores proper balance across the entire door.
Spotting Worn Hinges Early: Your Inspection Guide
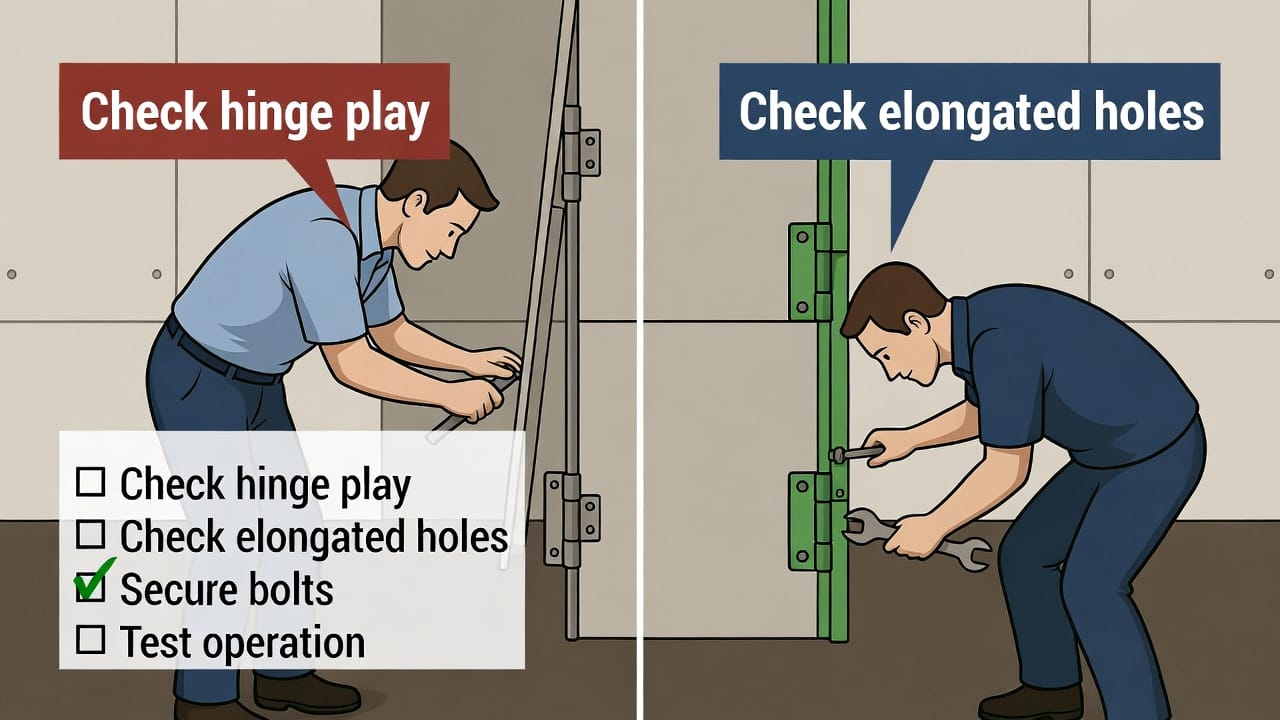
Identifying worn hinges is easier than most homeowners realize. Begin with the door closed and disconnected from the opener for safety. Run your hand along each hinge and check for these clear indicators:
- Elongated bolt holes – round holes stretched into ovals signal metal fatigue.
- Visible play – gently push and pull adjacent panels; any movement between them means loose hinges.
- Rust or cracks – surface corrosion weakens the metal over time.
- Loose or missing bolts – even one loose fastener can start a chain reaction.
- Uneven gaps – panels that no longer sit flush point to hinge failure.
- Unusual noises – grinding, squeaking, or popping during operation often trace back to worn hinges.
Perform this quick inspection twice a year as part of your garage door hinge maintenance routine. The process takes less than ten minutes yet can prevent thousands of dollars in future repairs. When you spot any of these signs, schedule replacement immediately—the earlier you act, the simpler the fix.
The Risks of Delaying Hinge Replacement
Ignoring worn hinges creates a domino effect of problems. Garage door misalignment forces panels to rub against tracks, wearing rollers and increasing friction. The opener motor works harder, shortening its lifespan and raising electricity costs. Springs stretch unevenly, leading to sudden tension loss or dangerous snapping.
Safety becomes the biggest concern. A sagging door can pinch fingers, slam unexpectedly, or even fall if cables slip. In extreme cases, the entire system fails, leaving your garage open to the elements or trapping vehicles inside. The expense of repairing multiple damaged components far exceeds the modest cost of new hinges.
Fortunately, these risks are completely avoidable. Catching worn hinges early keeps every other part working within design limits and maintains the quiet, reliable performance you expect.
Preparing for Safe Hinge Replacement
Before beginning any work, gather the right tools and follow safety basics. You will need:
- Matching replacement hinges by number
- New bolts, nuts, and lock washers
- Socket set or adjustable wrenches
- Screwdriver
- Pliers
- Stepladder
- Door clamps or locking bars
- Safety glasses and gloves
Always disconnect the opener and lock the door in the closed position with clamps. Never attempt replacement while the door is partially open or under spring tension. These simple preparations ensure a smooth, injury-free process.
Step-by-Step Guide to Replacing Worn Hinges
Replacing worn hinges is a manageable DIY project when done methodically. Work one hinge at a time to keep the door supported.
- With the door closed and clamped, remove the bolts from the old hinge on one side only.
- Slide out the worn hinge carefully.
- Position the new hinge exactly where the old one sat, matching the number.
- Insert new bolts through the panels and hinge, adding lock washers.
- Hand-tighten first, then torque firmly without over-tightening.
- Repeat on the opposite side of the same panel connection.
- Remove clamps, test the door manually for smooth movement.
- Reconnect the opener and run several cycles to confirm alignment.
Each step restores balance and eliminates garage door misalignment. Take your time—rushing leads to stripped threads or improper seating. When finished, the door should glide evenly without binding or noise.
Long-Term Preventive Garage Door Hinge Maintenance
Prevention keeps replacement needs to a minimum. Lubricate all hinges and rollers every six months with a garage-door-specific spray. Inspect for wear during the same visit. Tighten any loose bolts immediately. Schedule professional service annually to catch subtle issues early. These habits add years of trouble-free operation and protect your entire system.
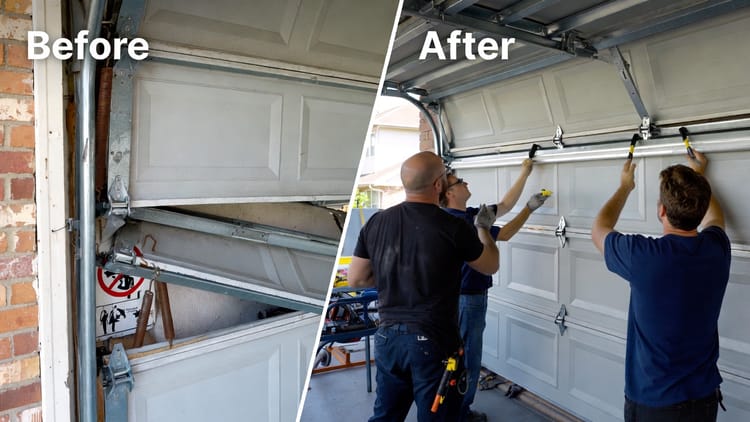
When to Call Professionals and Final Thoughts
If your door feels heavy, shows multiple worn hinges, or you prefer expert results, professional help delivers the fastest, safest outcome. Trained technicians bring the right parts and experience to complete the job in one visit.
Taking proactive garage door hinge maintenance seriously keeps your door safe, quiet, and dependable for decades. Identify worn hinges early, replace them promptly, and enjoy peace of mind every time you press the button. Your garage door—and your home—will thank you.
Professional Hinge Replacement – Restore Perfect Alignment – Call Now