The Dryer Thermal Fuse: The Safety Device That Prevents Fires and Why It Trips
In today’s busy households, the dryer is a workhorse that quietly handles mountains of laundry every week. Yet hidden inside this essential appliance sits one of the most important safety devices you may never notice until it does its job: the dryer thermal fuse. This small but critical component stands guard against overheating and potential fire hazards, automatically cutting power the moment temperatures climb beyond safe limits.
Protect Your Home from Dryer Overheating – Call for Expert Service
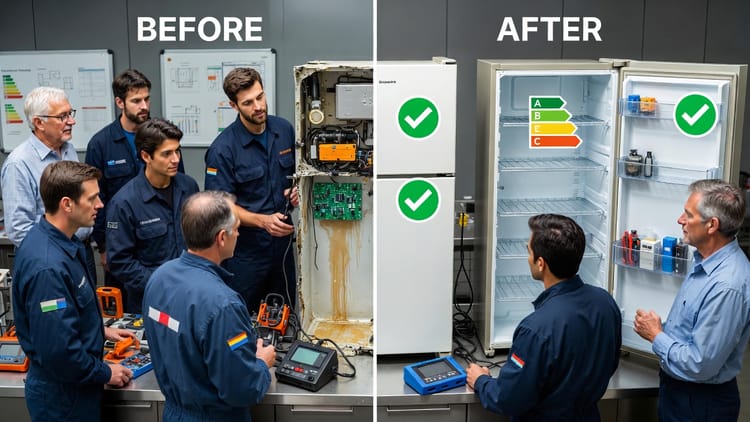
Understanding the dryer thermal fuse, why it trips, and the right way to address it can protect your home, your family, and your investment in reliable appliance performance. While many homeowners attempt quick fixes, the smartest approach is always professional diagnosis and repair. When handled correctly, your dryer returns to safe, efficient operation with complete peace of mind.
Appliance repair specialists see this scenario daily: a dryer that suddenly stops heating, leaving loads damp and families frustrated. The culprit is often the thermal fuse doing exactly what it was engineered to do—protect you. Let’s explore how this lifesaving part works, the common triggers that cause it to activate, and why simply swapping the fuse without fixing the root cause is a risky shortcut no responsible homeowner should take.
What Is a Dryer Thermal Fuse and Why Does It Matter?
The dryer thermal fuse is a one-time, non-resettable safety switch wired directly into the heating circuit. Unlike a thermostat that cycles on and off, this fuse is designed to blow permanently once it detects excessive heat. Manufacturers place it in series with the heating element and operating thermostat so that any interruption instantly removes power from the heater.
This simple yet brilliant engineering choice prevents catastrophic failure. Without it, a blocked vent or failed thermostat could allow temperatures inside the drum to soar past 250 °F, igniting lint, clothing fibers, or even the dryer cabinet itself. Industry safety standards require every residential dryer to include at least one thermal fuse precisely because dryer fires remain a leading cause of home appliance-related incidents.
When the thermal fuse performs its duty, it signals that something else in the system has gone wrong. Far from being a random failure, it is your dryer’s final line of defense. Replacing it without correcting the underlying problem is like turning off a smoke alarm instead of extinguishing the fire—temporarily quiet but ultimately dangerous.
How the Thermal Fuse Monitors Dryer Temperature
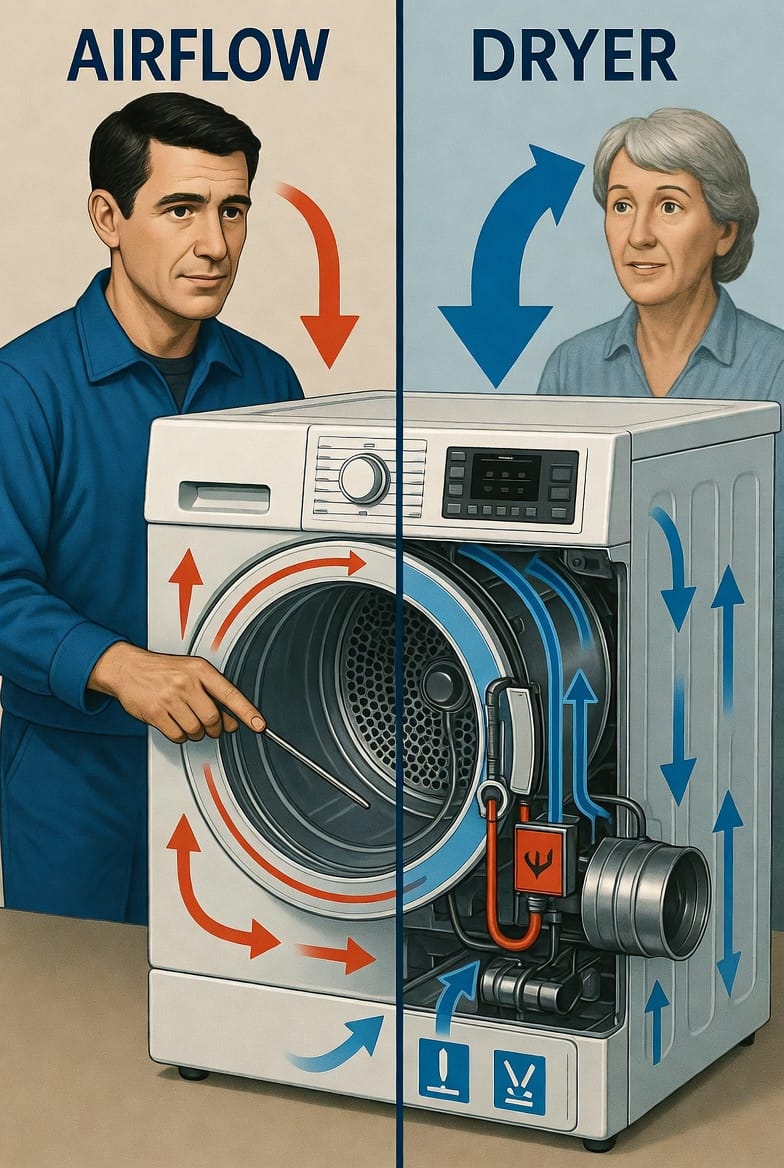
Inside the thermal fuse housing is a small pellet or metal link calibrated to melt at a precise temperature threshold, typically around 250 °F. As hot air circulates through the drum and past the heating element, the fuse constantly senses the exhaust temperature.
Under normal conditions, proper airflow carries moisture and heat out through the vent hose and exterior duct. The operating thermostat keeps the element cycling safely between 140 °F and 180 °F. Only when airflow is severely restricted does heat build rapidly around the fuse location—usually mounted on the blower housing or exhaust duct. Once the internal link reaches its melting point, the circuit opens and the dryer shuts down the heat cycle permanently.
This monitoring happens in real time, without any electronics or reset buttons. That’s why the thermal fuse earns its reputation as the ultimate fail-safe. It cannot be fooled by gradual wear; it reacts only to genuine over-temperature events.
Common Causes That Force the Thermal Fuse to Trip
The most frequent reason a dryer thermal fuse blows is restricted airflow. Even the best-maintained dryer cannot overcome a blocked pathway. Here are the primary culprits:
- Clogged lint filter – A filter packed with lint forces hot air back into the drum instead of out the vent.
- Kinked or crushed vent hose – Flexible hoses behind the dryer often become pinched when the appliance is pushed too close to the wall.
- Long or convoluted exterior duct runs – Every extra foot or sharp bend reduces exhaust efficiency and raises internal temperatures.
- Lint buildup inside the dryer cabinet – Over years, lint collects around the blower wheel and heating element, insulating components and trapping heat.
- Blocked outdoor vent cap – Bird nests, snow, or debris can seal the termination point, turning the entire exhaust system into a pressure cooker.
- Overloading the dryer – Too many wet towels or bulky items prevent proper tumbling and heat dissipation.
Each of these issues creates the exact condition the thermal fuse is calibrated to detect. When airflow drops below the manufacturer’s designed cubic feet per minute, heat accumulates faster than it can escape, and the fuse performs its protective role.
Why Replacing the Fuse Alone Is Extremely Dangerous
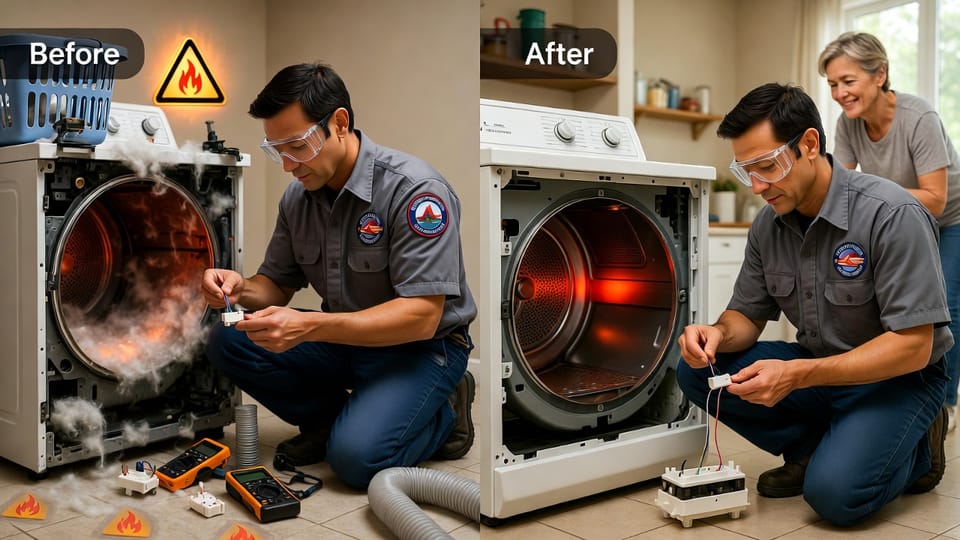
Many online videos and DIY guides suggest simply buying a new thermal fuse and snapping it in place. This approach ignores a fundamental truth: the fuse did not fail randomly—it reacted to an unsafe condition.
Installing a fresh fuse without clearing the blockage guarantees the new one will blow again, often within the very next cycle. Worse, repeated overheating cycles can damage the heating element, wiring insulation, and even the dryer drum itself. In extreme cases, the elevated temperatures can ignite lint deposits that the fuse previously kept in check.
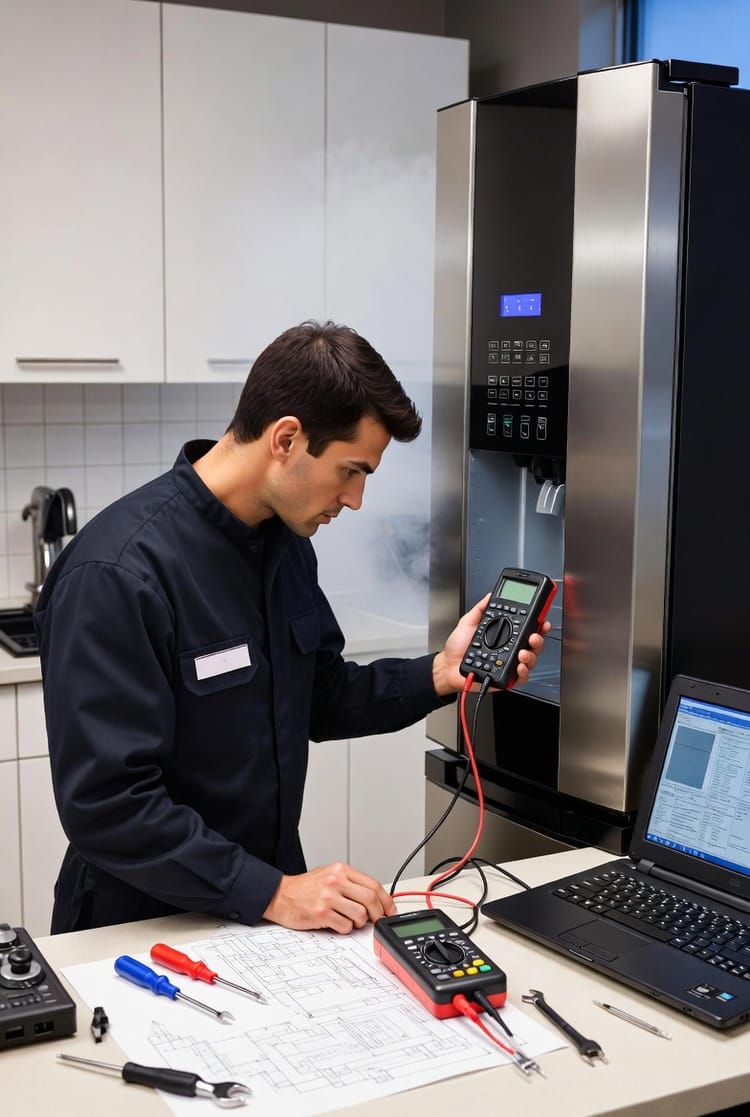
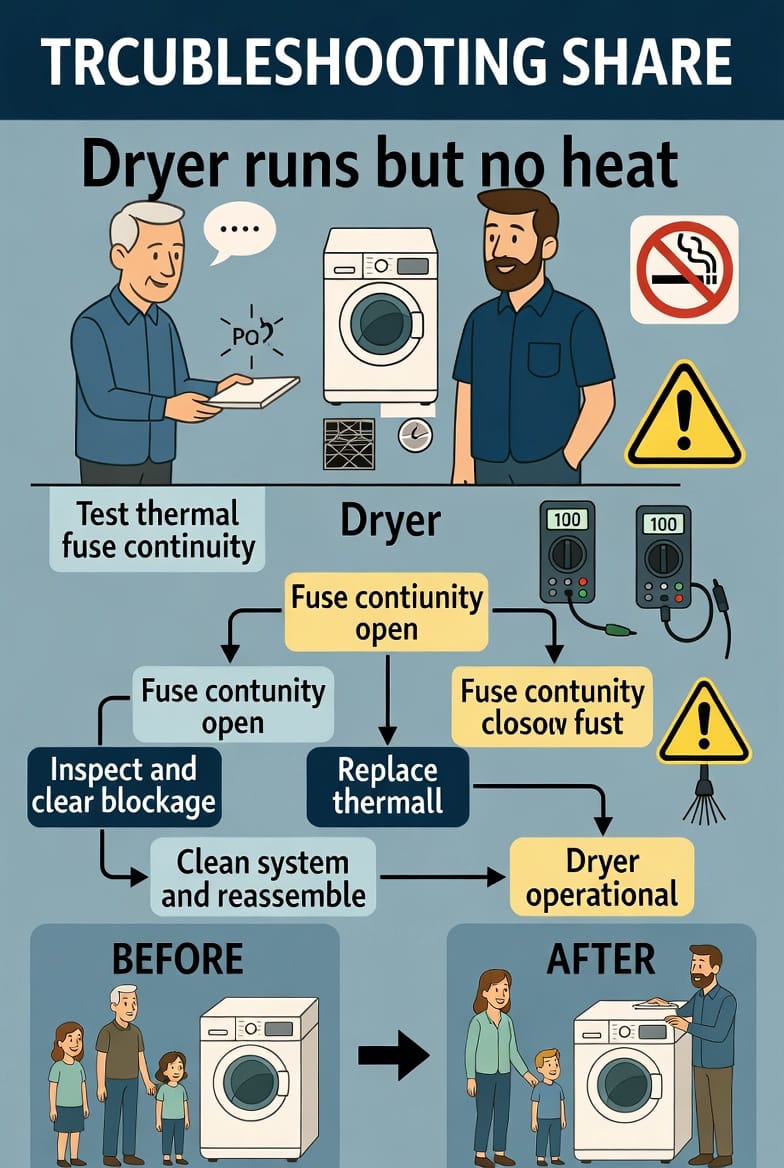
Professional appliance repair technicians always perform a complete diagnostic sequence. They test for continuity, measure exhaust temperature, inspect the entire vent system from drum to outdoors, and verify proper blower operation. Only after confirming the root cause is resolved do they install the replacement fuse. This methodical process eliminates repeat failures and restores safe operation the first time.
Recognizing the Signs Your Thermal Fuse Has Activated
When the thermal fuse trips, the dryer typically continues to tumble but produces no heat. Other telltale indicators include:
- Clothes take two or three times longer to dry
- The “end of cycle” signal still sounds, but items remain damp
- No warmth is felt when opening the door mid-cycle
- The high-limit thermostat may also be open (tested with a multimeter)
If you notice these symptoms, resist the urge to keep running the dryer on “air fluff” or higher heat settings. Continued operation without heat can still stress components, and attempting to bypass the fuse is never safe. Instead, schedule professional service promptly.
The Professional Repair Process – Safe and Thorough
Certified technicians follow a proven sequence that protects both the appliance and your home:
- Unplug the dryer and shut off gas if applicable.
- Remove the back or front panels for full access.
- Test the thermal fuse for continuity using a digital multimeter.
- Inspect and clean the blower wheel, heating element, and internal ducts.
- Run a full vent system cleaning from machine to exterior termination.
- Verify thermostat and high-limit switch operation.
- Install the new thermal fuse only after airflow is restored to specification.
- Reassemble, test-run a full cycle, and measure exhaust temperature.
This comprehensive service typically takes 60 to 90 minutes on site and leaves your dryer operating more efficiently than before the issue occurred. Homeowners consistently report shorter drying times and lower energy bills after professional intervention.
Smart Prevention Strategies to Keep Your Thermal Fuse Intact
Preventing trips is far easier than repairing them. Adopt these habits:
- Clean the lint filter after every single load
- Inspect the vent hose monthly for kinks or crushing
- Schedule annual professional vent cleaning, especially for dryers vented longer than 10 feet
- Avoid overloading—dry similar fabrics together and leave room for tumbling
- Keep the area behind the dryer clear of storage items
- Install a rigid metal vent pipe where possible for superior airflow
Following these simple steps dramatically reduces the chance of ever needing an emergency thermal fuse replacement.
Final Advice: Safety First with Dryer Repairs
The dryer thermal fuse exists for one reason—to protect your home from fire. Respecting its role means addressing every trip as a warning sign rather than an inconvenience. DIY fuse swaps may seem convenient, but only a complete professional inspection guarantees lasting safety and performance.
If your dryer has stopped producing heat, do not attempt further cycles. Contact a qualified appliance repair specialist immediately. They possess the tools, training, and experience to restore your dryer safely on the first visit.
Our technicians arrive equipped to handle the entire system—from fuse to vent—ensuring your family can return to worry-free laundry routines with complete confidence.
Fix the Real Cause – Not Just the Fuse – Call Professionals Now