The Dishwasher Drying Dilemma: Why Your Dishes Stay Wet and How to Fix It
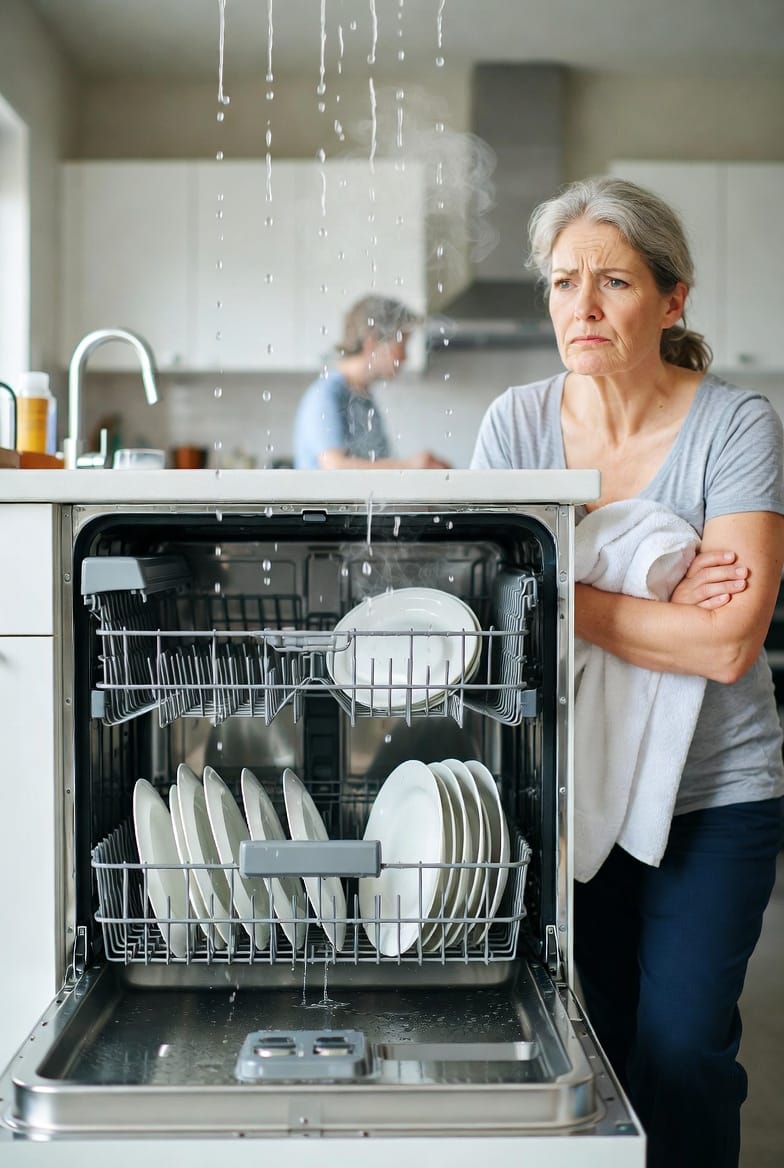
Opening your dishwasher only to discover wet dishes staring back at you is one of the most common household appliance frustrations. Instead of clean, ready-to-put-away items, you're left with damp glassware, spotted plates, and the extra chore of towel-drying everything. The good news? In most cases, the dishwasher not drying problem stems from a handful of fixable causes — and you can often resolve it yourself before calling in help.
Dry Dishes Guaranteed – Call for Expert Repair
As trusted appliance repair specialists, we've helped thousands of homeowners overcome this exact issue. In this detailed guide, we'll explain why your dishes stay wet after the dishwasher cycle, walk you through proven troubleshooting steps, highlight when professional service is the smartest choice, and share preventive tips to keep your machine performing at its best.
How Dishwashers Are Supposed to Dry Your Dishes
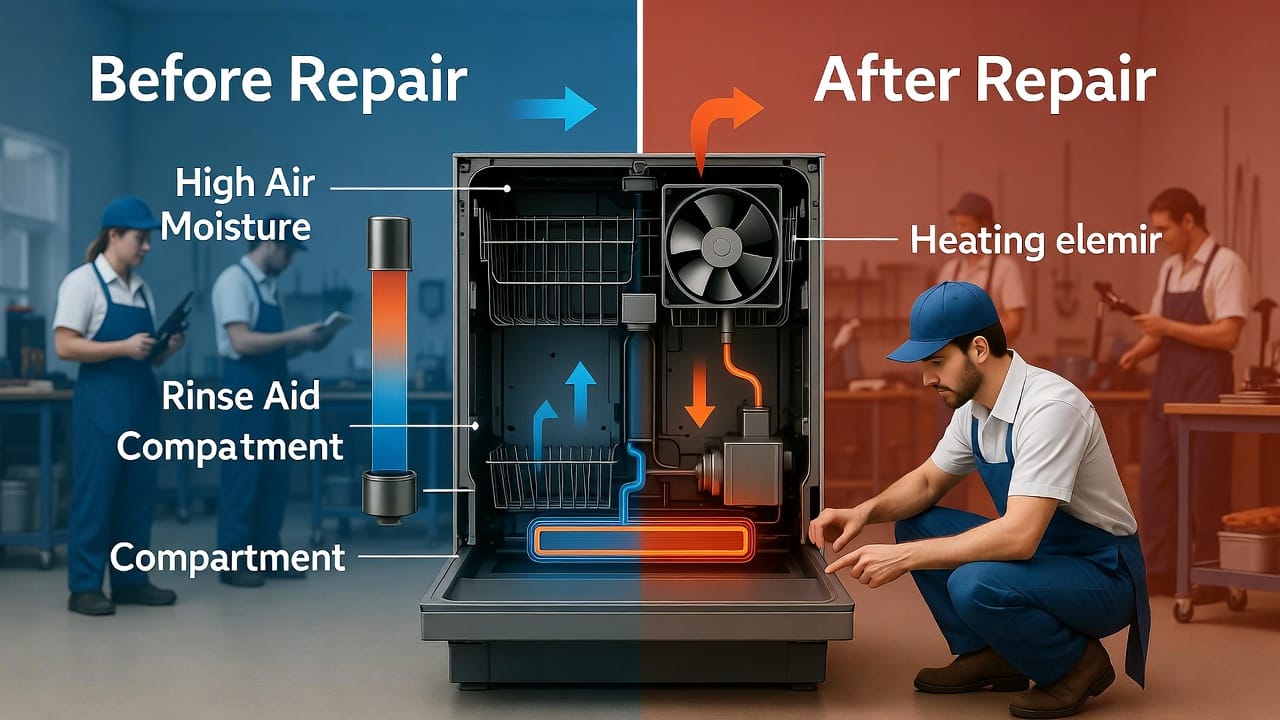
Understanding the drying mechanism helps pinpoint what went wrong. Most modern dishwashers rely on these key elements to remove moisture:
- A heating element at the base warms the interior air to evaporate water from surfaces.
- In many models, a fan circulates hot air for faster, more even drying.
- The rinse aid dispenser releases a special agent that helps water sheet off dishes instead of forming beads.
- Temperature sensors (including the thermostat) ensure the interior reaches and maintains the right heat level.
- Proper cycle selection activates these features fully.
When one or more of these fail or are misused, drying suffers — leading to the all-too-familiar wet dishes dilemma.
The Most Common Causes of Poor Drying Performance
Here are the top reasons your dishwasher leaves everything damp, ranked from easiest (and most frequent) to more technical:
1. Incorrect Cycle or Settings Chosen
Energy-efficient or quick cycles often skip or shorten the heated dry phase to save power.
- Symptoms: Dishes feel cool and uniformly wet.
- Why it happens: No extra heat or fan time is applied.
2. Low or No Rinse Aid
Rinse aid breaks water's surface tension so droplets slide off rather than cling.
- Symptoms: Persistent water beads, especially on plastic and glass.
- Common oversight: Dispenser runs empty without notice.
3. Malfunctioning Heating Element
This coil generates the heat needed for evaporation. If it burns out, drying fails completely.
- Symptoms: No warmth felt inside after cycle ends.
- Risk factor: Age, mineral buildup from hard water, or electrical issues.
4. Faulty Thermostat or Temperature Sensor
The thermostat controls when (and if) the heating element activates during drying.
- Symptoms: Inconsistent results — some loads dry better than others.
- Additional note: Can trigger error codes on digital models.
Other contributors include overloading (blocking air flow), clogged vents, or poor door seal — but the four above account for the vast majority of cases.
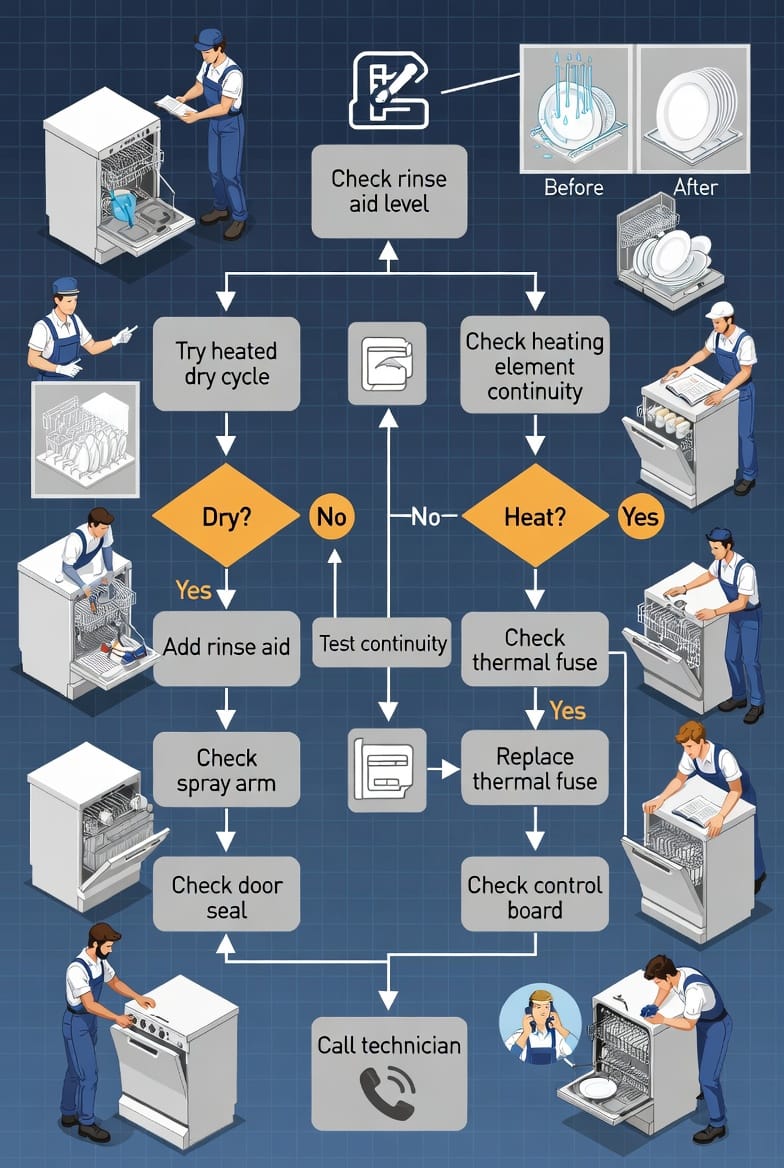
Step-by-Step Troubleshooting: Fix It Yourself First
Follow this logical sequence. Start simple and escalate only if needed. Always unplug the dishwasher before any internal inspection.
Quick & No-Tool Checks (5–10 Minutes)
- Confirm you're using a heated dry or power dry option — switch if not.
- Open the rinse aid dispenser (usually on the door) and refill it. Wipe any residue from the opening.
- Run hot tap water at the sink before starting the cycle to ensure incoming water is already warm.
- Reload dishes with better spacing — ensure nothing blocks spray arms or the central tower.
Most people see immediate improvement here.
Next-Level Checks (Requires Basic Tools)
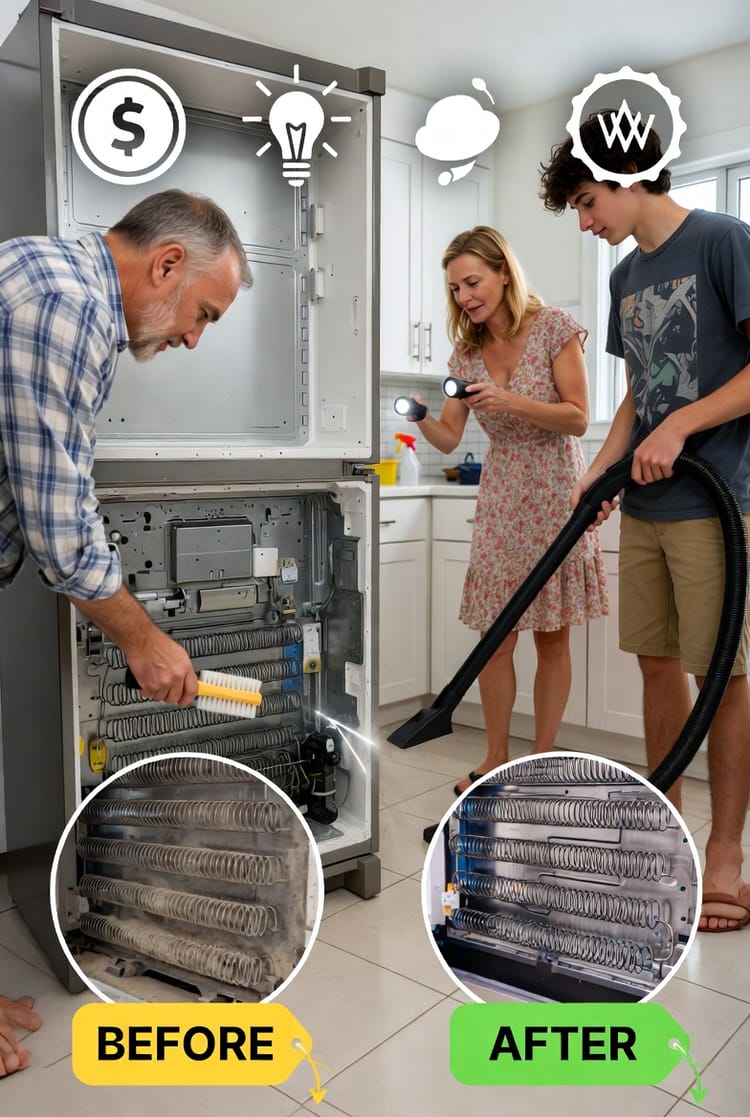
- Clean the door vent/exhaust area (often near the top) with a soft brush to remove lint or food debris.
- After a cycle, carefully feel the bottom heating element (unit unplugged) — it should be warm if recently run. Visible damage means replacement time.
- Use a multimeter to test heating element continuity (low resistance = good; infinite = failed).
Safety reminder: Electrical testing carries risk. If unsure, skip to professional help.
When DIY Stops and Pros Start
Call an expert immediately if:
- The heating element or thermostat tests bad (parts + labor needed).
- No heat at all despite correct settings.
- Error codes appear or the unit won't complete cycles.
- You lack tools/comfort with disassembly.
Timely service prevents bigger issues like electrical shorts or mold from prolonged moisture.
Prevention Tips to Avoid Future Wet-Dish Headaches
Keep drying performance strong long-term with these habits:
- Refill rinse aid monthly and use high-quality formula.
- Run a hot vinegar cleaning cycle every 1–2 months to remove scale.
- Select heated dry for most loads (the energy difference is minimal compared to hand-drying frustration).
- Inspect door gasket yearly for cracks or debris.
- Avoid cheap detergents that lack drying boosters.
Consistent care extends your dishwasher's life and reliability.
Why Addressing This Matters Beyond Convenience
Persistent wet dishes can lead to:
- Water spots and mineral deposits that etch glassware.
- Musty odors from trapped moisture.
- Bacterial growth in damp environments.
Fixing the drying issue protects both your dishes and kitchen hygiene.
Final Thoughts: Say Goodbye to Wet Dishes for Good
The dishwasher drying dilemma is frustrating, but rarely catastrophic. By checking rinse aid, selecting the right cycle, and knowing the signs of a failed heating element or thermostat, most homeowners resolve it quickly. For anything more involved — accurate diagnosis, safe part replacement, or warranty-friendly service — professional help is the wisest move.
End the cycle of wet dishes today. If troubleshooting doesn't solve it, reach out to our experienced team for fast, reliable appliance repair.
Your kitchen deserves dishes that come out truly clean and dry — every time.
Restore Perfect Drying – Call Our Technicians Now