The Diagnostic Mindset: How to Troubleshoot Common Appliance Failures Like a Pro
In today's fast-paced world, household appliances are the unsung heroes keeping our daily lives running smoothly. But when they falter—whether it's a refrigerator not cooling, a dishwasher leaking water, or an oven with no power—it can disrupt everything. As a homeowner, adopting a diagnostic mindset empowers you to identify issues logically and safely, turning potential frustration into informed action. This guide walks you through practical, step-by-step troubleshooting techniques, focusing on common failures across major appliances like refrigerators, washers, dryers, ovens, and dishwashers.
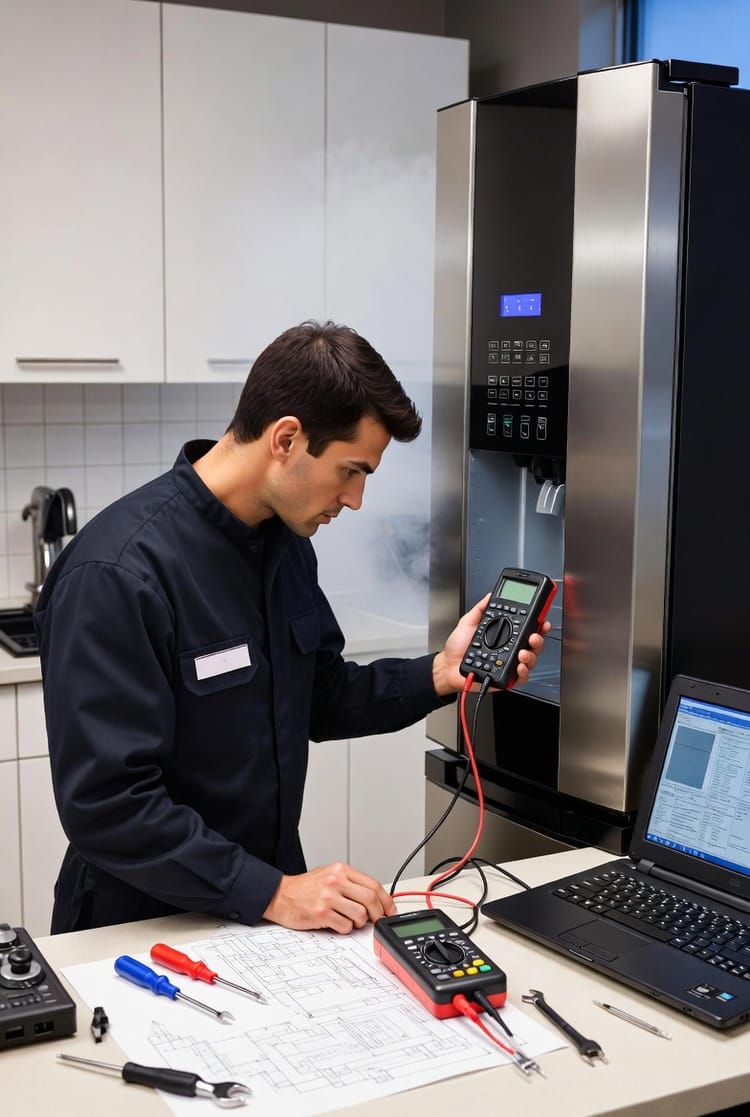
Stop Guessing – Call Expert Appliance Repair Today
We'll emphasize safety first, using simple checks to pinpoint the likely culprit—be it electrical, mechanical, or water-related systems. By the end, you'll be equipped to have meaningful conversations with technicians, potentially saving time and money. Remember, this isn't about DIY repairs; it's about becoming an educated partner in the process. Let's dive in with a reassuring approach: most issues have straightforward explanations, and you're more capable than you think.
Understanding Appliance Systems: The Foundation of Diagnosis
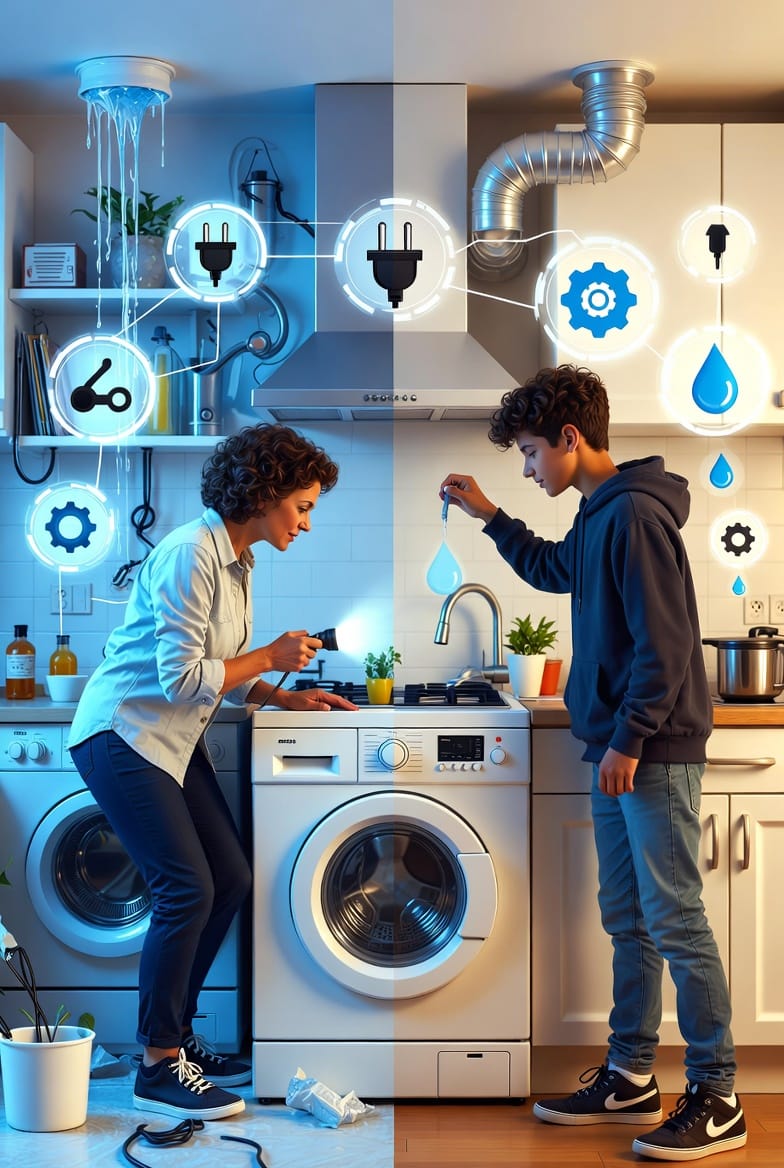
Before tackling specific problems, grasp the core systems in your appliances. This knowledge forms the backbone of effective troubleshooting.
- Electrical Systems: Power supply, cords, outlets, and internal wiring. Issues here often manifest as complete shutdowns or intermittent operation.
- Mechanical Systems: Motors, belts, pumps, and moving parts. These can cause noises, vibrations, or failures in functions like spinning or heating.
- Water Systems: Hoses, valves, filters, and drains. Problems typically lead to leaks, poor cleaning, or filling issues.
By categorizing symptoms into these buckets, you narrow down causes efficiently. For instance, a leaking water problem points to the water system, while no power screams electrical. This systematic thinking mimics how professionals approach repairs, giving you an edge.
Safety Precautions: Your Top Priority
Safety isn't optional—it's essential. Appliances involve electricity, water, and heavy parts, so proceed with caution.
- Always unplug the appliance before any inspection to avoid electric shock.
- Wear protective gloves and eyewear, especially when dealing with water or sharp edges.
- Never disassemble beyond basic access panels unless you're qualified; this could void warranties or cause injury.
- If you smell gas or suspect a hazard, evacuate and call professionals immediately.
Reassuringly, the checks we'll cover are non-invasive and use everyday tools. If something feels off, stop and seek expert help.
The Universal Diagnostic Flowchart: Your Step-by-Step Guide
Imagine a roadmap that guides you from "appliance fails" to potential solutions. This diagnostic flowchart is your ally, applicable to most common issues. Start at the top and branch out based on observations.
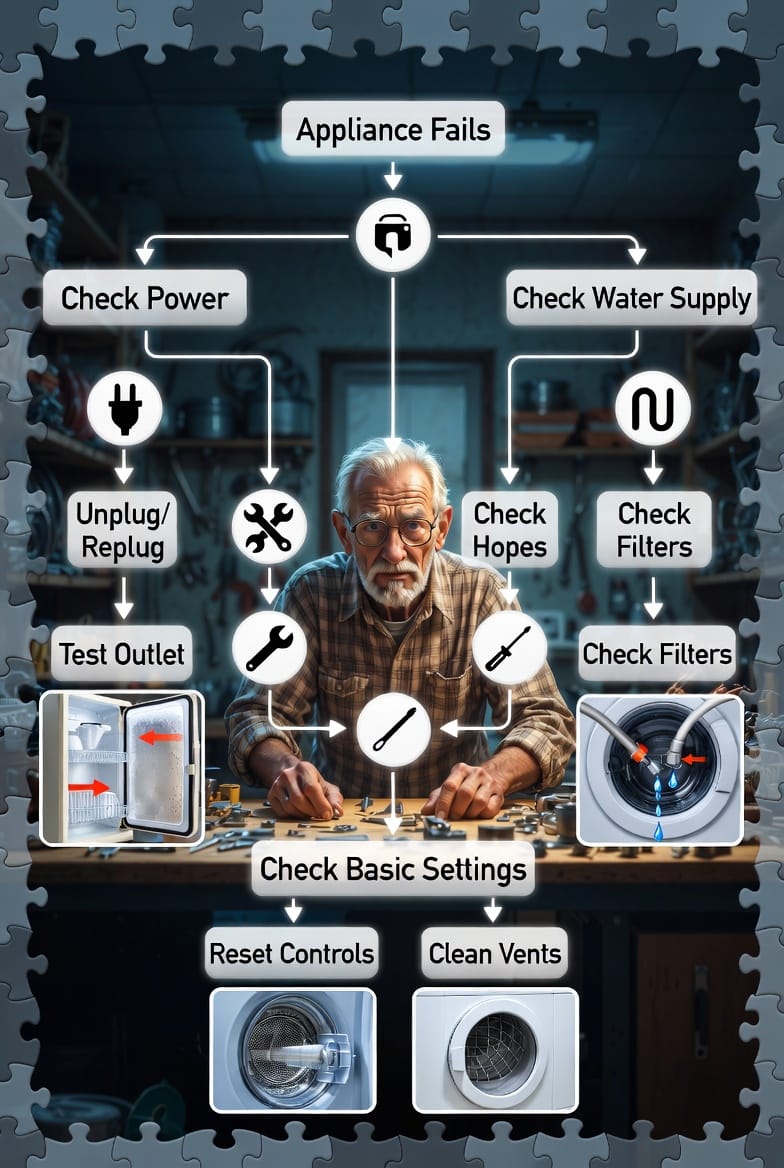
Step 1: Verify Power Supply (Electrical System Focus)
No power is a frequent complaint, often simpler than it seems.
- Check the outlet: Plug in another device to confirm it's working. If not, test your circuit breaker—flip it off and on.
- Inspect the cord: Look for frays, bends, or damage. Gently wiggle connections without forcing.
- Reset the appliance: Many have built-in resets; consult your manual for GFCI outlets or reset buttons.
If power flows but the appliance doesn't respond, it might be an internal electrical fault—note this for your technician.
Step 2: Assess Water Connections (Water System Focus)
For issues like leaking water or poor performance in washers/dishwashers:
- Examine hoses: Ensure they're securely attached and free of cracks. Turn off water valves before checking.
- Clean filters: Inlet screens often clog with debris—gently remove and rinse under running water.
- Check drains: Blockages here cause overflows; clear visible clogs with a plunger or snake tool.
A steady leak might indicate a worn seal, while intermittent drips could be valve-related. Document the leak's location and timing.
Step 3: Evaluate Mechanical Functions
Noises, vibrations, or failures like a dryer not spinning often tie to mechanical woes.
- Listen and feel: Unusual sounds (grinding, humming) suggest motor or belt issues.
- Clean vents and lint traps: Over 70% of dryer problems stem from blockages—vacuum them out safely.
- Balance loads: Uneven washing machine loads cause shaking; redistribute and test a cycle.
If mechanical parts seem worn, avoid forcing operation to prevent further damage.
Common Appliance-Specific Troubleshooting
Now, apply the flowchart to real scenarios. We'll cover top appliances with tailored tips.
Refrigerators: Combating "Not Cooling"
A warm fridge can spoil food fast, but diagnostics are straightforward.
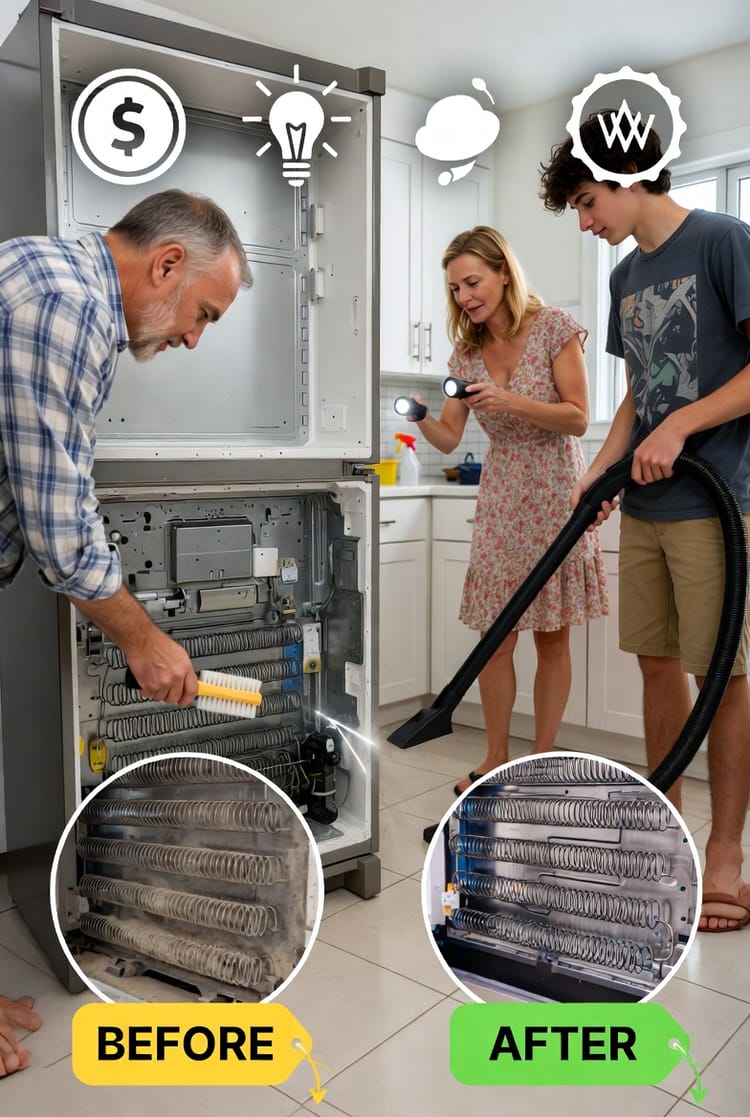
- Thermostat Check: Ensure settings aren't accidentally adjusted. Clean coils at the back/base for efficiency.
- Door Seals: Test with a dollar bill—if it slips out easily, seals need cleaning or replacement.
- Defrost System: Frost buildup? Unplug for 24 hours to melt, then monitor.
Likely systems: Electrical (compressor failure) or mechanical (fan issues). Note temperature readings inside.
Washing Machines: Addressing Leaks and No-Spin
Leaking water or unbalanced cycles are common.
- Front-load vs. top-load: Check door seals on fronts; lid switches on tops.
- Overloading: Reduce load size and retry.
- Level the machine: Use a spirit level; adjust feet as needed.
Water system faults dominate here, but mechanical imbalances compound issues.
Dryers: Fixing No Heat or Long Cycles
Efficiency drops signal problems.
- Vent inspection: Disconnect and clear lint buildup— a leading fire hazard.
- Thermal fuse: If no heat, this safety device might have tripped.
- Gas vs. electric: For gas, ensure supply; for electric, check heating elements via multimeter (safely).
Primarily mechanical/electrical hybrid.
Ovens and Stoves: Handling Uneven Heating
Baking disasters? Start here.
- Calibrate temperature: Use an oven thermometer to verify accuracy.
- Element check: Visual inspection for burns or breaks.
- Gas ignition: Clean igniters if flames are weak.
Electrical systems often at play, with mechanical wear on doors/seals.
Dishwashers: Tackling Poor Cleaning or Leaks
Residue or puddles?
- Spray arms: Remove and clear holes of debris.
- Detergent pod issues: Ensure proper loading; hard water might require additives.
- Door gasket: Wipe and inspect for tears.
Water system central, with mechanical arms secondary.
Building Your Home Toolkit: Essentials for Safe Checks
Equipping yourself minimally boosts confidence without overwhelming.
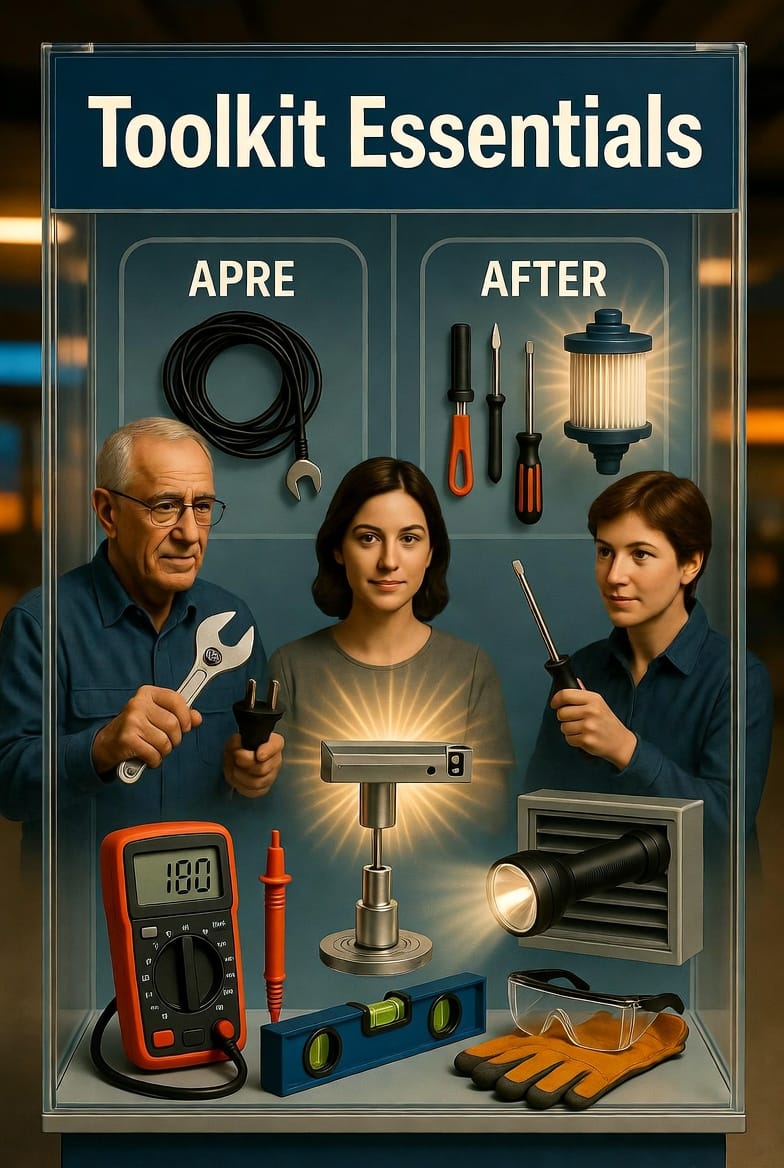
- Multimeter: Measures voltage safely—under $20 online.
- Socket Set: For basic panel removal; metric and imperial sizes.
- Flashlight and Screwdrivers: Illuminate and access tight spots.
- Plunger/Snake: Clears drains without chemicals.
- Spirit Level: Ensures appliances are balanced.
Invest in quality; store accessibly. These tools handle 80% of initial diagnostics.
When to Call a Professional: Knowing Your Limits
You've done the legwork—now interpret findings. If checks reveal simple fixes like a clogged filter, great! But for complex issues:
- Persistent electrical problems: Risk of shorts or fires.
- Mechanical disassembly: Requires specialized knowledge.
- Water system overhauls: Potential flooding hazards.
Document symptoms, attempts, and observations. This info accelerates repairs.
Empowering Conversations with Technicians
Armed with diagnostics, you're an ally, not just a customer.
- Describe the issue clearly: "The washer leaks from the back hose during fill cycle."
- Share your checks: "I cleaned the inlet filter, but it persists—likely valve-related?"
- Ask informed questions: "Is this a common mechanical fault in this model?"
Technicians appreciate this; it fosters trust and efficiency.
Preventive Maintenance: Keeping Failures at Bay
Proactivity trumps reaction.
- Schedule annual cleanings: Coils, vents, filters.
- Monitor usage: Avoid overloading; use energy-efficient modes.
- Update manuals: Keep digital copies handy.
Small habits extend appliance life dramatically.
Case Studies: Real-Homeowner Success Stories
Consider Sarah, whose fridge wasn't cooling. Using our flowchart, she identified dirty coils (mechanical system)—a quick vacuum restored function, avoiding a call.
Or Mike's leaking dishwasher: Hose check revealed a loose connection (water system). Tightened safely, problem solved.
These stories highlight: Diagnostics work.
The Bigger Picture: Sustainability and Savings
Troubleshooting reduces waste—fewer premature replacements mean less environmental impact. Plus, informed repairs often cost less than full swaps.
In 2023, households saved an average of $200 per incident by self-diagnosing, per industry reports.
Final Thoughts: Become an Informed Partner
Embracing the diagnostic mindset transforms you from helpless to heroic. You've learned to safely assess no power, not cooling, and leaking water issues, identifying electrical, mechanical, or water systems at fault. Remember, this empowers conversations, not replacements for pros.
Fast, Expert Appliance Repair – Call Now & Save Time