The Concrete Sealer Reapplication: Knowing When and How to Refresh Your Driveway's Protective Layer

Your concrete driveway does far more than connect the street to your garage. It frames your home, supports heavy vehicles every single day, and quietly protects the foundation beneath it. Yet even the highest-quality concrete sealer eventually breaks down under relentless sun, rain, freeze-thaw cycles, oil drips, and tire abrasion..
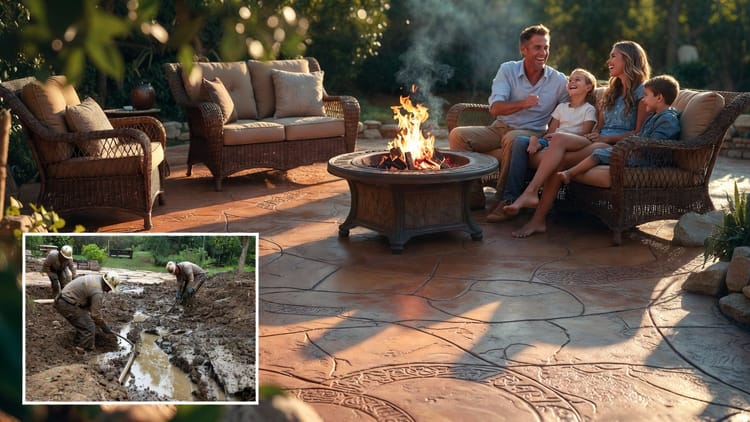
Restore & Protect Your Driveway – Call Today
When that protective layer fades, moisture finds its way into the porous concrete, inviting cracks, spalling, and costly repairs. The good news? Concrete sealer reapplication is straightforward, highly effective, and one of the smartest investments you can make in your property.
At Concrete Service, we’ve helped thousands of homeowners restore and protect their driveways through timely resealing. This comprehensive guide walks you through every step — from spotting the warning signs to choosing the right product and achieving professional-grade results. Follow it, and your driveway will continue to look beautiful and perform flawlessly for years to come.
Why Timely Sealer Reapplication Matters More Than You Think
Concrete is naturally porous. Without a quality sealer, it acts like a sponge. Water enters the pores, expands when it freezes, and creates internal pressure that leads to surface flaking and deep cracks. UV rays cause fading and chalking. Oil and automotive fluids penetrate and leave permanent stains.
A fresh concrete sealer creates an invisible shield that:
- Repels water and de-icing salts
- Blocks oil and chemical stains
- Preserves the original color and finish
- Makes routine cleaning dramatically easier
- Extends the driveway’s lifespan by 10–15 years or more
Most homeowners wait until visible damage appears. By then, the repair bill is often much higher. Proactive reapplication every 2–5 years (depending on climate and traffic) prevents problems instead of fixing them.
How to Know It’s Time: The Reliable Water Bead Test
The most accurate and simplest way to check your sealer’s condition is the water bead test. Professionals use it daily, and you can perform it in minutes.
Step-by-Step Water Bead Test
- Choose a representative section of the driveway — away from edges and under constant shade if possible.
- Sweep or blow off loose debris, then lightly clean the area with a mild detergent and rinse thoroughly. Allow it to dry completely (at least 2 hours).
- Using a spray bottle or squeeze bottle, apply a steady stream of clean water across the test area.
What the results tell you:
- Strong beading and rolling droplets — Your existing sealer is still doing its job. No immediate action needed.
- Partial beading with some absorption — The sealer is wearing thin. Plan to reseal within the next 6–12 months.
- Immediate darkening and absorption — The protective layer is gone. Reseal as soon as weather permits.
Perform this test in several locations. Driveways often wear unevenly — high-traffic zones near the garage fail first.
Pro tip: Photograph the test for your records. Comparing photos year over year reveals wear patterns before they become obvious to the eye.
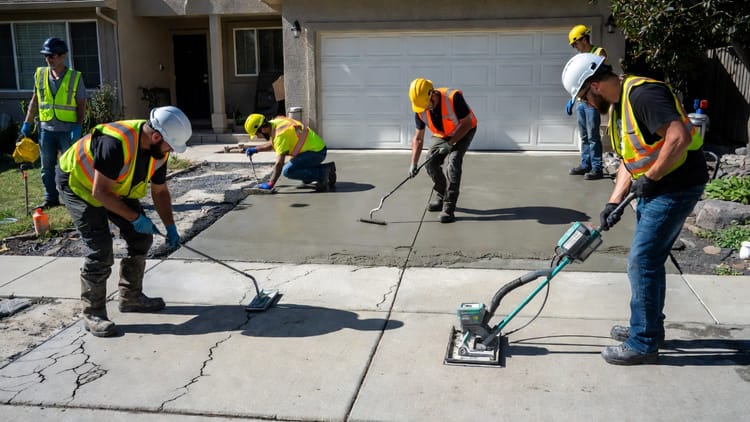
Preparing the Surface: The Foundation of a Successful Reseal
Surface preparation accounts for 80% of a reseal’s long-term success. Skipping or rushing this stage is the number one reason DIY projects fail.
Thorough Cleaning
- Remove all dirt, leaves, and debris with a leaf blower.
- Pressure wash at 2,500–3,000 PSI using a 15–25° nozzle. Work in sections and keep the wand moving to avoid etching the concrete.
- Treat stubborn oil stains with a concrete degreaser or poultice. Allow full dwell time and rinse repeatedly until water runs clear.
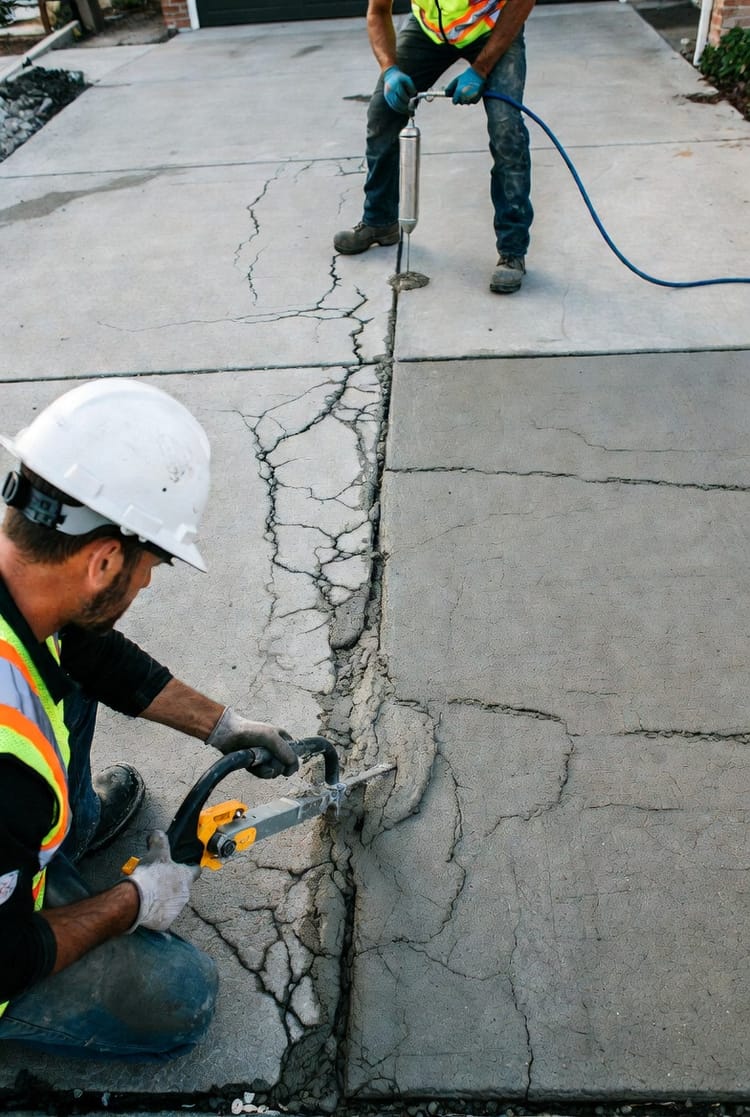
Crack and Damage Repair
Fill every crack wider than a hairline:
- Use a high-quality polyurethane or epoxy crack filler for moving cracks.
- For static cracks, a polymer-modified cementitious repair product works well.
- Feather edges smoothly so the repair blends with the surrounding surface.
- Allow repairs to cure fully — usually 24–48 hours.
Etching (When Necessary)
If the old sealer was a film-forming type (acrylic or urethane) or if the surface feels slick, light etching improves adhesion:
- Use a mild muriatic acid solution (1:4 ratio) or a safer eco-friendly etching product.
- Apply, agitate with a stiff broom, and rinse thoroughly until the water sheets evenly.
- Neutralize with baking soda solution and rinse again.
Never skip rinsing. Residual acid or cleaner will destroy the new sealer’s bond.
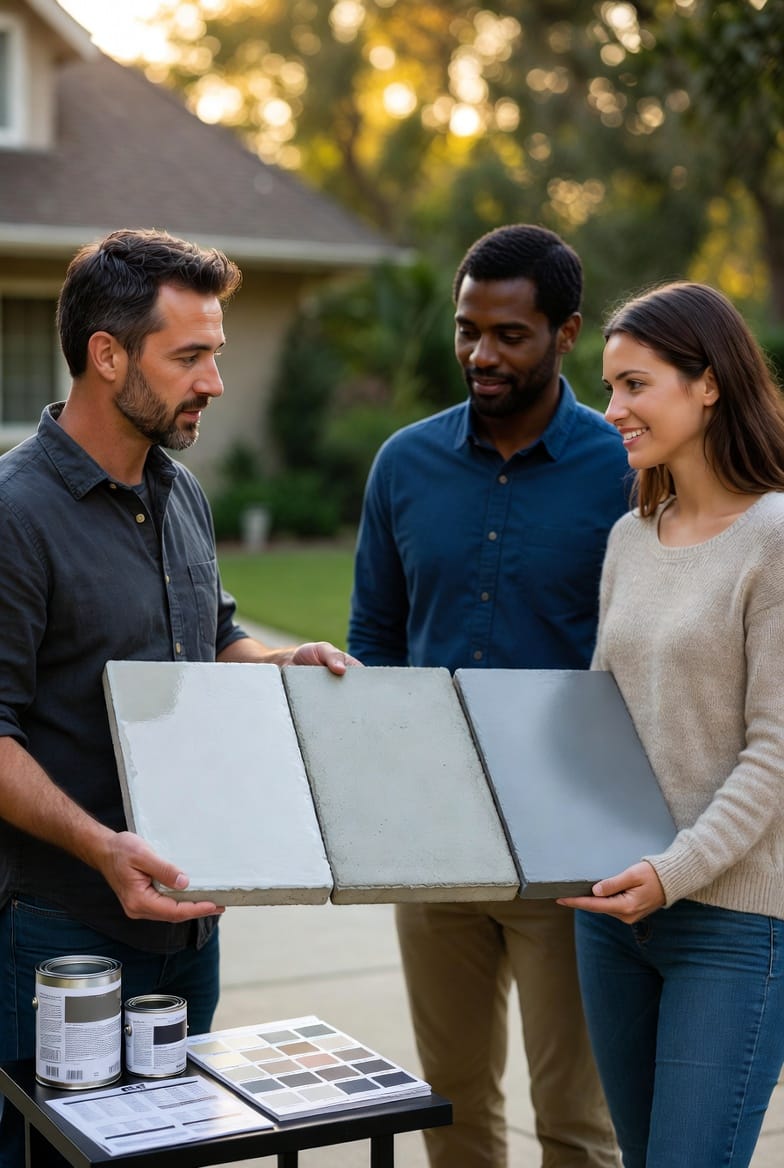
Choosing the Right Sealer for Your Existing Finish
Selecting the correct concrete sealer type ensures compatibility and delivers the exact look and performance you want.
Acrylic Sealers
- Create a glossy, wet-look finish
- Affordable and easy to apply
- Excellent UV protection and color enhancement
- Best for: Standard residential driveways where appearance is a priority
Penetrating (Silane/Siloxane) Sealers
- Invisible protection that maintains the natural matte look of concrete
- Deep penetration (up to ¼ inch) for superior water and salt resistance
- Breathable — allows vapor to escape, reducing spalling risk
- Best for: Cold climates and high-traffic areas
Epoxy or Polyurethane Sealers
- Thick, extremely durable film
- Superior chemical and abrasion resistance
- Can be tinted or given a non-slip texture
- Best for: Garage floors, heavy commercial use, or areas with frequent oil spills
Key compatibility rule: If your current sealer is unknown, choose a penetrating sealer — it bonds well over almost any existing product without lifting or peeling.
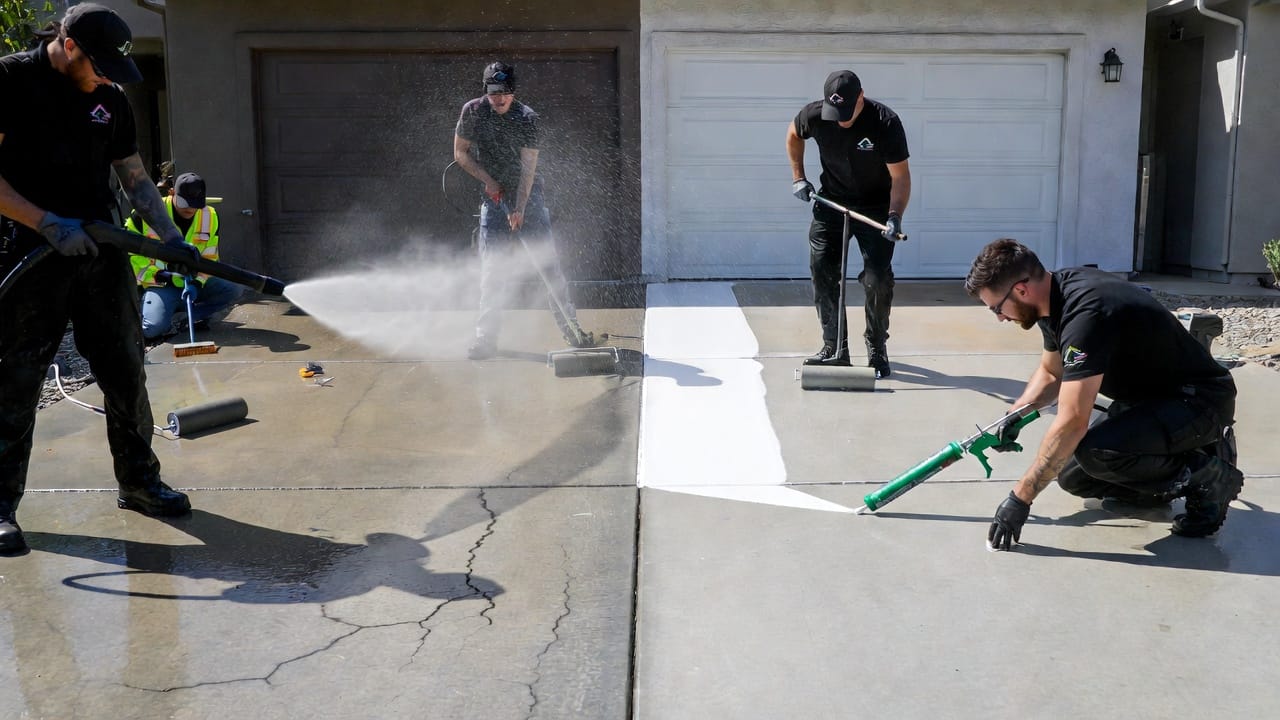
Step-by-Step Application for Professional Results
- Choose the right day — 50–85°F, no rain forecast for 48 hours, low wind.
- Protect adjacent surfaces — Mask walls, trim, and landscaping with plastic and painter’s tape.
- Stir, don’t shake — Mix the sealer gently to avoid bubbles.
- Apply in thin, even coats — Use a ½-inch nap roller on a long handle or a low-pressure airless sprayer. Work in 4-foot sections, maintaining a wet edge.
- Two coats minimum — Allow the first coat to dry tack-free (usually 4–6 hours) before the second.
- Back-roll — After spraying, lightly roll to eliminate puddles and ensure uniform coverage.
- Keep traffic off — Light foot traffic after 24 hours; vehicles after 72 hours. Full cure takes 5–7 days.
Pro application secret: Apply the second coat at a 90° angle to the first for complete coverage and maximum film strength.
Common Mistakes That Shorten Sealer Life
- Applying over a dirty or damp surface
- Using the wrong product for your climate
- Applying too thick (causes bubbling and peeling)
- Ignoring temperature and humidity guidelines
- Driving on the surface too soon
Avoid these pitfalls and your new sealer will deliver maximum protection.
Professional Concrete Sealing Services: When to Call the Experts
While capable DIYers can achieve good results, professional crews bring:
- Commercial-grade equipment and products
- Years of experience reading concrete conditions
- Proper surface preparation that homeowners often underestimate
- Warranty-backed workmanship
At Concrete Service, our technicians use only premium sealers formulated for long-term performance in our region’s specific climate. We handle everything from cleaning and repair to final application, leaving you with a showroom-quality driveway and complete peace of mind.
Protect Your Concrete Investment Today
Your driveway is a significant investment. Timely concrete sealer reapplication is the single most effective way to preserve its beauty, strength, and value for decades.
Don’t wait for cracks, stains, or costly repairs to appear. A simple water bead test today can save you thousands tomorrow.
Ready for professional results that last?
Contact Concrete Service today to schedule your free driveway inspection and resealing quote.
Our friendly team is ready to help you refresh and protect one of your home’s hardest-working surfaces.
Make Your Driveway Like New – Free Quote Now