The Concrete Saw Cutting: Timing, Depth, and Pattern for Effective Control Joints
Concrete is a versatile and durable material used in countless construction projects, from driveways and sidewalks to industrial floors and parking lots. However, one of the most common challenges with concrete is cracking. While cracks are inevitable due to the material's natural shrinkage during curing, they don't have to be random or unsightly. This is where control joints come into play. By strategically saw cutting these joints, you can guide where cracks occur, maintaining the structural integrity and aesthetic appeal of your slab.
Master Timing, Depth & Spacing – Talk to Our Concrete Specialists Now
In this comprehensive guide, we'll delve into the science behind jointing, explain the optimal timing for saw cutting, discuss the correct depth, and outline patterns and spacing rules for effective control joints. Whether you're a contractor, engineer, or property owner, understanding these principles will help you achieve superior results. Rest assured, with proper techniques, your concrete projects can stand the test of time.
The Science Behind Concrete Jointing
To appreciate why saw cutting is essential, let's start with the fundamentals of concrete behavior. Concrete is a composite material made from cement, aggregates, water, and admixtures. When mixed and poured, it undergoes a chemical reaction called hydration, where water reacts with cement to form a hard matrix.
As concrete cures, it experiences shrinkage. This shrinkage is primarily due to two factors:
- Drying shrinkage: Water evaporates from the surface, causing the concrete to contract.
- Thermal contraction: Temperature changes during curing lead to expansion and contraction.
These forces create internal stresses. If the tensile strength of the concrete is exceeded, cracks form. Random cracks can compromise the slab's functionality, allowing water infiltration, which leads to further deterioration like spalling or freeze-thaw damage in colder climates.
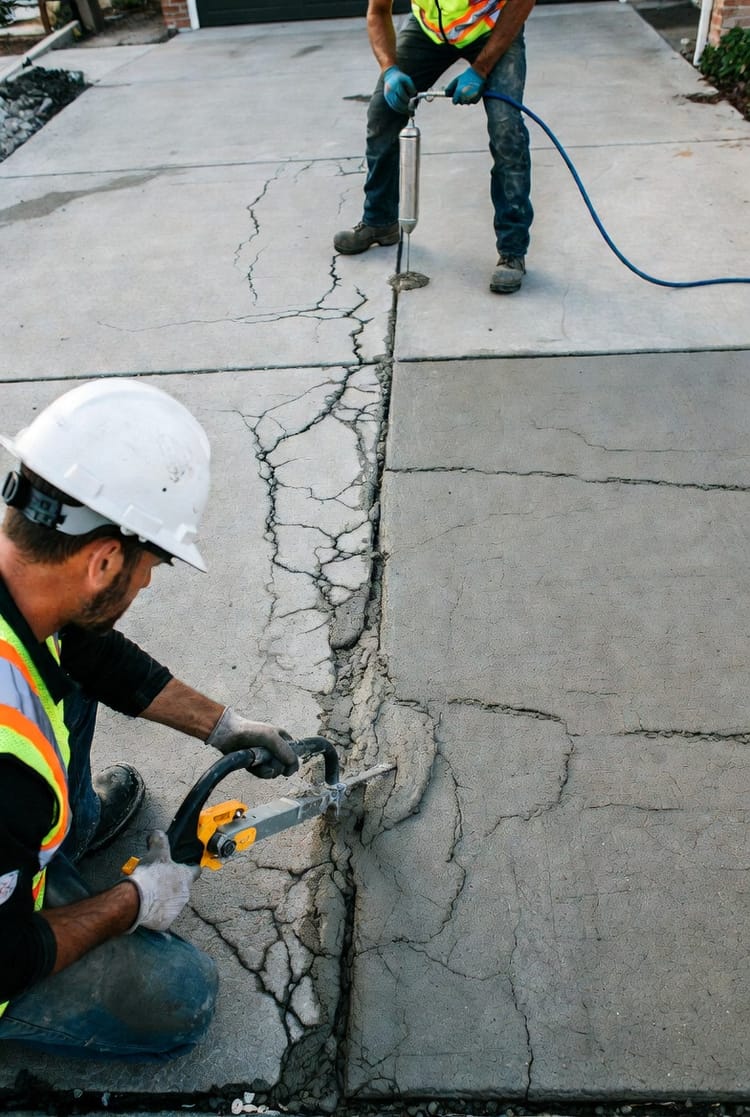
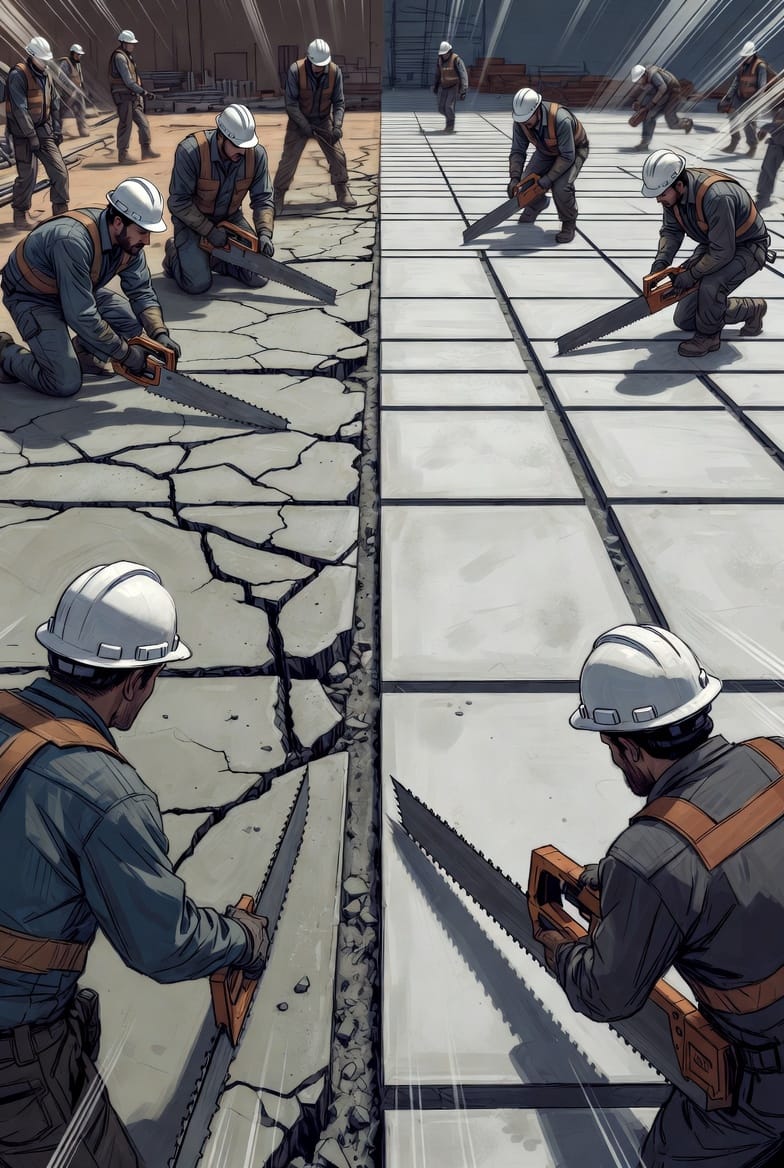
Control joints are intentional weakened planes created in the concrete to direct these cracks. By saw cutting grooves at specific locations, you provide a path of least resistance for the shrinkage forces. The crack propagates along the joint rather than randomly across the slab. This not only hides the cracks but also prevents them from widening uncontrollably.
Scientifically, this is based on fracture mechanics. The joint reduces the cross-sectional area, concentrating stress at that point. According to principles from materials science, the depth and spacing of these joints must align with the slab's thickness and environmental conditions to be effective.
Research from organizations like the American Concrete Institute (ACI) emphasizes that properly placed control joints can reduce cracking risks by up to 90%. It's a proactive approach that turns potential weaknesses into managed features, ensuring your concrete remains durable and serviceable.
When to Saw Cut: The Critical Timing Window
Timing is everything in concrete saw cutting. Cut too early, and the saw might ravel the edges, creating rough, uneven joints. Cut too late, and random cracks may already have formed, defeating the purpose.
The ideal time is as soon as the concrete is hard enough to support the saw and operator without damaging the surface, but before random cracking begins. This window typically occurs 4 to 12 hours after finishing, depending on factors like:
- Ambient temperature: Hotter weather accelerates curing, narrowing the window.
- Mix design: High-early-strength concrete hardens faster.
- Slab thickness: Thicker slabs retain heat longer, delaying the start.
A practical test is the "footprint test": Press your foot into the concrete; if it leaves an imprint no deeper than 1/8 inch, it's ready for early-entry sawing. For conventional saws, wait until a thumbnail scratch doesn't penetrate more than 1/16 inch.
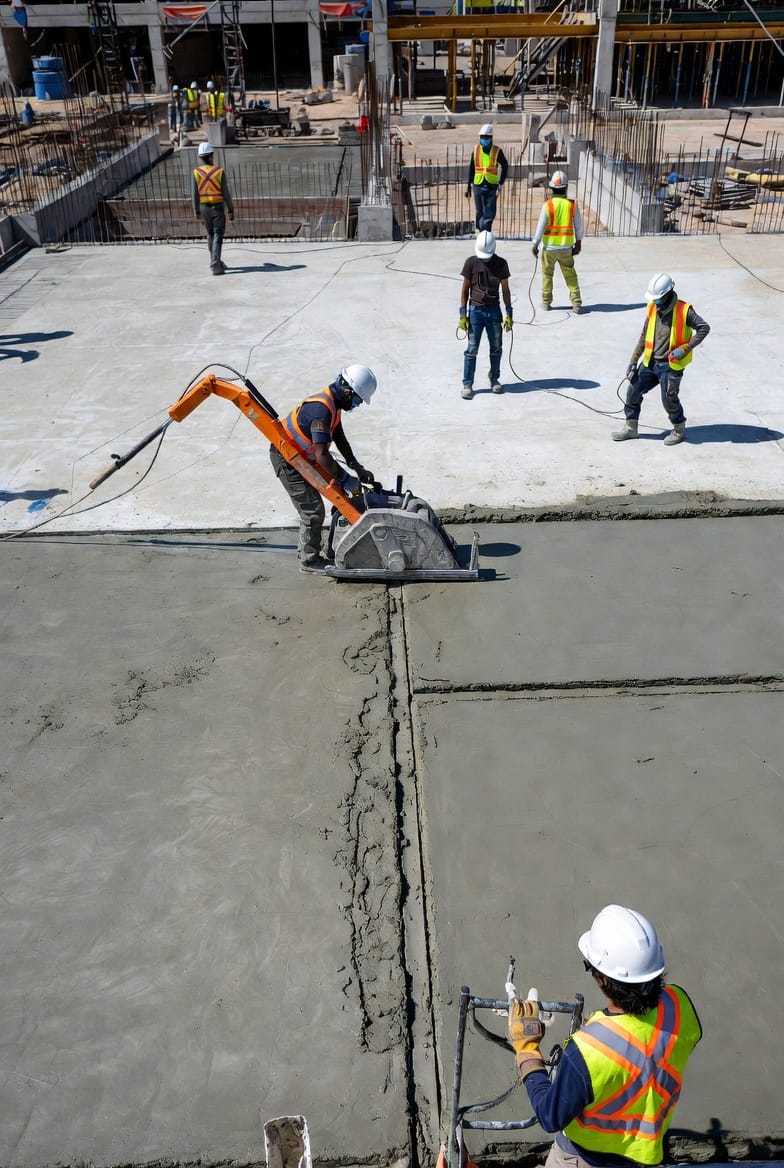
Early-entry saws, equipped with lightweight, skid-plate designs, allow cutting within 1-4 hours. They minimize raveling and are ideal for ultra-early jointing. Conventional wet saws, using diamond blades, are used later but require water to control dust and heat.
By adhering to this timing, you prevent uncontrolled cracking, which could lead to costly repairs. Our experienced teams monitor conditions closely to hit this sweet spot, delivering flawless results every time.
Proper Depth for Control Joints: Ensuring Effectiveness
The depth of your saw cuts is crucial for directing cracks properly. The rule of thumb, supported by ACI guidelines, is to cut to a depth of at least 1/4 of the slab thickness. For example:
- A 4-inch slab requires a 1-inch deep joint.
- A 6-inch slab needs 1.5 inches.
- Thicker slabs, like 8 inches, should have 2-inch cuts.
Why this depth? It creates a sufficient weakened plane without compromising the slab's load-bearing capacity. Shallower cuts may not induce cracking at the joint, leading to surface cracks elsewhere. Deeper cuts (up to 1/3 thickness in some cases) are used for slabs with larger aggregates or in high-shrinkage environments.
Factors influencing depth include:
- Aggregate size: Larger aggregates require deeper cuts to ensure the crack follows the joint through the full depth.
- Reinforcement: In reinforced slabs, joints should penetrate to just above the rebar to avoid corrosion risks.
- Environmental exposure: Outdoor slabs in variable climates may need deeper joints for better crack control.
Using diamond blades ensures clean, straight cuts. Always match blade type to concrete hardness—soft-cut blades for green concrete, harder ones for cured slabs. Proper depth prevents aesthetic and structural issues, giving you peace of mind that your investment is protected.
Patterns and Spacing: Rules of Thumb for Optimal Layout
The pattern and spacing of control joints determine how well shrinkage stresses are managed across the entire slab. Poor spacing can result in mid-panel cracks, while over-jointing adds unnecessary cost and complexity.
A key rule is to space joints at 2 to 3 times the slab thickness in feet. Convert slab thickness to feet first:
- For a 4-inch (1/3 foot) slab: Space 8-12 feet apart.
- 6-inch (0.5 foot): 12-18 feet.
- 8-inch (2/3 foot): 16-24 feet.
This translates to maximum panel sizes of about 144 square feet for 4-inch slabs, scaling up accordingly.
Joint patterns should form a grid, typically square or rectangular, to divide the slab into manageable sections. Avoid long, narrow panels (aspect ratio >1.5:1) as they increase cracking risk. In irregular shapes, like around columns, use isolation joints to separate sections.
Additional considerations:
- Perimeter joints: Cut along edges and at re-entrant corners to relieve stress concentrations.
- Construction joints: Align control joints with these for seamless integration.
- Aggregate influence: For slabs with 1-inch max aggregate, adjust spacing downward by 20% if shrinkage is high.
Tools like joint spacing calculators help refine these based on specific project variables. By following these guidelines, you create a predictable cracking pattern, enhancing longevity and reducing maintenance needs.

Advanced Techniques and Best Practices
Beyond basics, advanced saw cutting techniques elevate your concrete work. For instance, soff-cut sawing uses specialized equipment for ultra-early cuts, ideal for large pours. Dust-control systems, like vacuum attachments, ensure compliance with OSHA standards, keeping sites safe and clean.
Incorporate joint fillers post-cutting: Semi-rigid epoxies or polyureas seal joints against debris and water, preventing edge spalling. For decorative concrete, color-matched sealants maintain aesthetics.
Common pitfalls to avoid:
- Ignoring weather: Windy or sunny conditions accelerate drying, demanding quicker action.
- Uneven cuts: Use guides or lasers for straight lines.
- Overlooking slab movement: In post-tensioned slabs, consult engineers for custom jointing.
Our professional services employ these best practices, backed by years of expertise, to deliver impeccable outcomes.
Case Studies: Real-World Success
Consider a recent warehouse project: A 100,000-square-foot, 6-inch slab faced high shrinkage risks due to rapid curing in summer heat. By saw cutting at 4 hours post-pour to 1.5-inch depth, spaced 15 feet apart in a grid pattern, we eliminated random cracks. The client reported zero issues after two years.
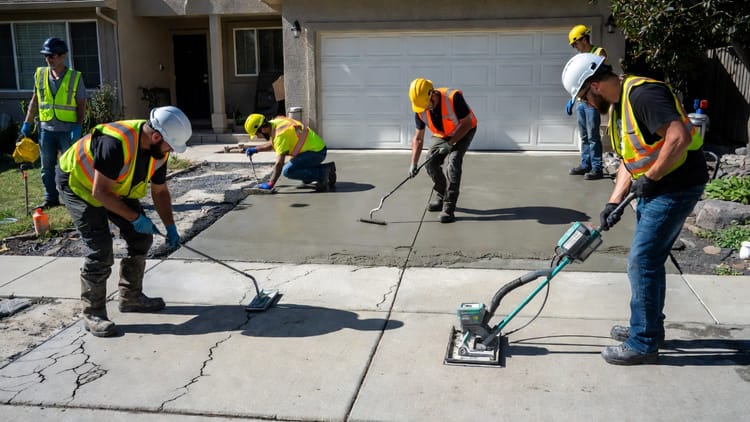
Another example: A residential driveway with 4-inch thickness. Early-entry cuts at 1-inch depth, 10-foot spacing, prevented unsightly fractures, enhancing curb appeal.
These successes underscore that precise jointing transforms challenges into triumphs.
Maintenance and Long-Term Care
Post-jointing, regular inspections are key. Seal joints annually in high-traffic areas. Address any minor cracks promptly with appropriate fillers.
For optimal performance, pair jointing with quality concrete mixes—low water-cement ratios reduce shrinkage. Admixtures like shrinkage reducers can further minimize risks.
Rest assured, investing in proper saw cutting pays dividends in durability and cost savings.
Conclusion: Take Control of Your Concrete Cracking
In summary, effective concrete saw cutting hinges on understanding the science of jointing, mastering timing, achieving the right depth, and applying smart patterns and spacing. By saw cutting as soon as the concrete can bear it but before cracks form, to a depth of 1/4 slab thickness, and spacing 2-3 times thickness in feet, you control the cracking rather than letting it control your project.
Don't leave your concrete to chance. Curious about our proven saw cutting practices? Contact us at (855) 321-3655 for expert advice and services tailored to your needs. We're here to ensure your slabs are built to last.
Stop Cracks Before They Appear – Schedule Professional Saw Cutting