Planning Your Dream Bathroom: A Step-by-Step Guide to Layout, Materials, and Universal Design
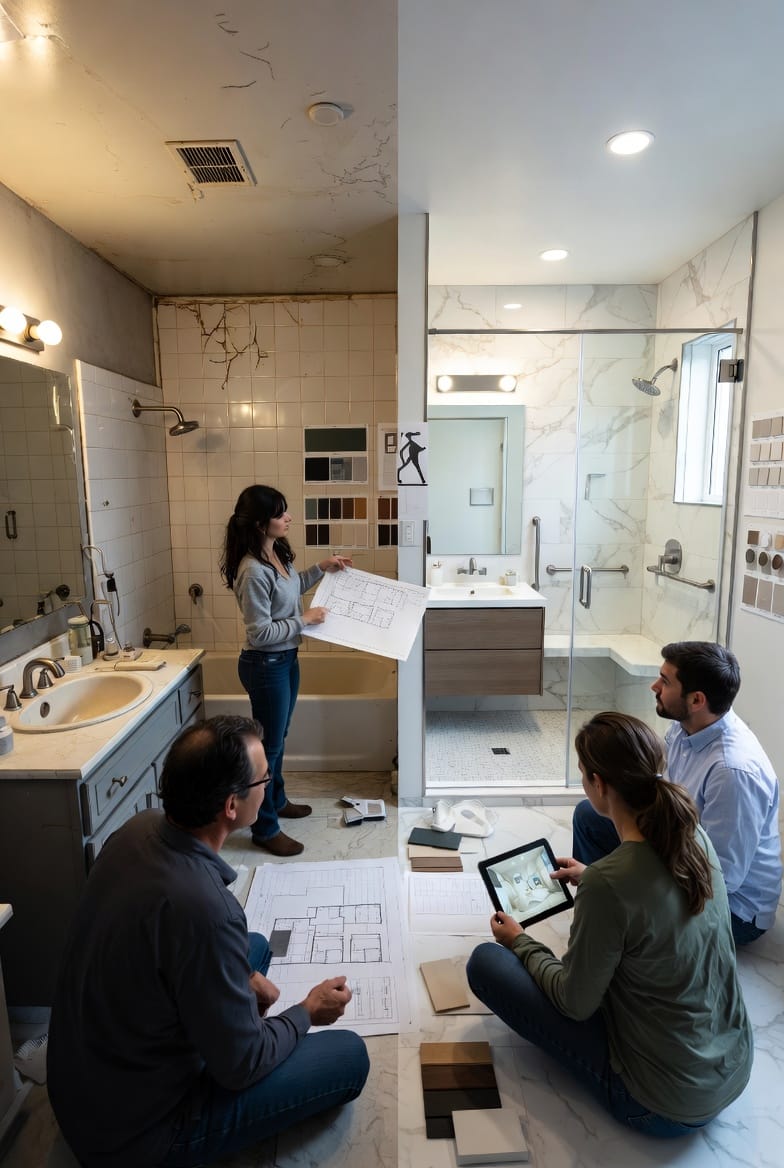
Embarking on a bathroom remodeling project can feel overwhelming, but with the right guidance, it transforms into an exciting journey toward creating a personal sanctuary. Whether you're updating a small powder room or overhauling a master suite, this comprehensive guide will walk you through every essential step. We'll explore planning stages, innovative layout ideas, durable wet area materials, effective ventilation systems, strategic lighting solutions, and the integration of universal design principles to ensure your space is beautiful, functional, and accessible for years to come. Rest assured, with thoughtful preparation, your dream bathroom is within reach—practical, inspirational, and tailored to your lifestyle.
Transform Your Bathroom into a Spa Retreat – Call Us!
Understanding Your Needs: The Foundation of Planning
The first step in any successful bathroom remodel is a thorough assessment of your current space and future requirements. Begin by evaluating how your bathroom is used daily. Do you need more storage for a growing family? Are accessibility features a priority for aging in place? Or is relaxation the goal, with spa-like elements like a soaking tub?
- Conduct a Space Audit: Measure your bathroom's dimensions precisely, noting door swings, window placements, and existing plumbing. This prevents costly surprises later.
- Define Your Style and Budget: Draw inspiration from timeless designs—think minimalist modern or cozy traditional. Set a realistic budget, allocating 40-50% for labor, 30% for materials, and the rest for fixtures and contingencies.
- Prioritize Functionality: Consider traffic flow and user needs. For instance, separate wet and dry zones to enhance usability.
By starting here, you're building a solid foundation. Remember, a well-planned remodel not only boosts your home's value but also elevates your everyday routine.
Mastering Bathroom Layouts for Optimal Flow
A smart bathroom layout is the backbone of efficiency and comfort. In a standard 5x8 foot space, common configurations like single-wall, gallery, and L-shaped setups can maximize every inch. Focus on fixture placement to avoid cramped feelings: position the toilet away from the door for privacy, ensure the shower or tub is accessible, and leave ample room around the sink.
- Single-Wall Layout: Ideal for narrow spaces, align fixtures along one wall—sink, toilet, then shower—for a streamlined look.
- Gallery Layout: Perfect for elongated rooms, place fixtures on opposite walls to create a corridor-like flow, enhancing movement.
- L-Shaped Layout: Great for corners, this design wraps fixtures around two walls, freeing up floor space for storage or a freestanding tub.
Incorporate original design insights such as floating vanities to create an illusion of more space or recessed niches for toiletries. These choices ensure your bathroom feels spacious and intuitive, turning routine tasks into seamless experiences.
Selecting Durable Materials for Wet Areas
When it comes to wet area materials, durability and moisture resistance are non-negotiable to prevent mold and wear. Opt for high-quality options that blend aesthetics with longevity.
- Flooring Choices: Porcelain tiles or luxury vinyl planks offer waterproofing and slip resistance. Avoid natural stone in high-traffic wet zones unless sealed properly.
- Wall Coverings: Use ceramic tiles or acrylic panels for showers; they're easy to clean and resist water damage. For a luxurious touch, consider glass mosaics in accent areas.
- Countertops and Fixtures: Quartz or granite for vanities provide stain resistance, while chrome or brushed nickel faucets add timeless appeal.
Our original insight: Layer materials thoughtfully—pair matte floors with glossy walls to create depth and reduce visual clutter. This approach not only safeguards against humidity but also infuses your space with enduring elegance.
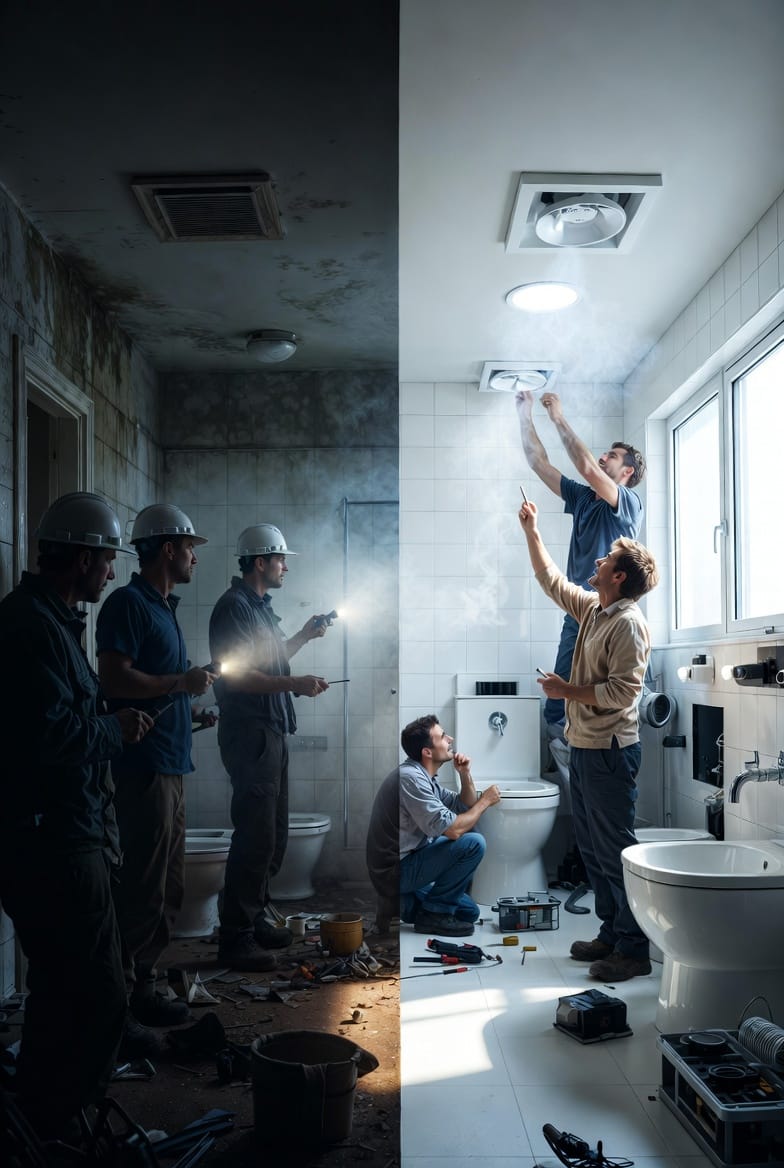
Ensuring Proper Ventilation: Key to a Healthy Bathroom
Poor ventilation can lead to humidity buildup, fostering mold and odors. A robust system is essential for maintaining air quality and comfort.
- Exhaust Fans: Install a fan rated at least 1 CFM per square foot of space. Look for quiet models with humidity sensors for automatic operation.
- Window Integration: If possible, add operable windows for natural airflow, supplemented by fans during showers.
- Ducting Best Practices: Ensure ducts vent outdoors, not into attics, to expel moisture effectively.
Pro tip: Combine mechanical ventilation with passive strategies like underfloor heating to minimize condensation. With these measures, your bathroom remains fresh and inviting, promoting well-being without compromise.
Illuminating Your Space: Lighting Strategies for Ambiance and Functionality
Effective lighting elevates a bathroom from utilitarian to luxurious, providing safety and mood enhancement.
- Layered Lighting Approach: Combine ambient overhead lights, task lighting around mirrors, and accent sconces for balanced illumination.
- LED Innovations: Use dimmable LEDs for energy efficiency and customizable brightness—warm tones for relaxation, cool for grooming.
- Natural Light Maximization: Incorporate skylights or frosted windows to flood the space with daylight, reducing reliance on artificial sources.
An original design insight: Install motion-sensor lights in cabinets for hands-free convenience, especially useful in universal designs. This thoughtful layering ensures your bathroom is both practical and a serene retreat.
Incorporating Universal Design Principles for Inclusivity
Universal design makes your bathroom accessible to all ages and abilities, future-proofing your investment without sacrificing style.
- Barrier-Free Entries: Opt for curbless showers with linear drains for easy wheelchair access.
- Height-Adjustable Features: Install grab bars that double as towel racks and adjustable-height sinks.
- Ergonomic Fixtures: Choose lever-handled faucets and comfort-height toilets to reduce strain.
Blend these with aesthetics—use contrasting colors for visibility and non-slip surfaces everywhere. Our reassurance: These principles enhance usability for everyone, creating a space that's not just beautiful but truly welcoming.
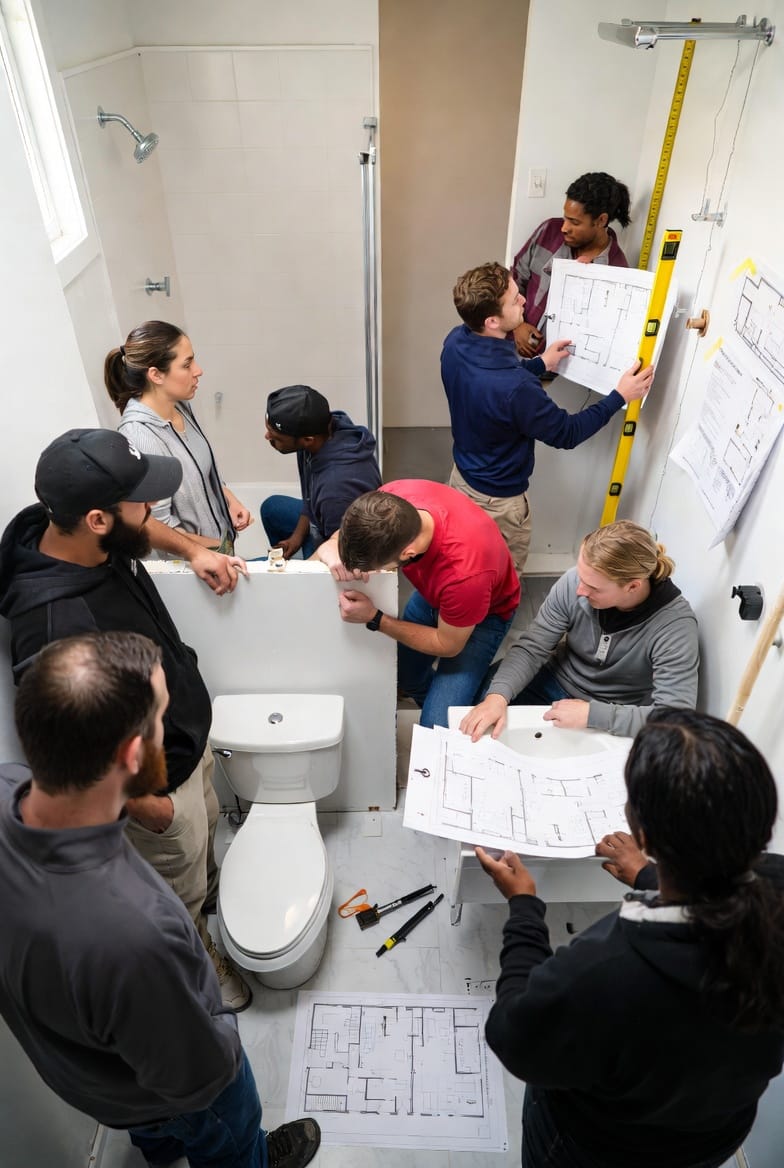
Navigating the Remodeling Timeline: Step-by-Step Phases
A structured timeline keeps your bathroom remodel on track, minimizing disruptions.
- Design Phase: 2-4 weeks for planning layouts and selecting materials.
- Demolition: 1-2 days to remove old fixtures safely.
- Rough-In: 1-2 weeks for plumbing and electrical updates.
- Installation: 1-3 weeks to fit new elements.
- Finishing Touches: 3-5 days for painting and accessories.
Stay flexible for unexpected issues, and hire professionals for complex tasks. This phased approach ensures a smooth transformation.
Budgeting and Cost-Saving Tips
Smart budgeting is crucial. Expect costs from $10,000-$30,000 for a full remodel. Save by prioritizing must-haves, sourcing materials during sales, and opting for multifunctional fixtures.
Overcoming Common Challenges
Address pitfalls like water damage early. Test plumbing pre-installation and choose mold-resistant paints.
Final Inspirations: Bringing It All Together
Visualize your completed space: a harmonious blend of form and function. With universal design, durable materials, and thoughtful layouts, your bathroom becomes a daily delight.
Plan Your Perfect Bathroom Remodel – Free Consultation
